AZTEK Rear Wheel Bearing and Bushing
Here we go. The following is the list of tools I used for the whole job.

  • 34mm socket (I used a 35mm which was a size too big) - Axel nut
  • Lug nut wrench
  • 13/16" wrench and socket
  • 18mm wrench
  • 15mm wrench and socket
  • 14mm wrench
  • 13mm wrench
  • 7/8" wrench - not sure what I used this for
  • T-40 torx bit - ball joint bolt
  • 1/4" wrench
  • Extention for a 3/8" drive ratchet
  • Ratchet - 3/8"
  • Ratchet - 1/2"
  • Tork wrench
  • Propane torch
  • Big hammer
  • WD-40 or Liquid wrench
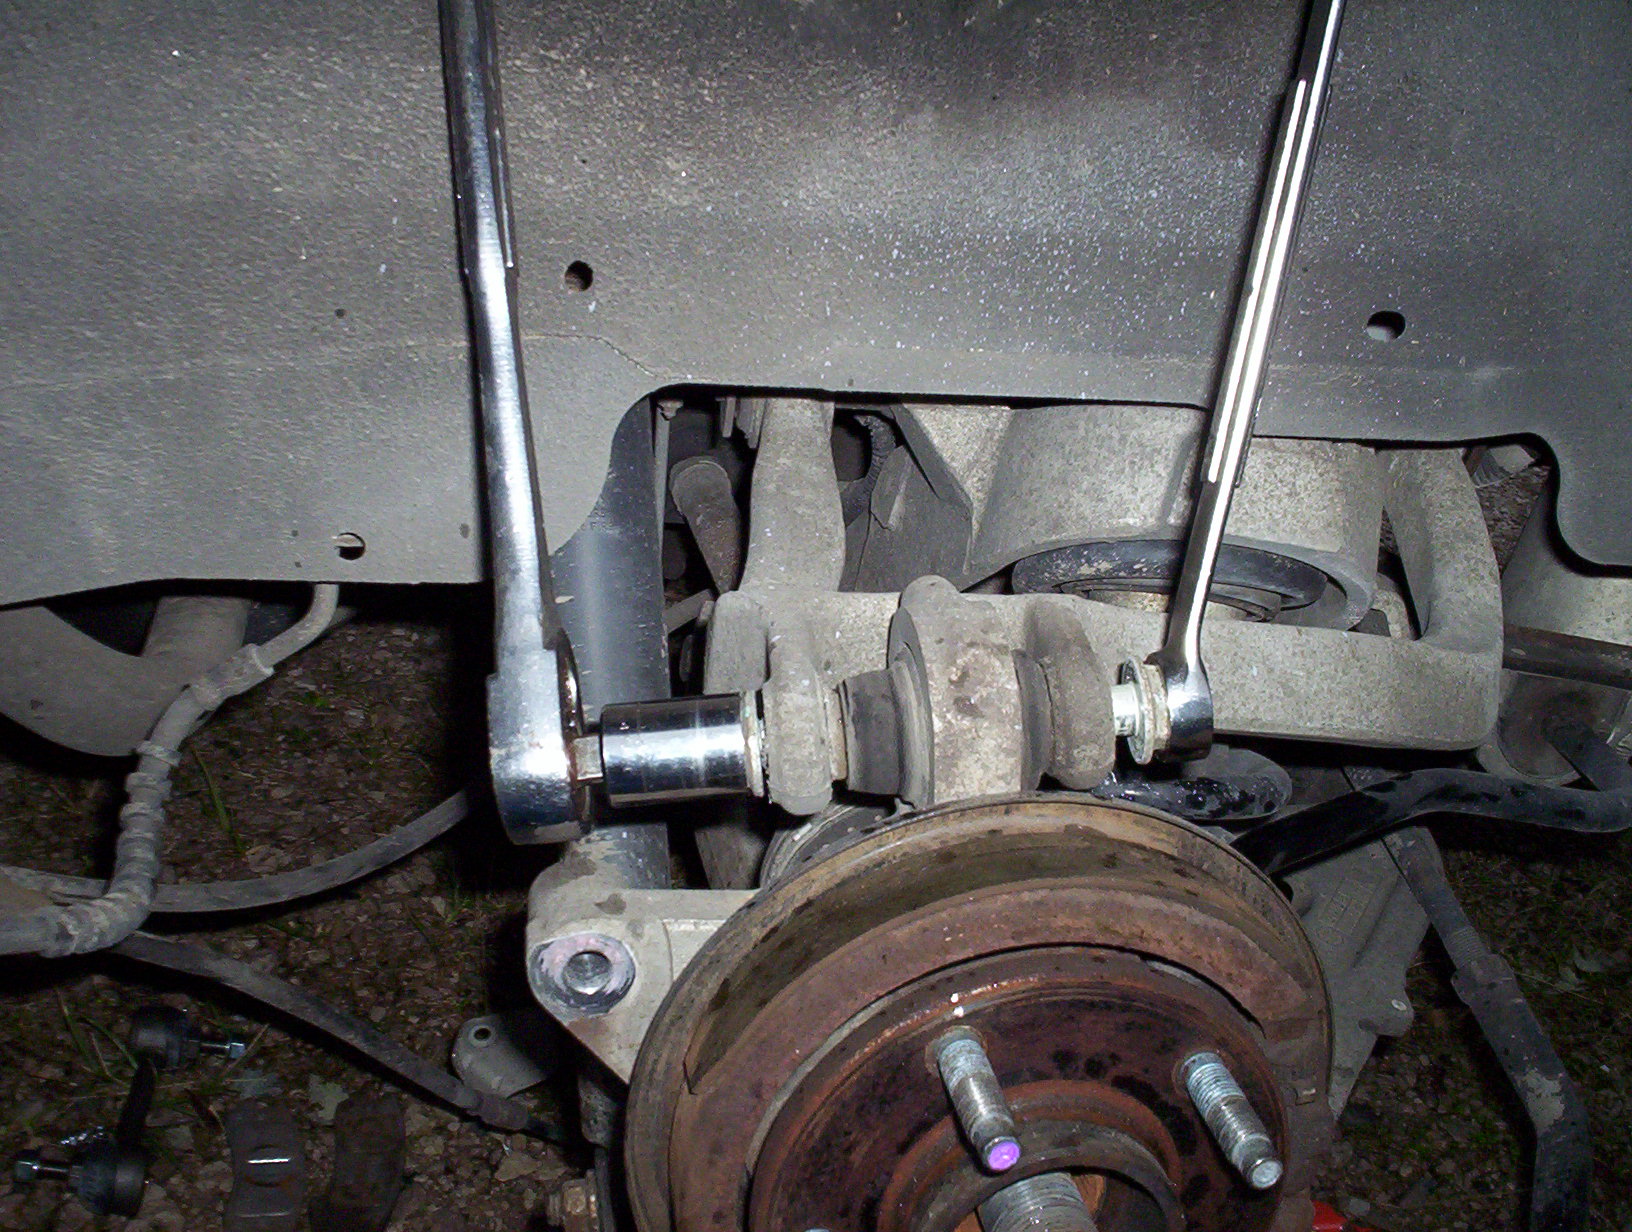
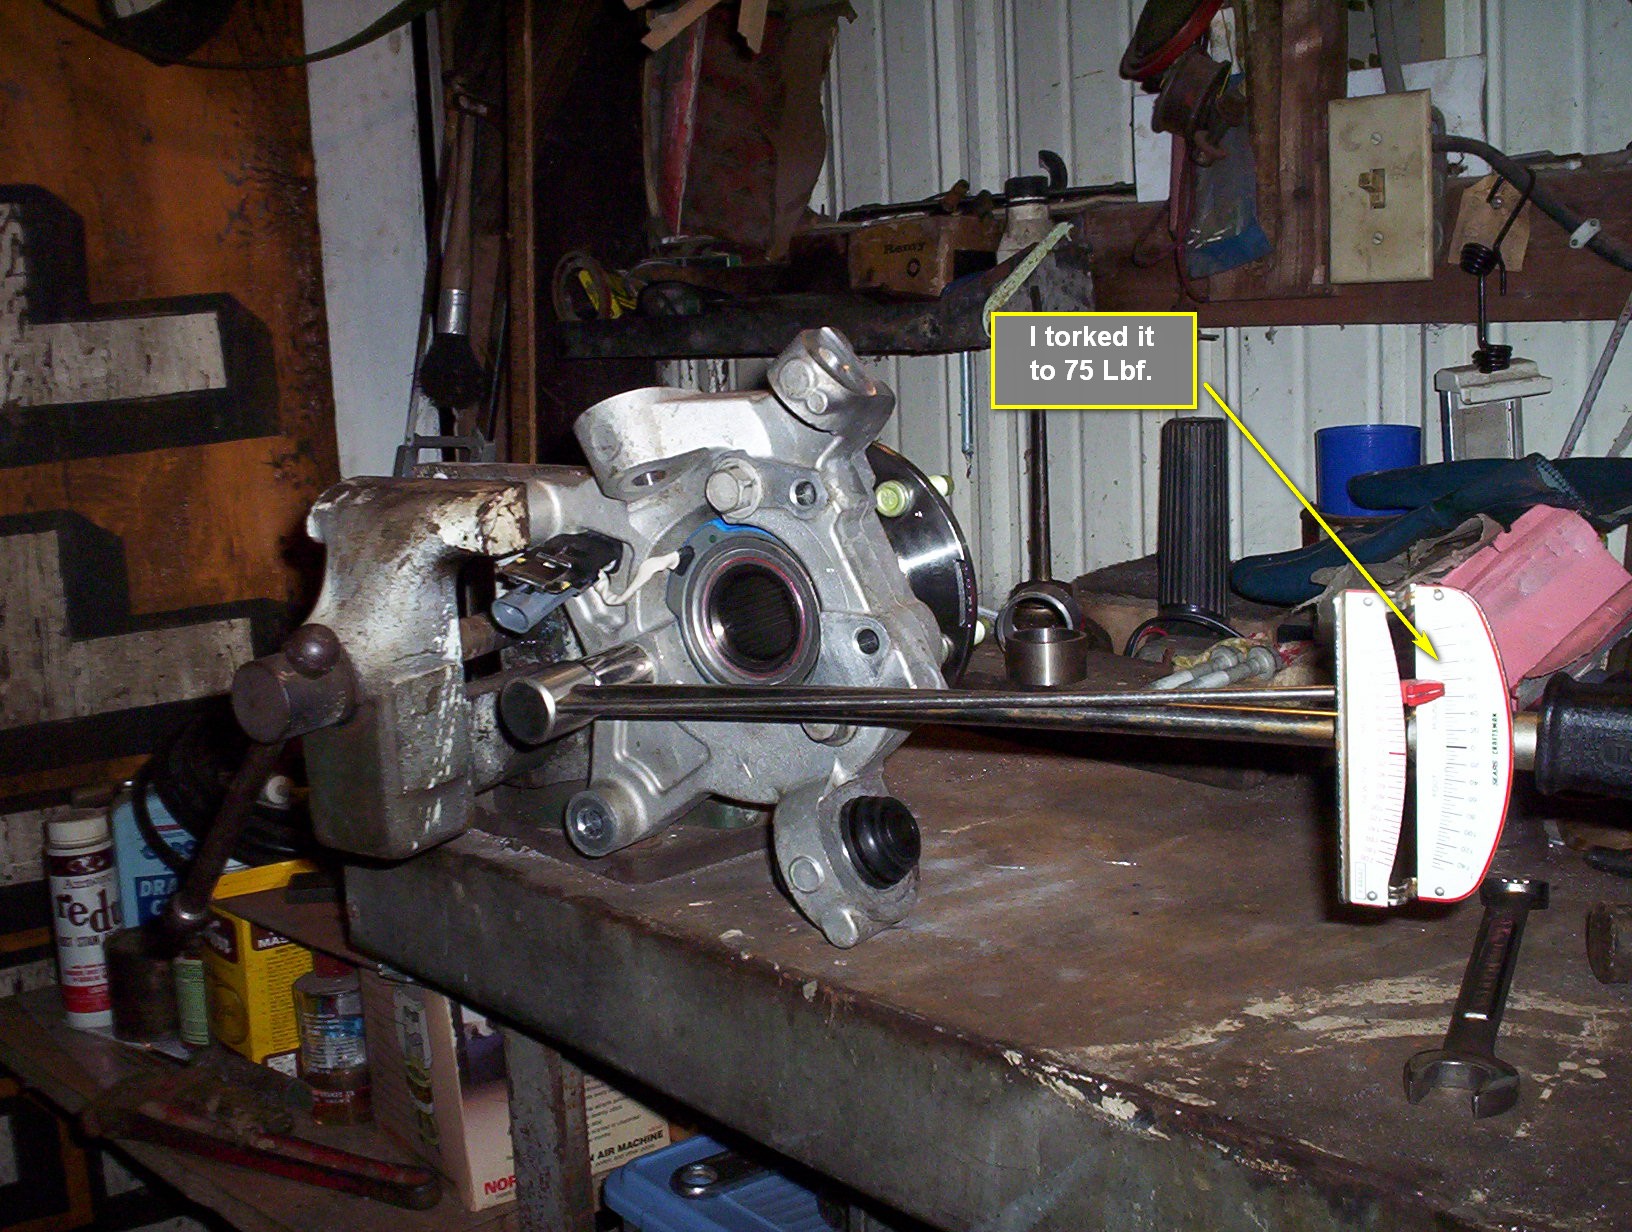
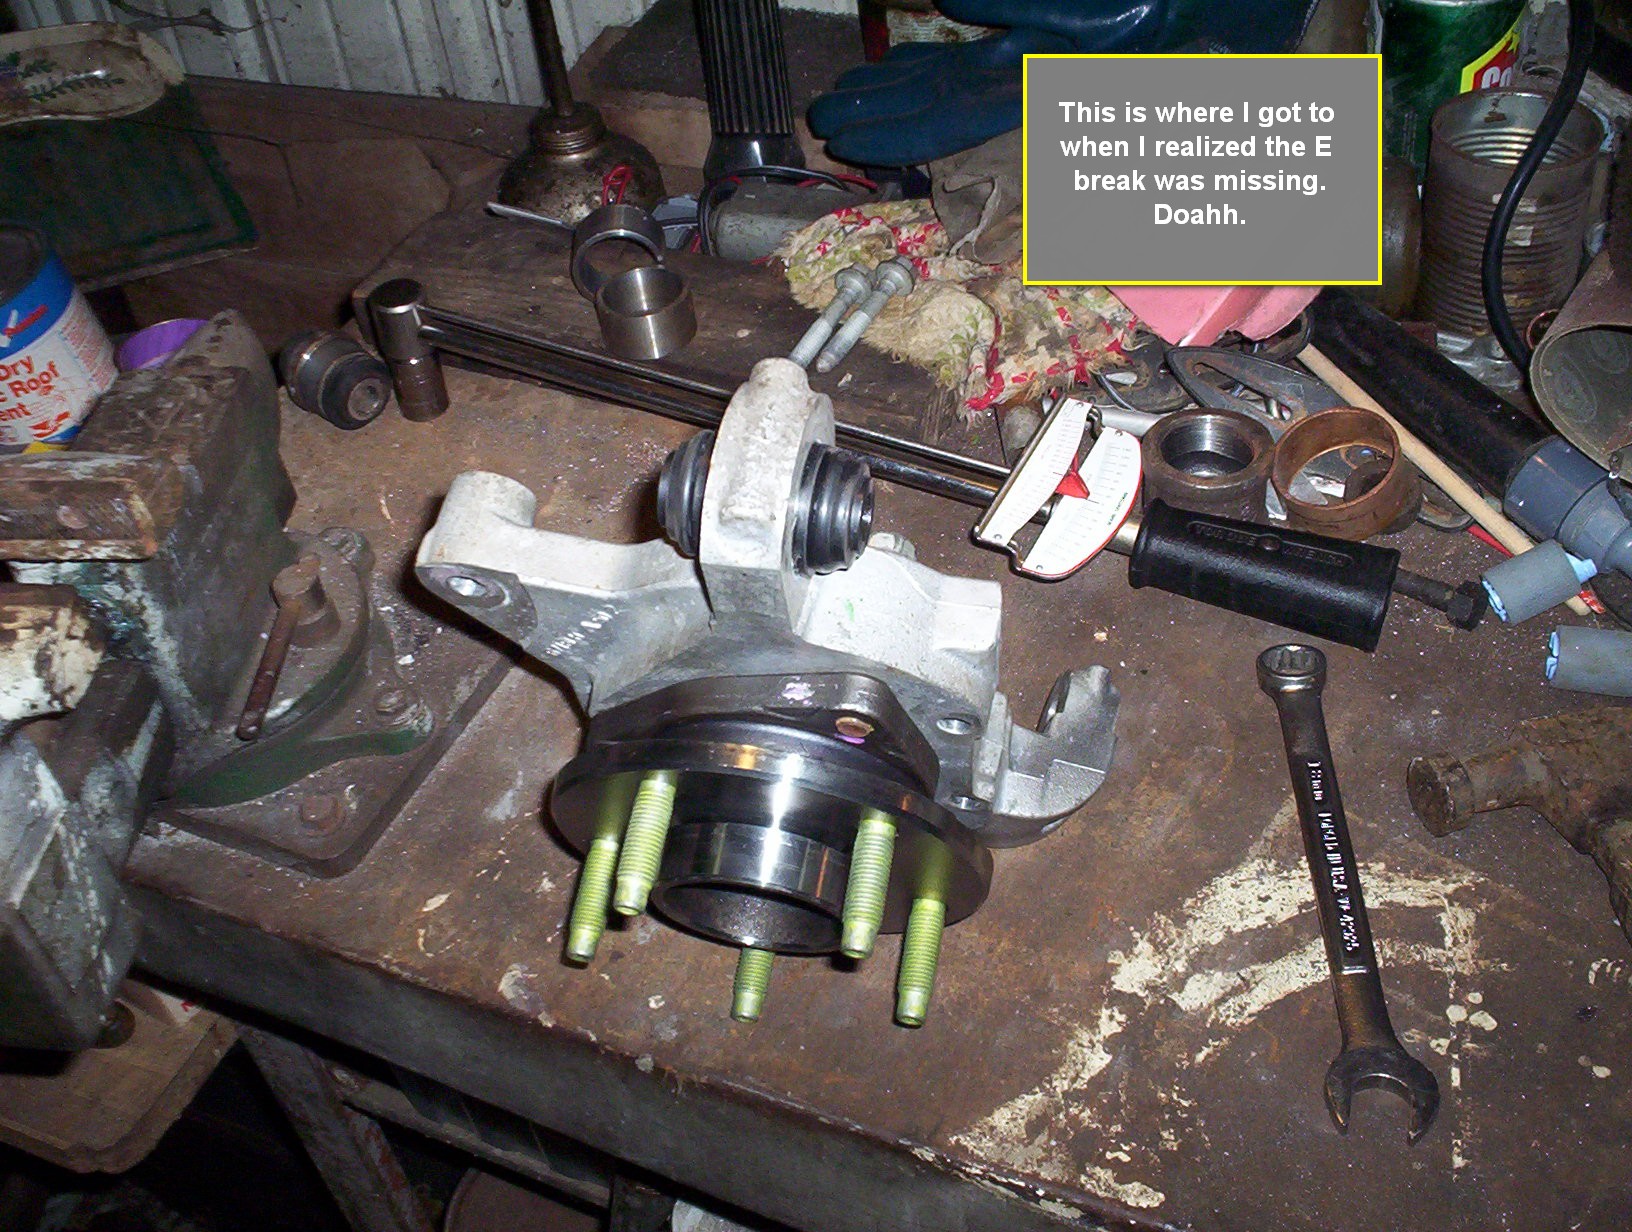
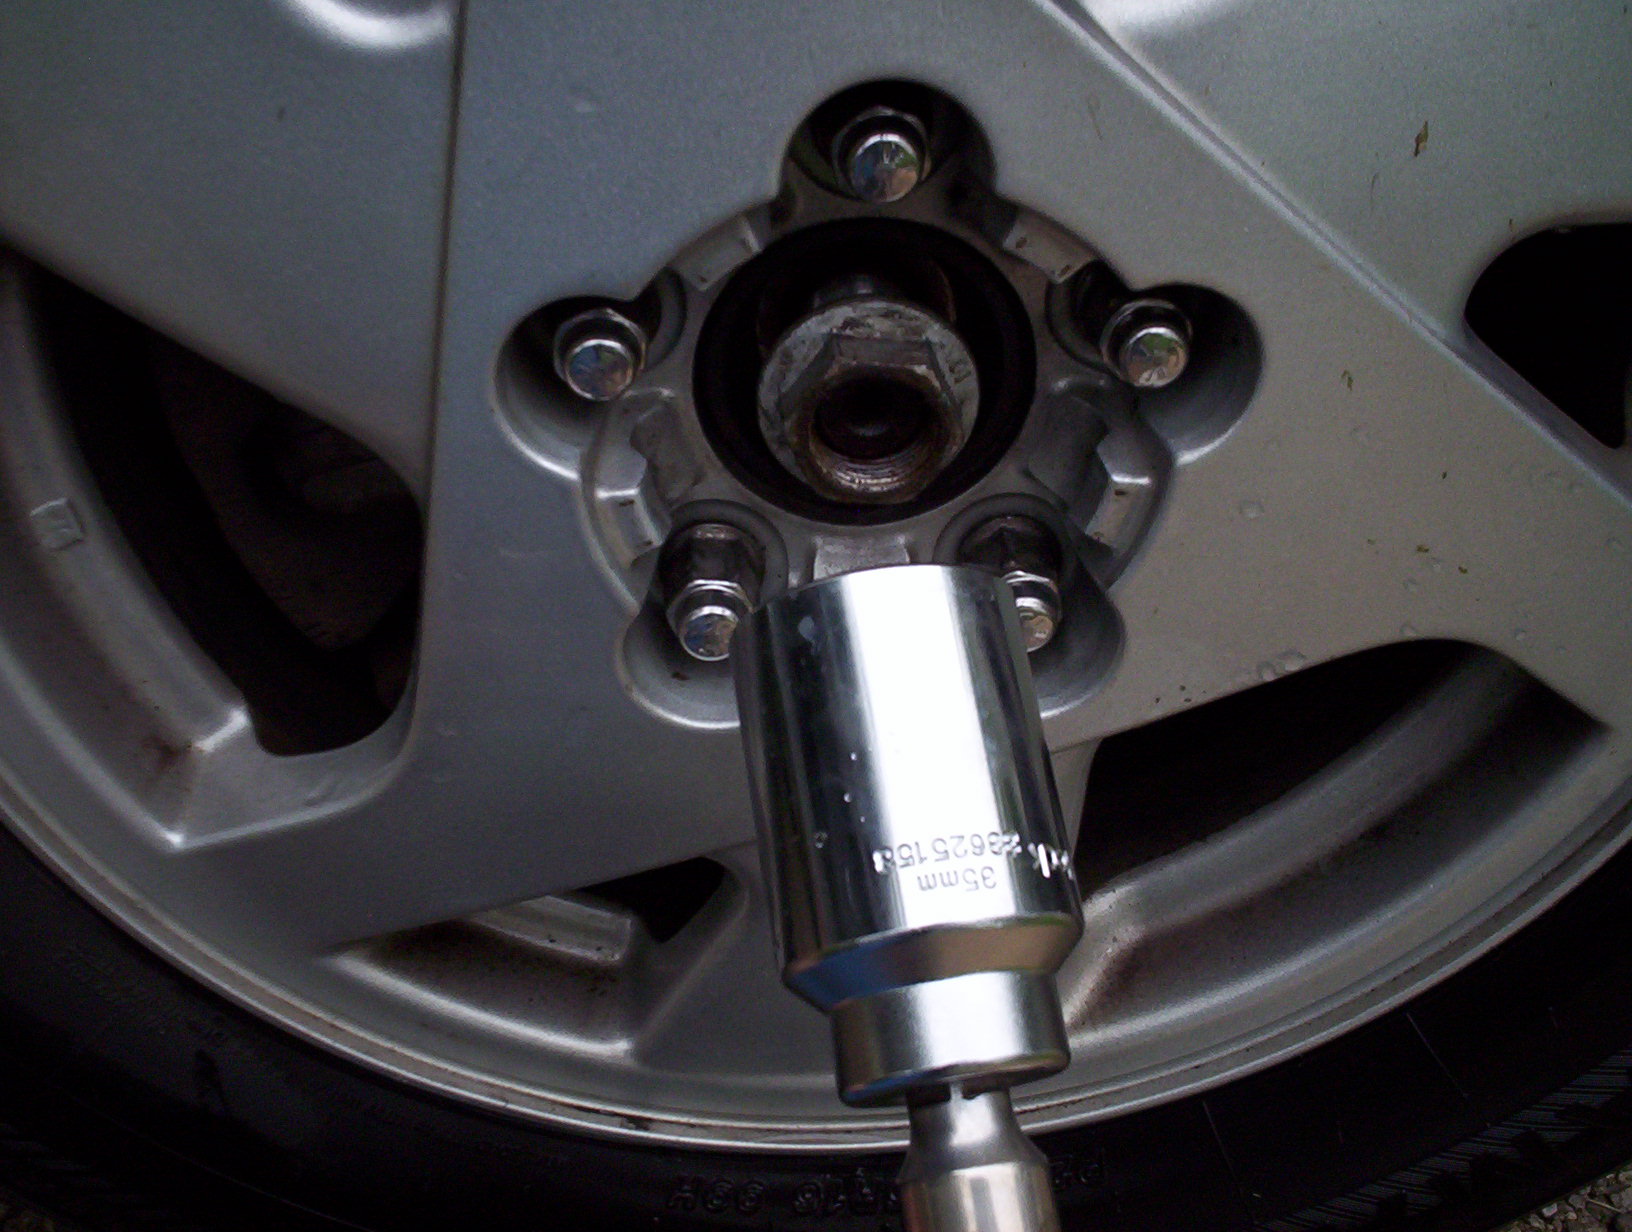
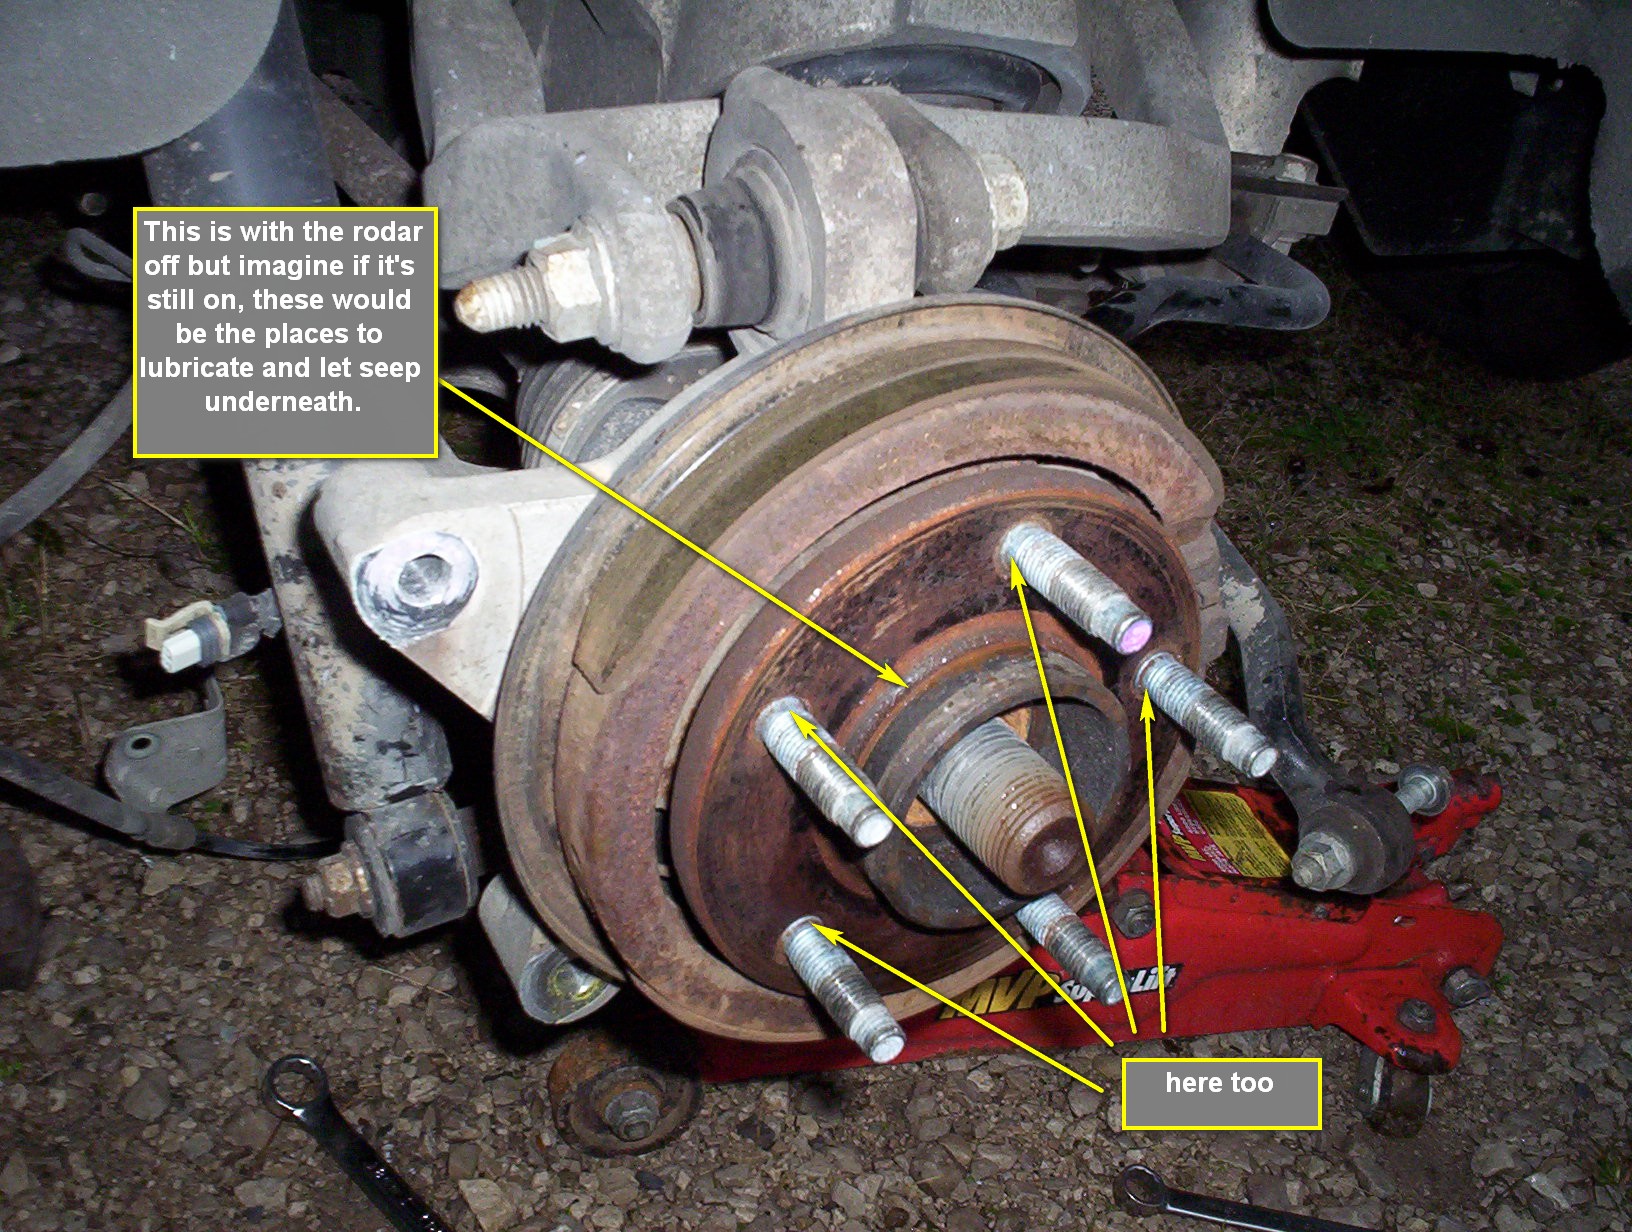
  • First lubricate the threads of the axle and remove the axle nut before you jack up the car completely. You will need a cheater bar for this because they are torqued really tight. My guess is near 80-ftb. Then loosen the lug nuts, jack up your Aztek. Well not the whole Aztek, just the rear end corner needed. Do not engage the E-brake or you'll never get the rotor off.

    click for larger image
    .
    Wheels' off
    Looking down at the evil culprit. The knuckle bushing.
    Looking at the brake caliper side.
    Looking at the rear side.

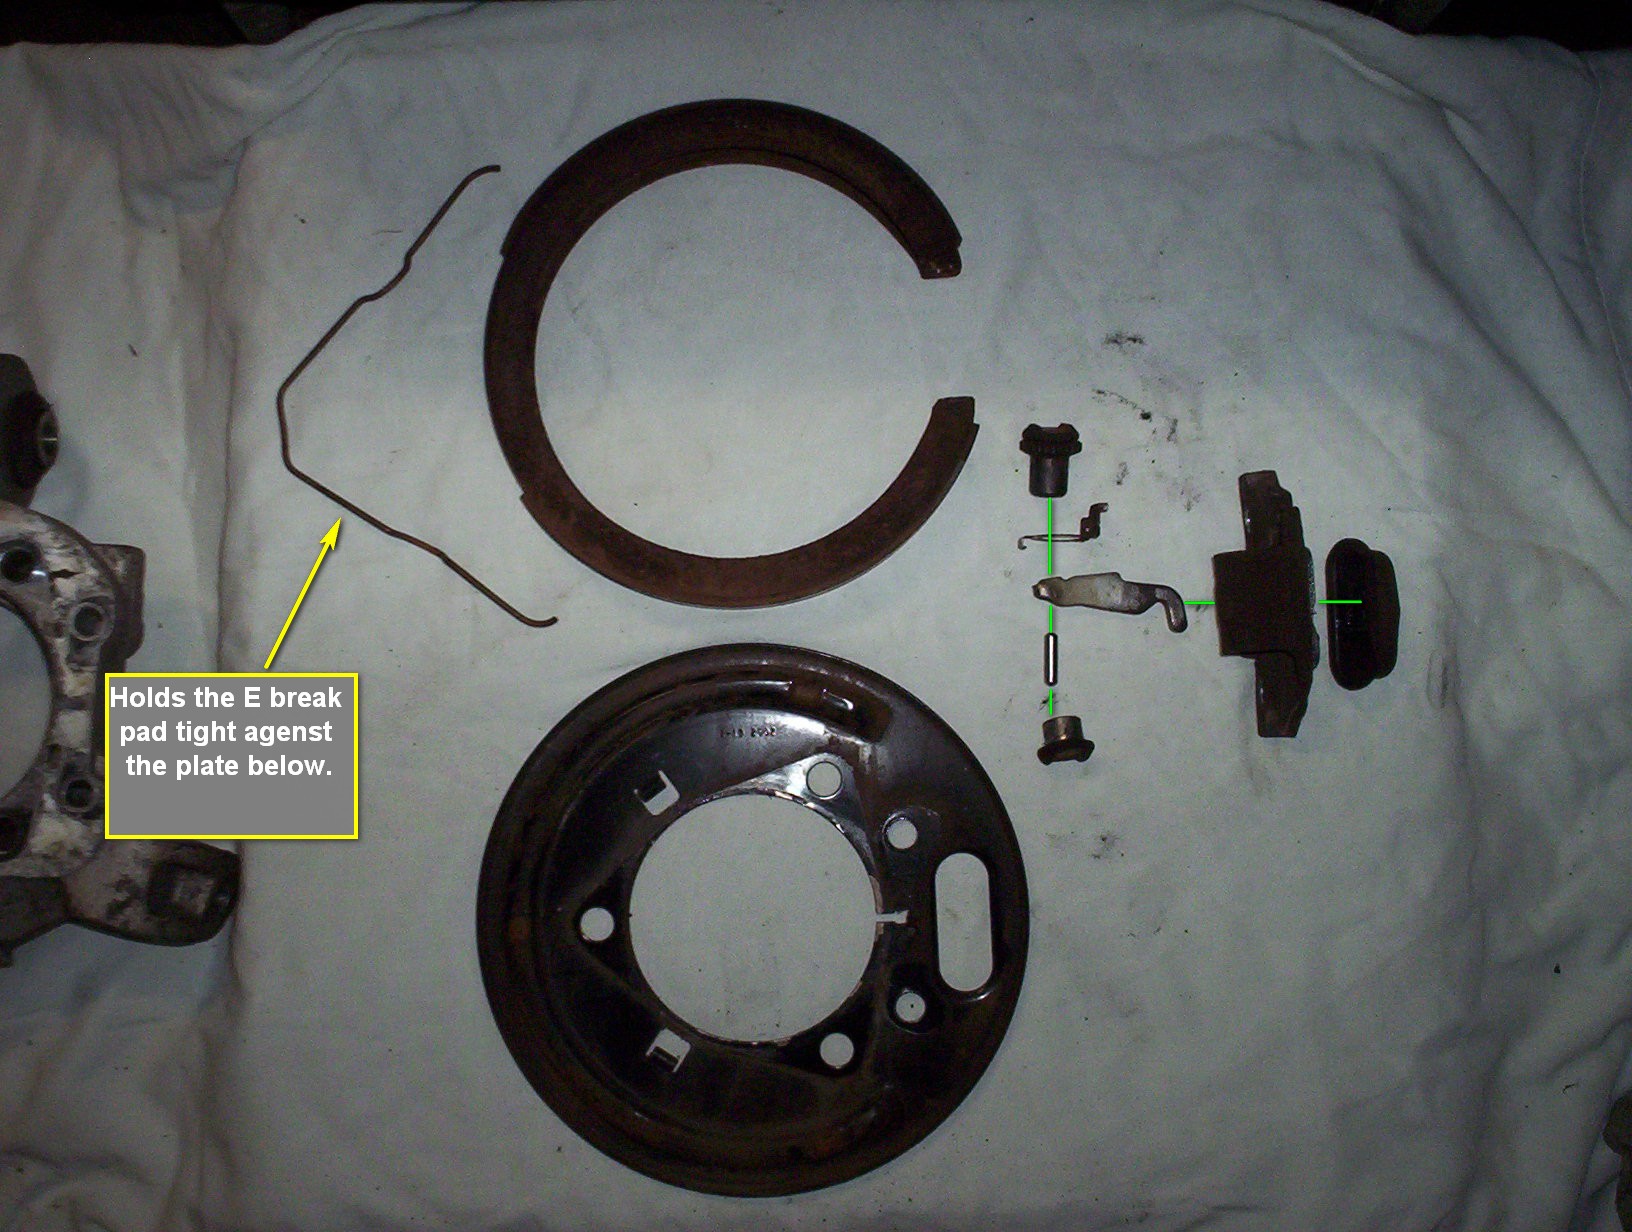
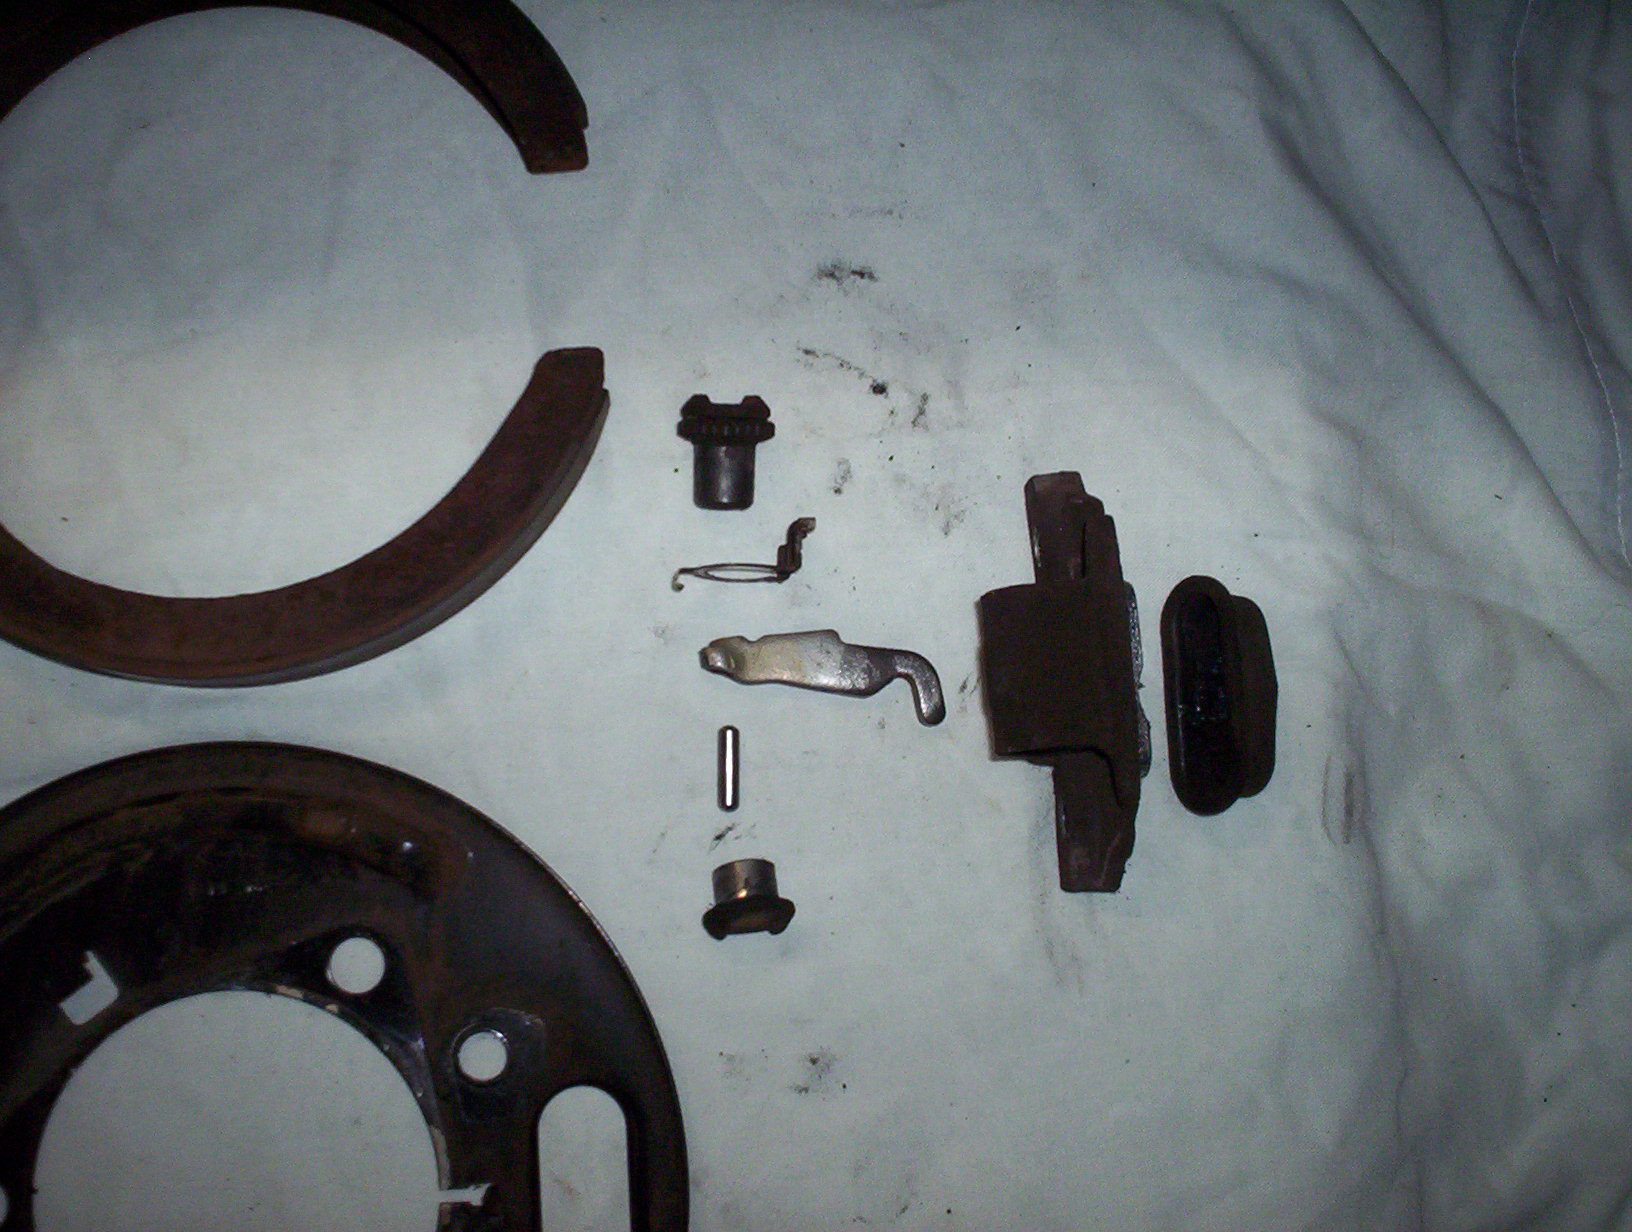
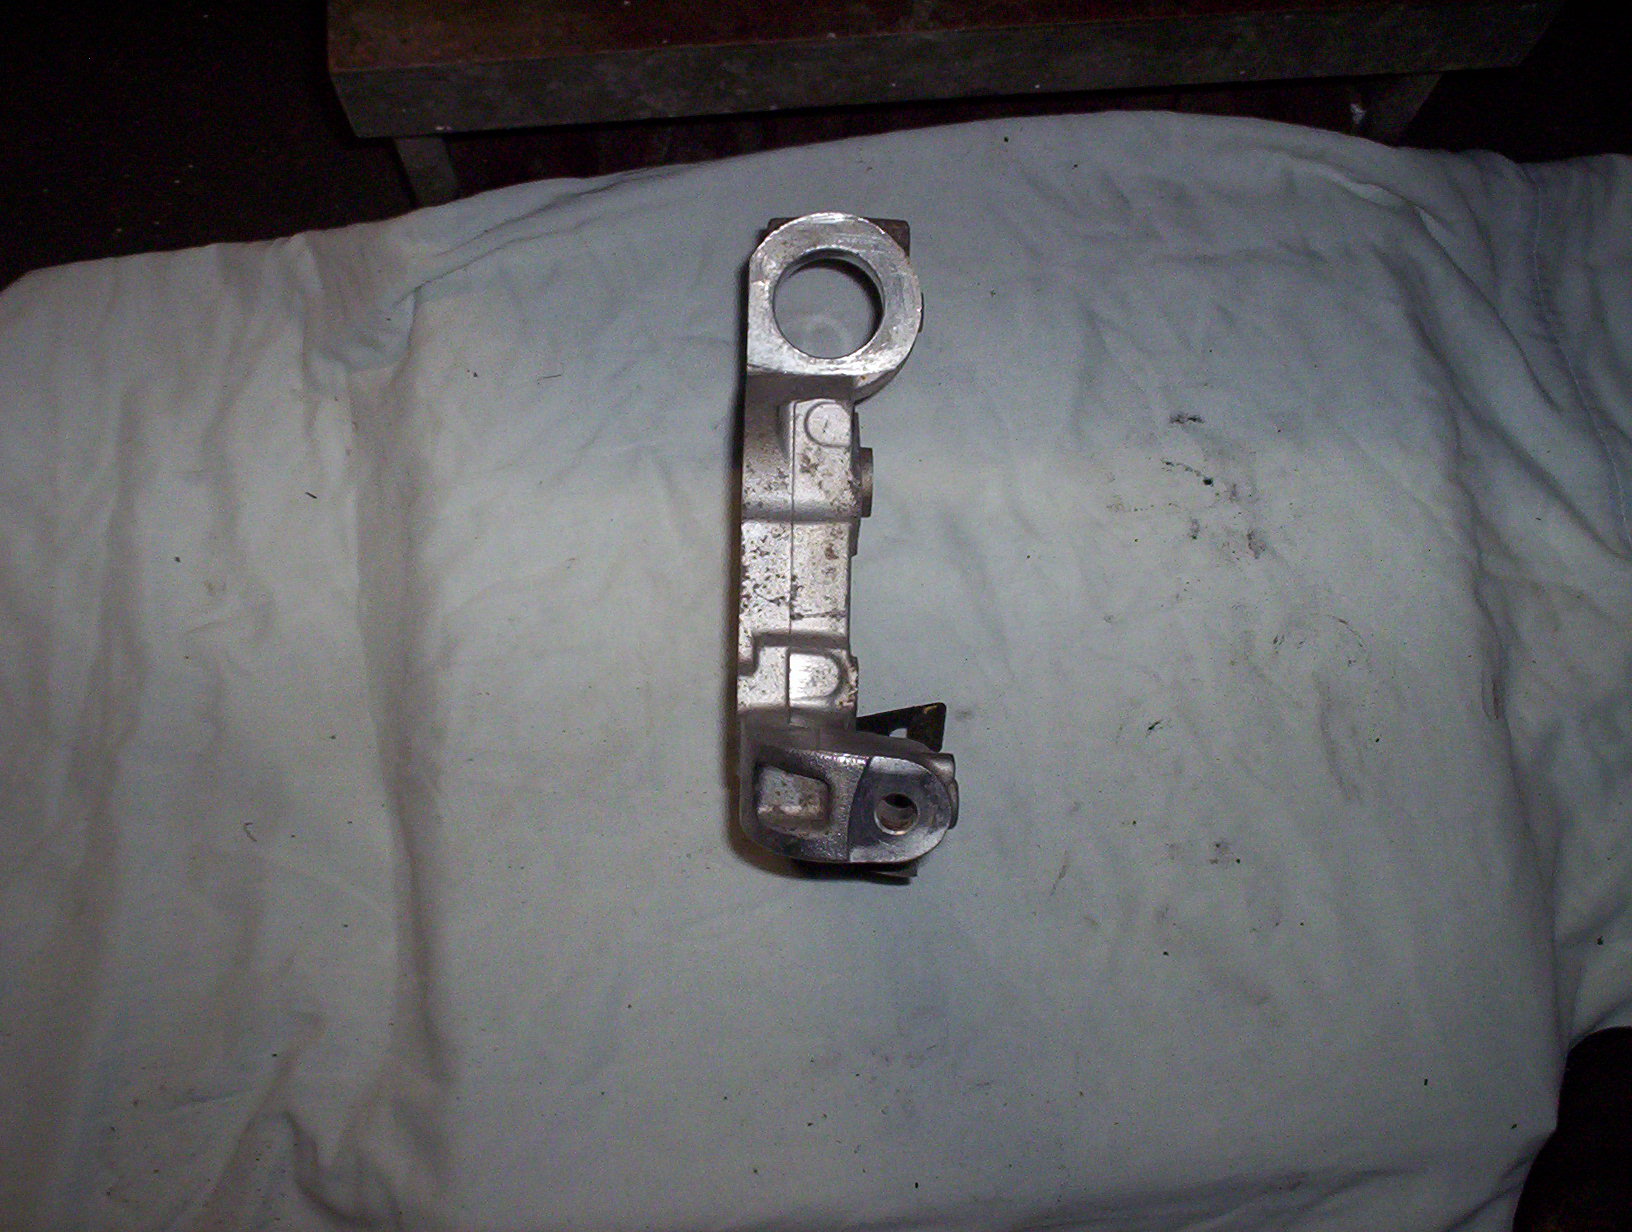
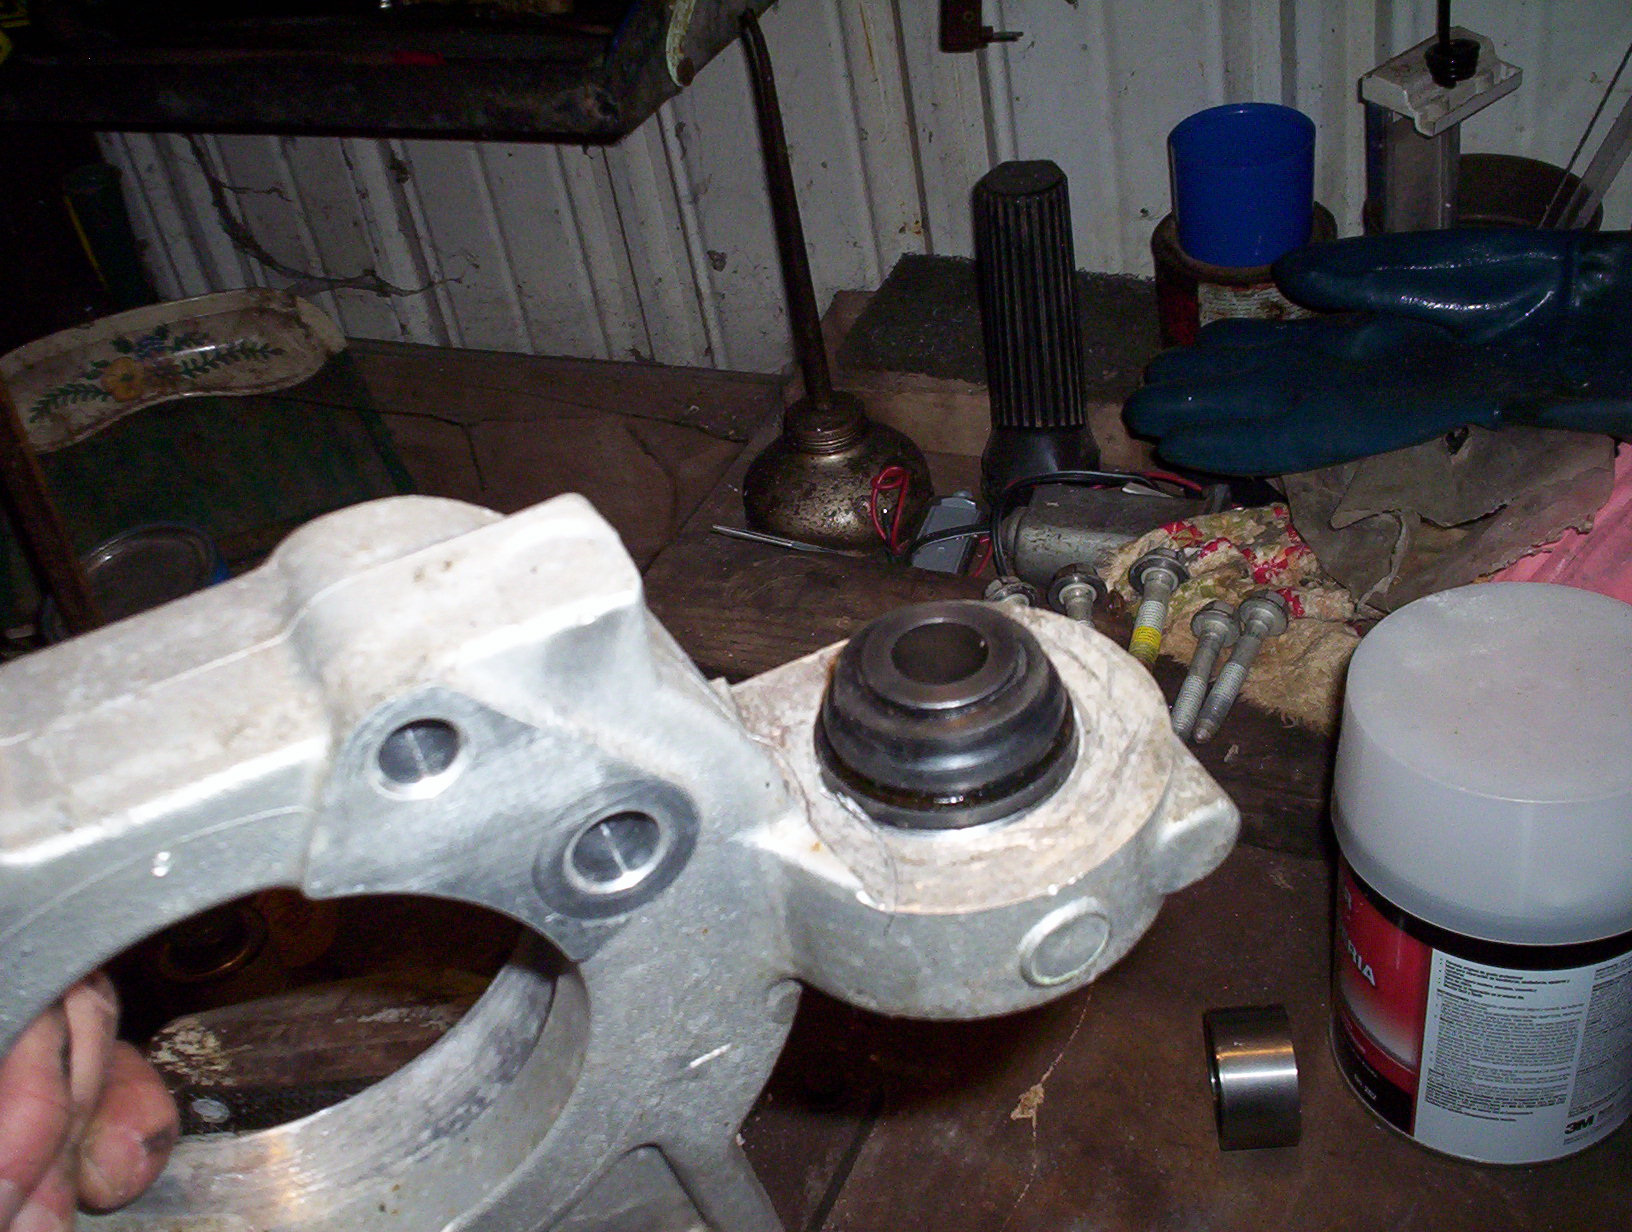
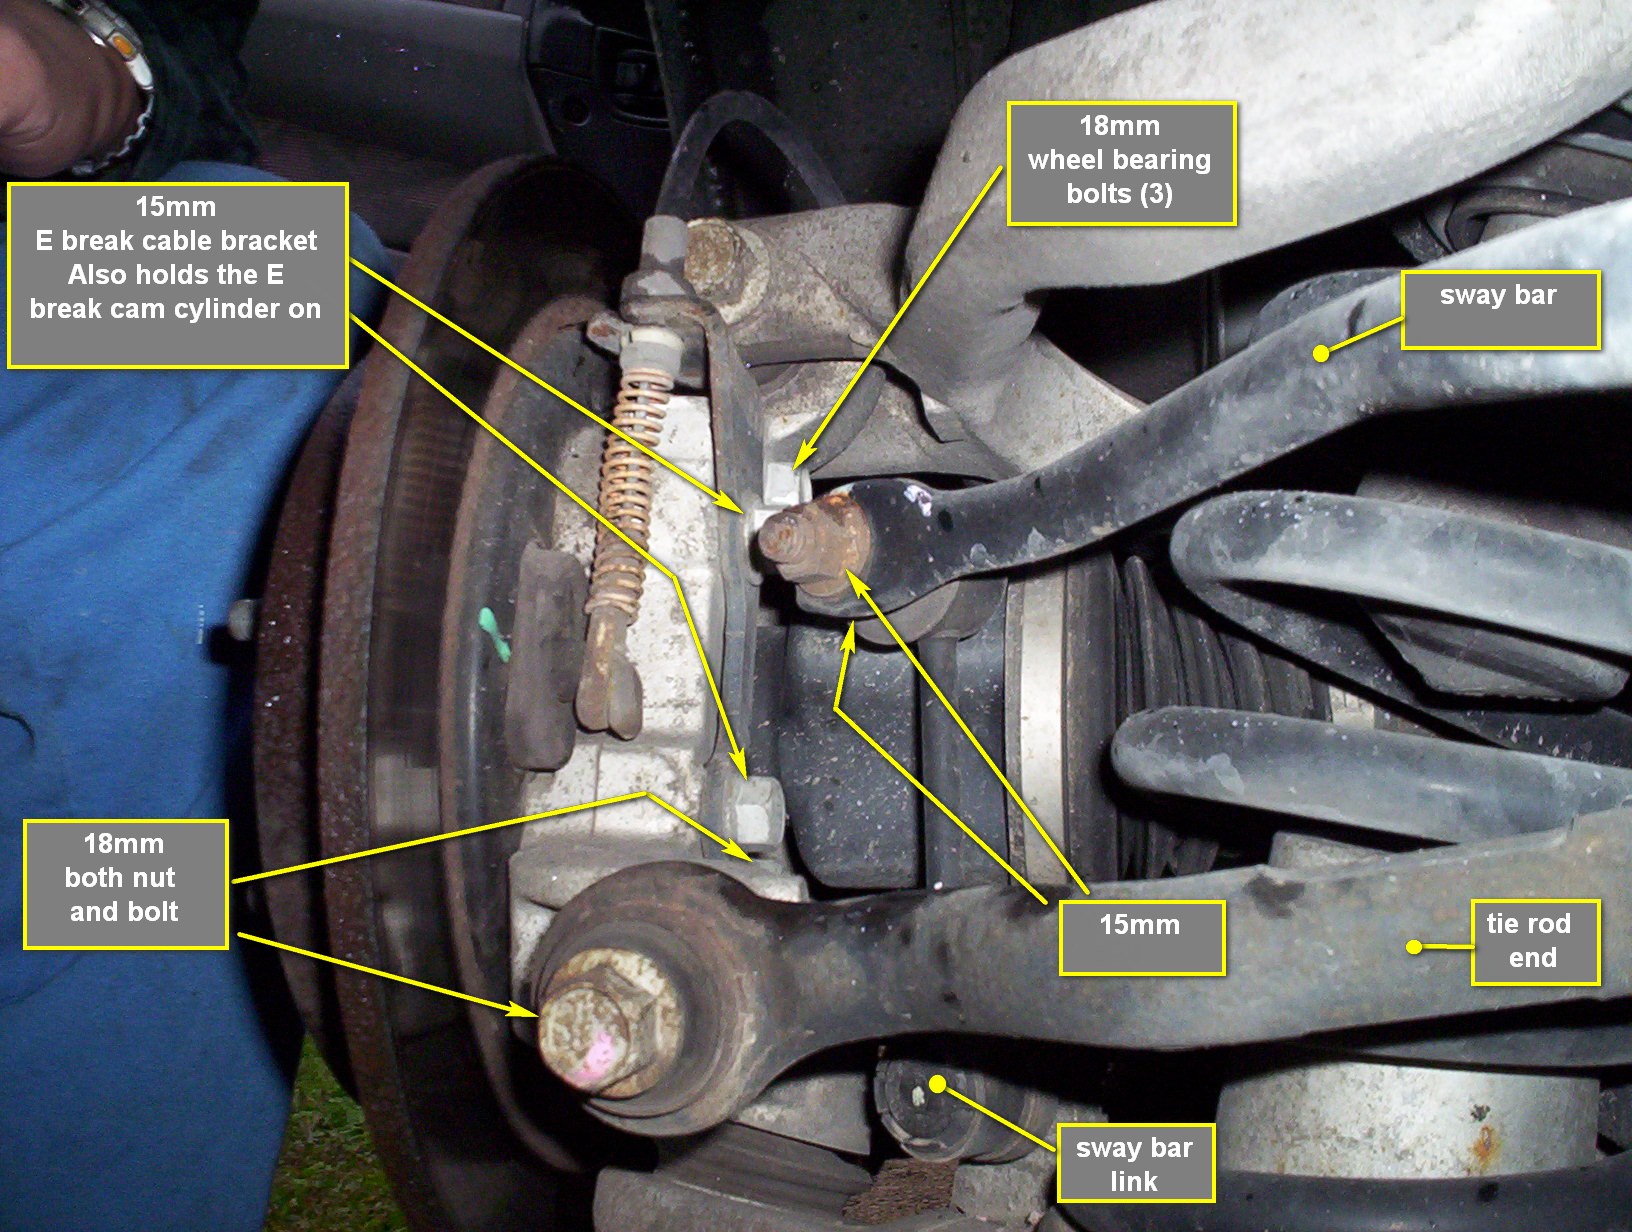
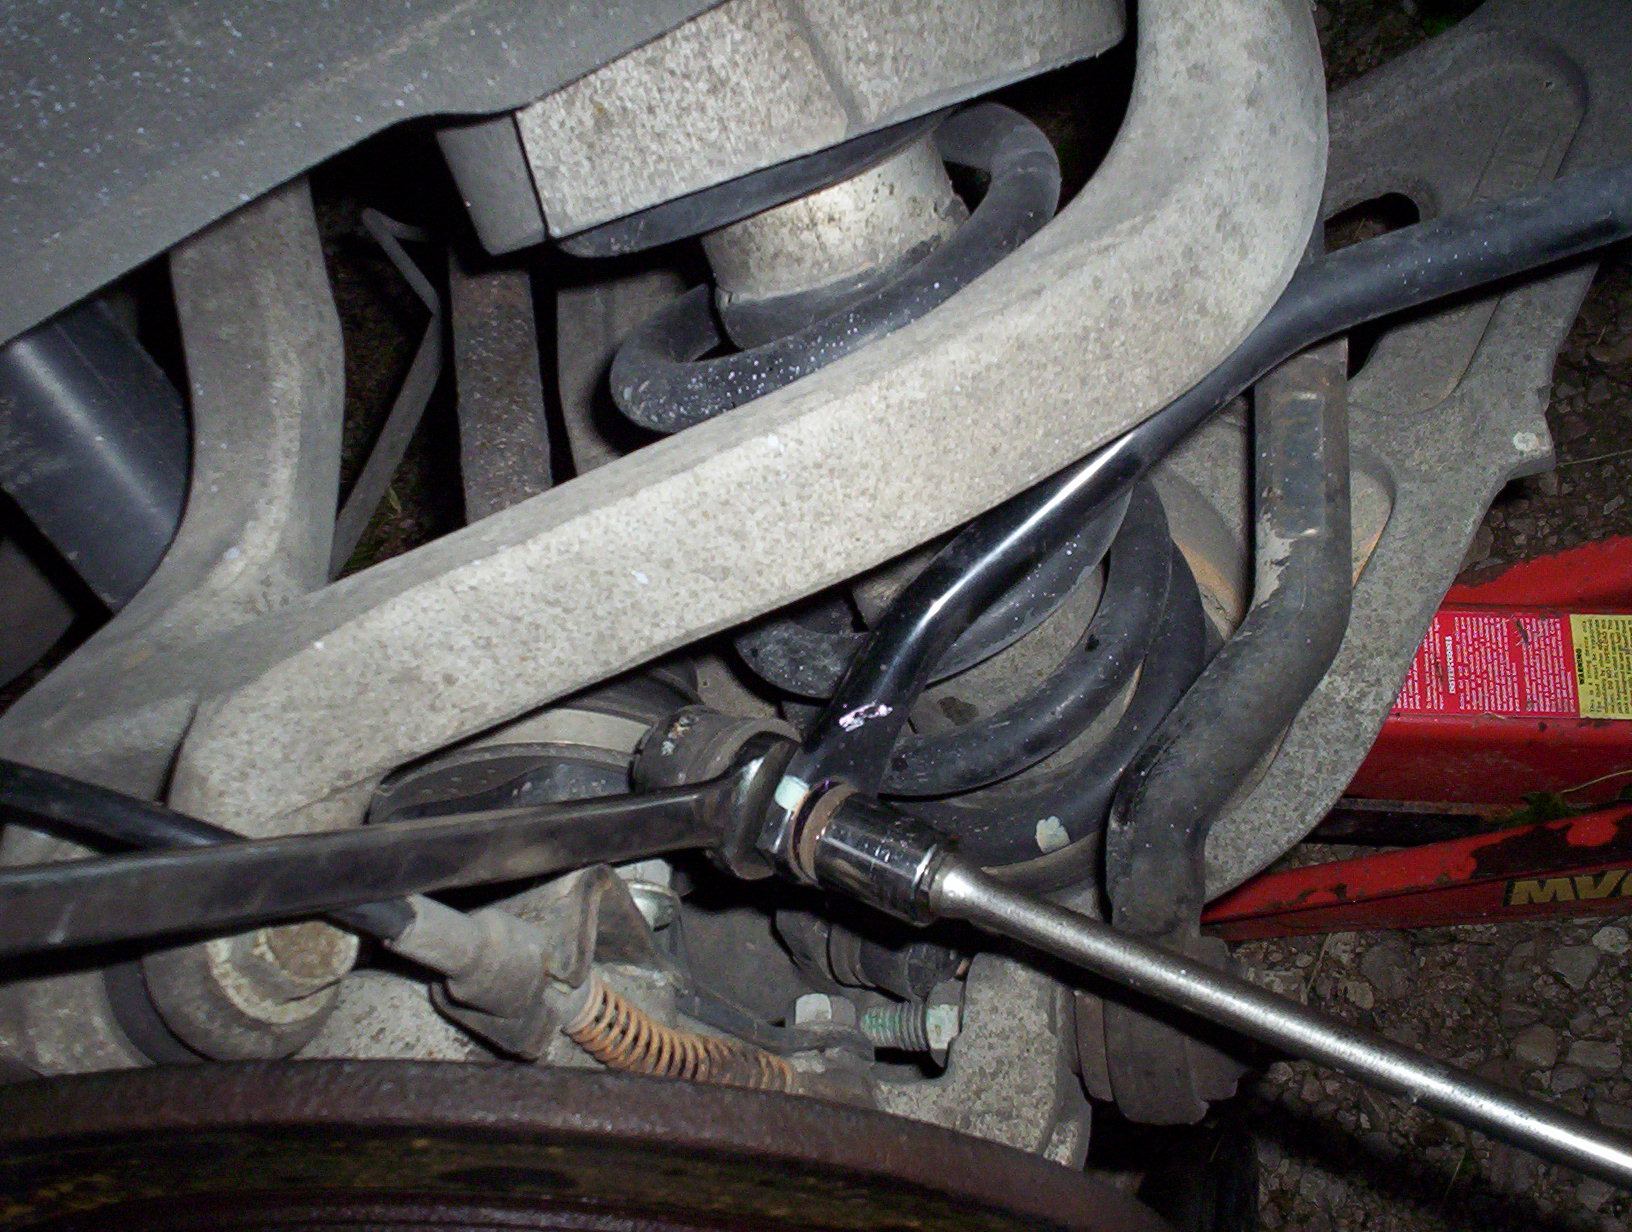
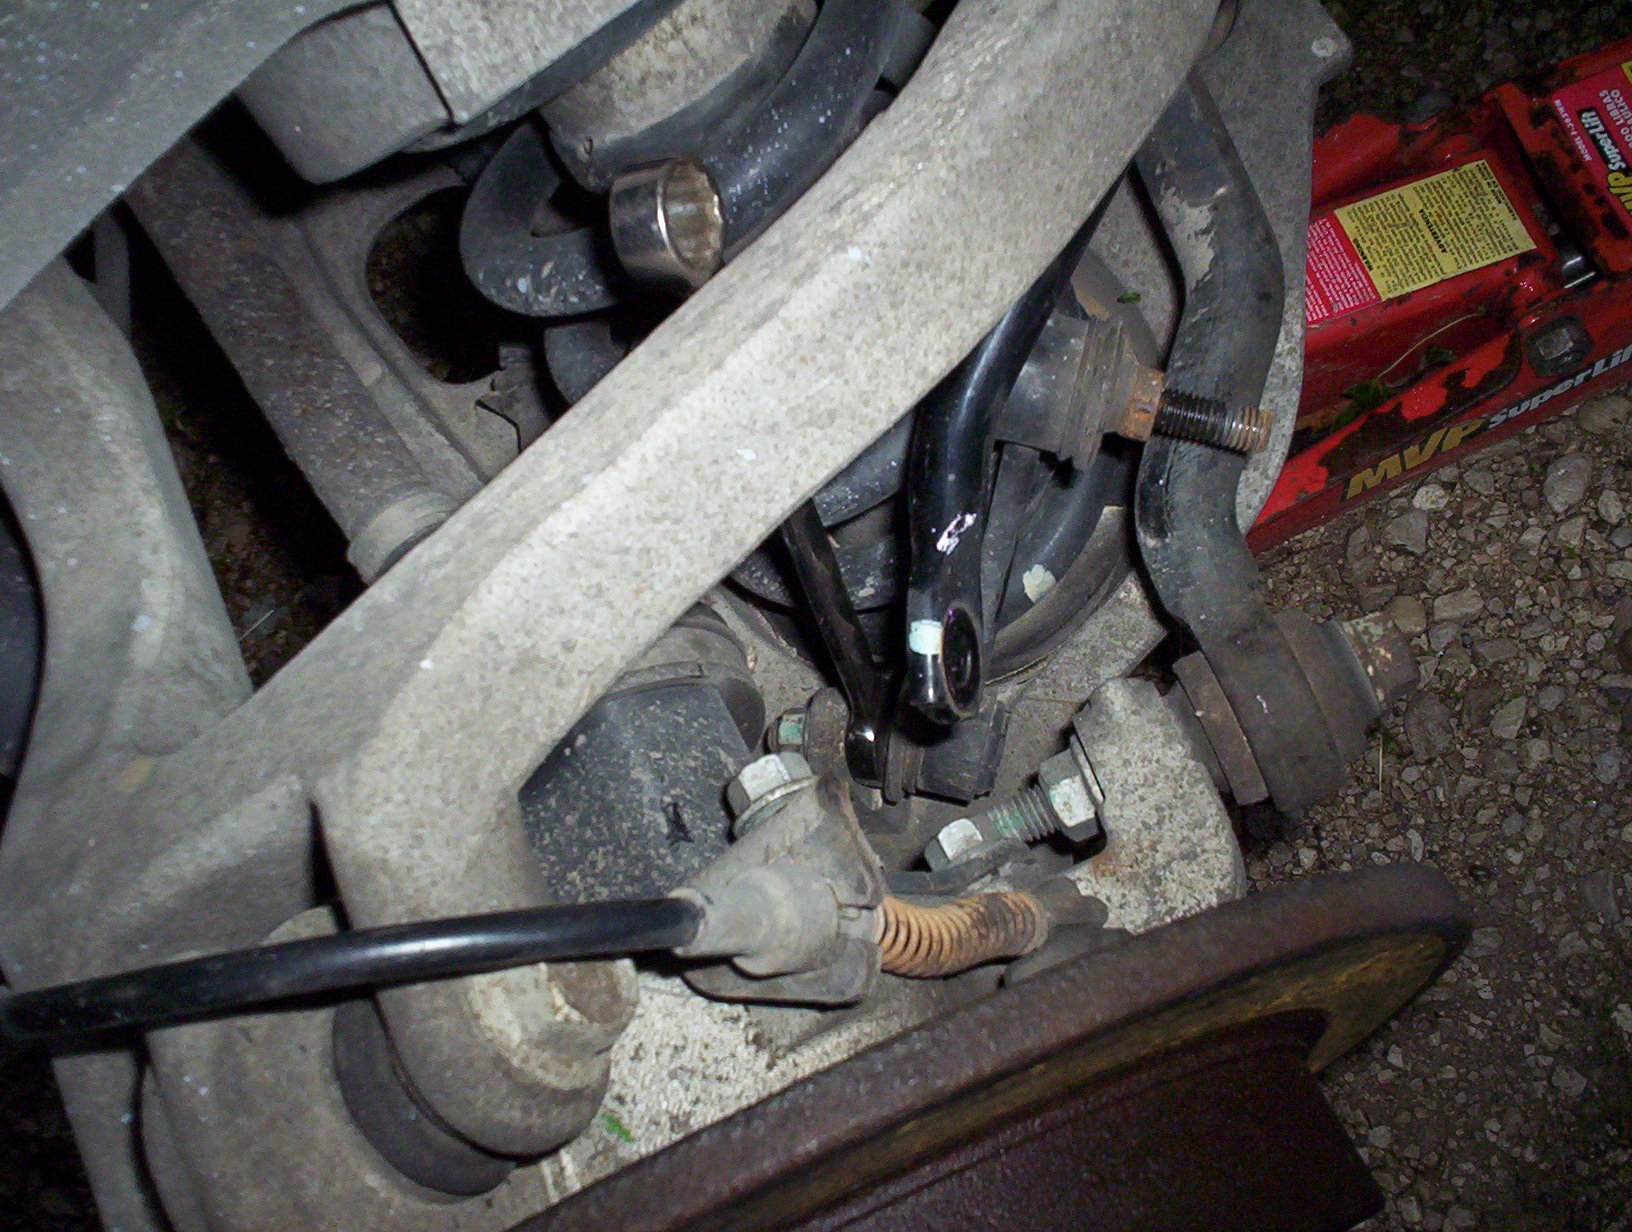
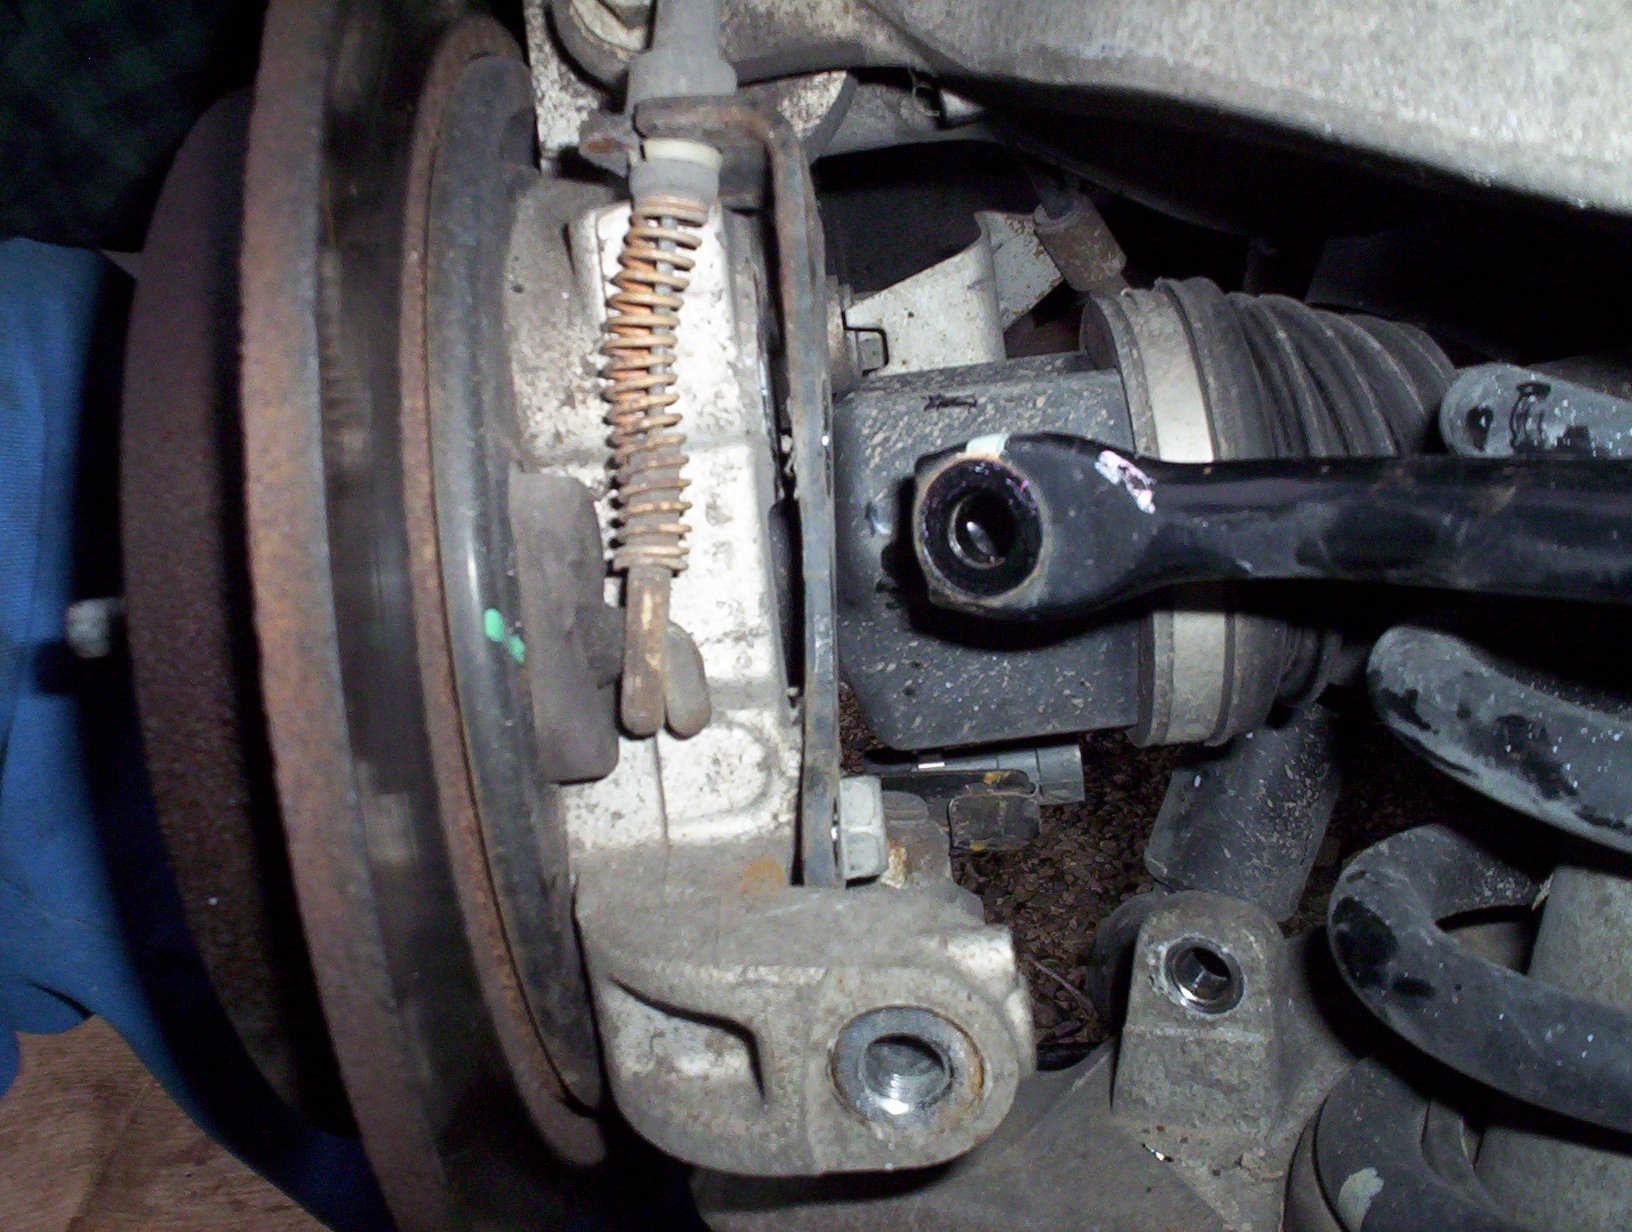
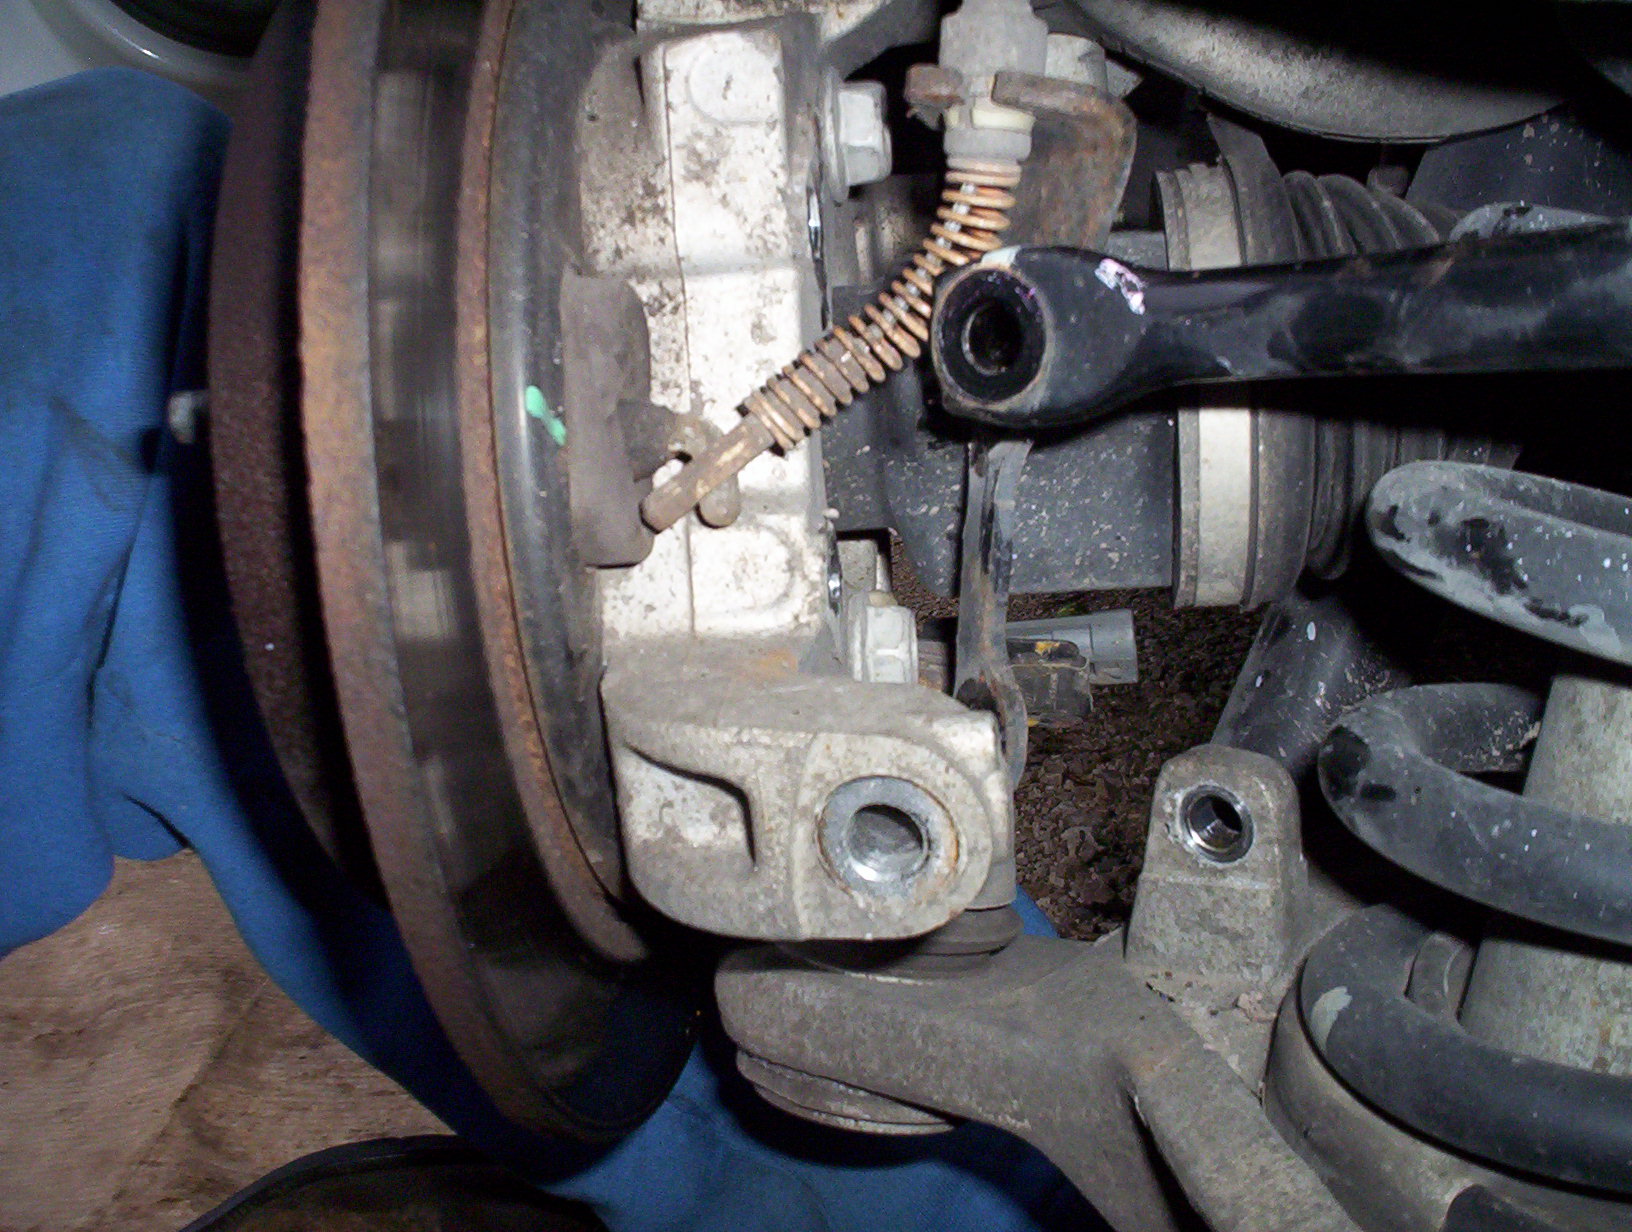
    *1. Make sure the sway bar link is the last thing bolted back on. The bolts that hold the E-brake bracket on needs to be in and through the bracket before the sway bar link.

    Remove the brake calipar and brake pads.
    Then I removed the sway bar link. Start withe the top...
    ...and then the bottom.
    The old link is on the left. My new one is beefier. Yum.
    Now with the sway bar link off I can remove the E-brake cable and bracket.
    Like this and then this. Vwalla.

    There is also a nut on this side holding a part of the E-brake cable. Remove this too.

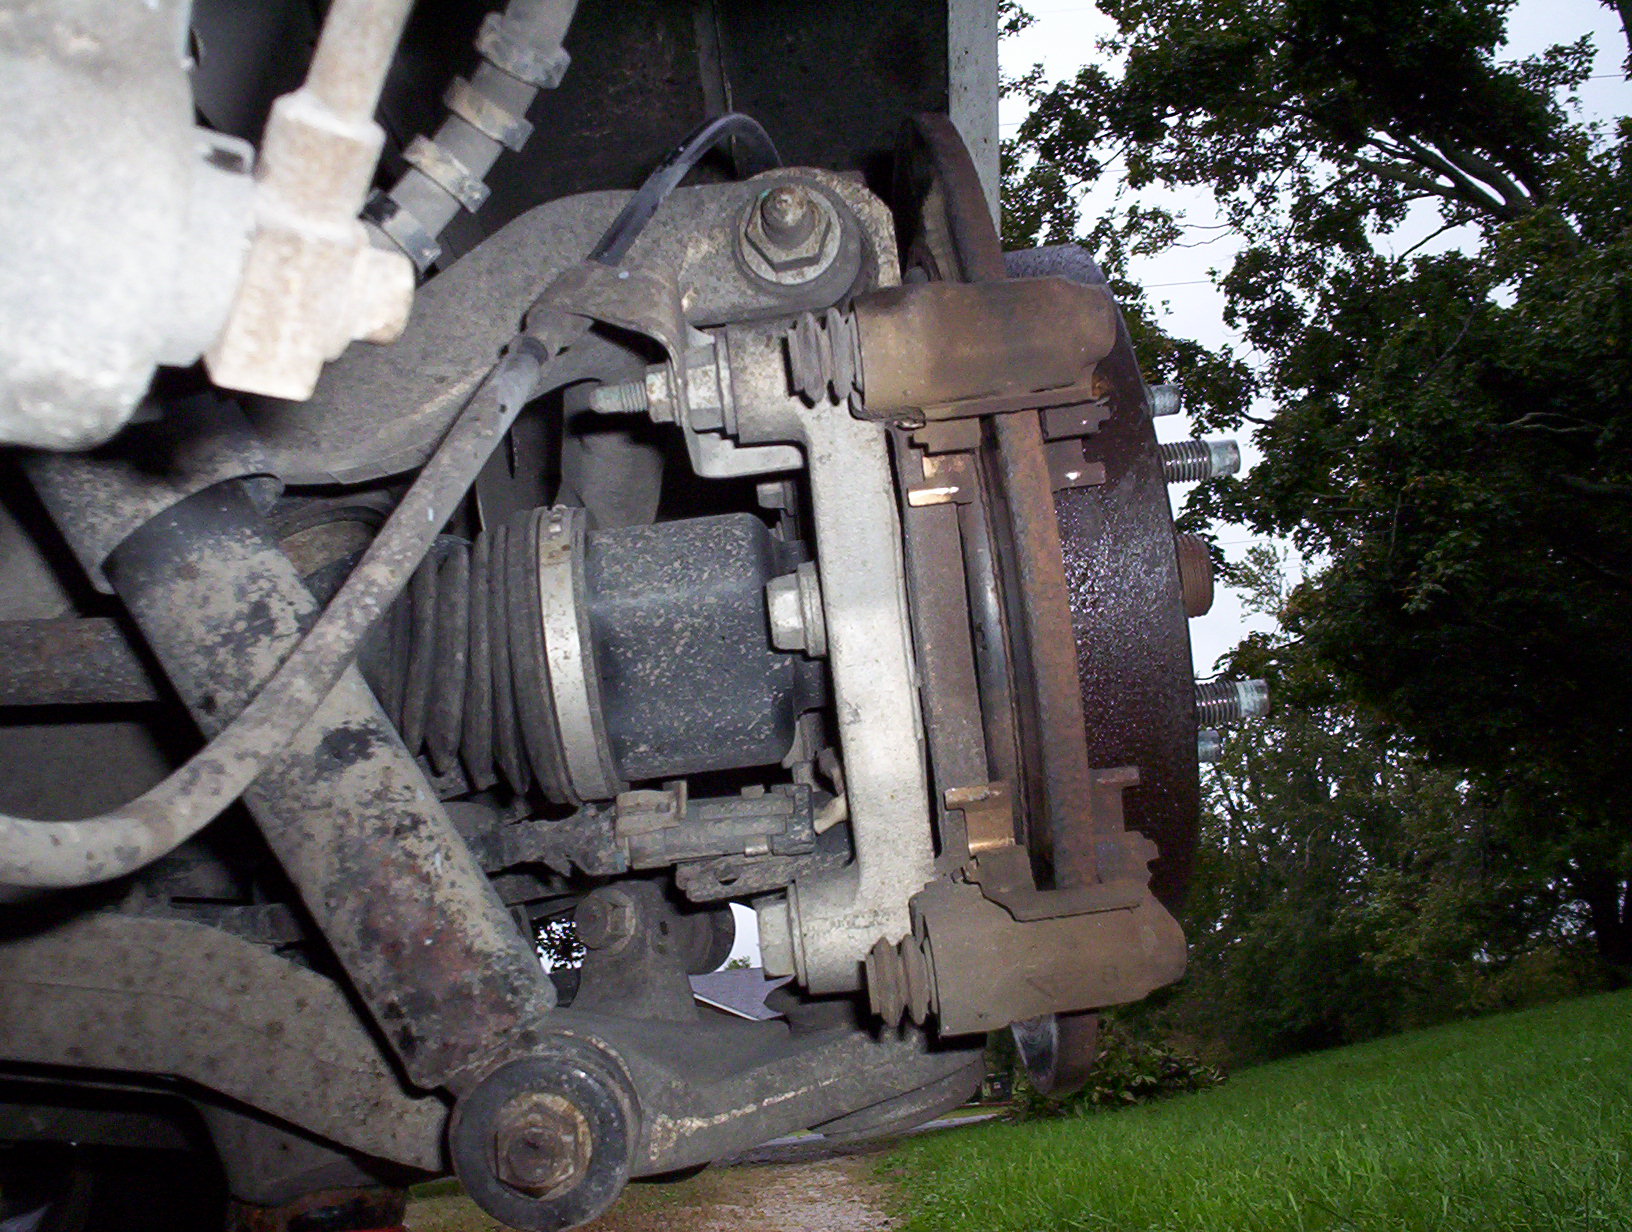
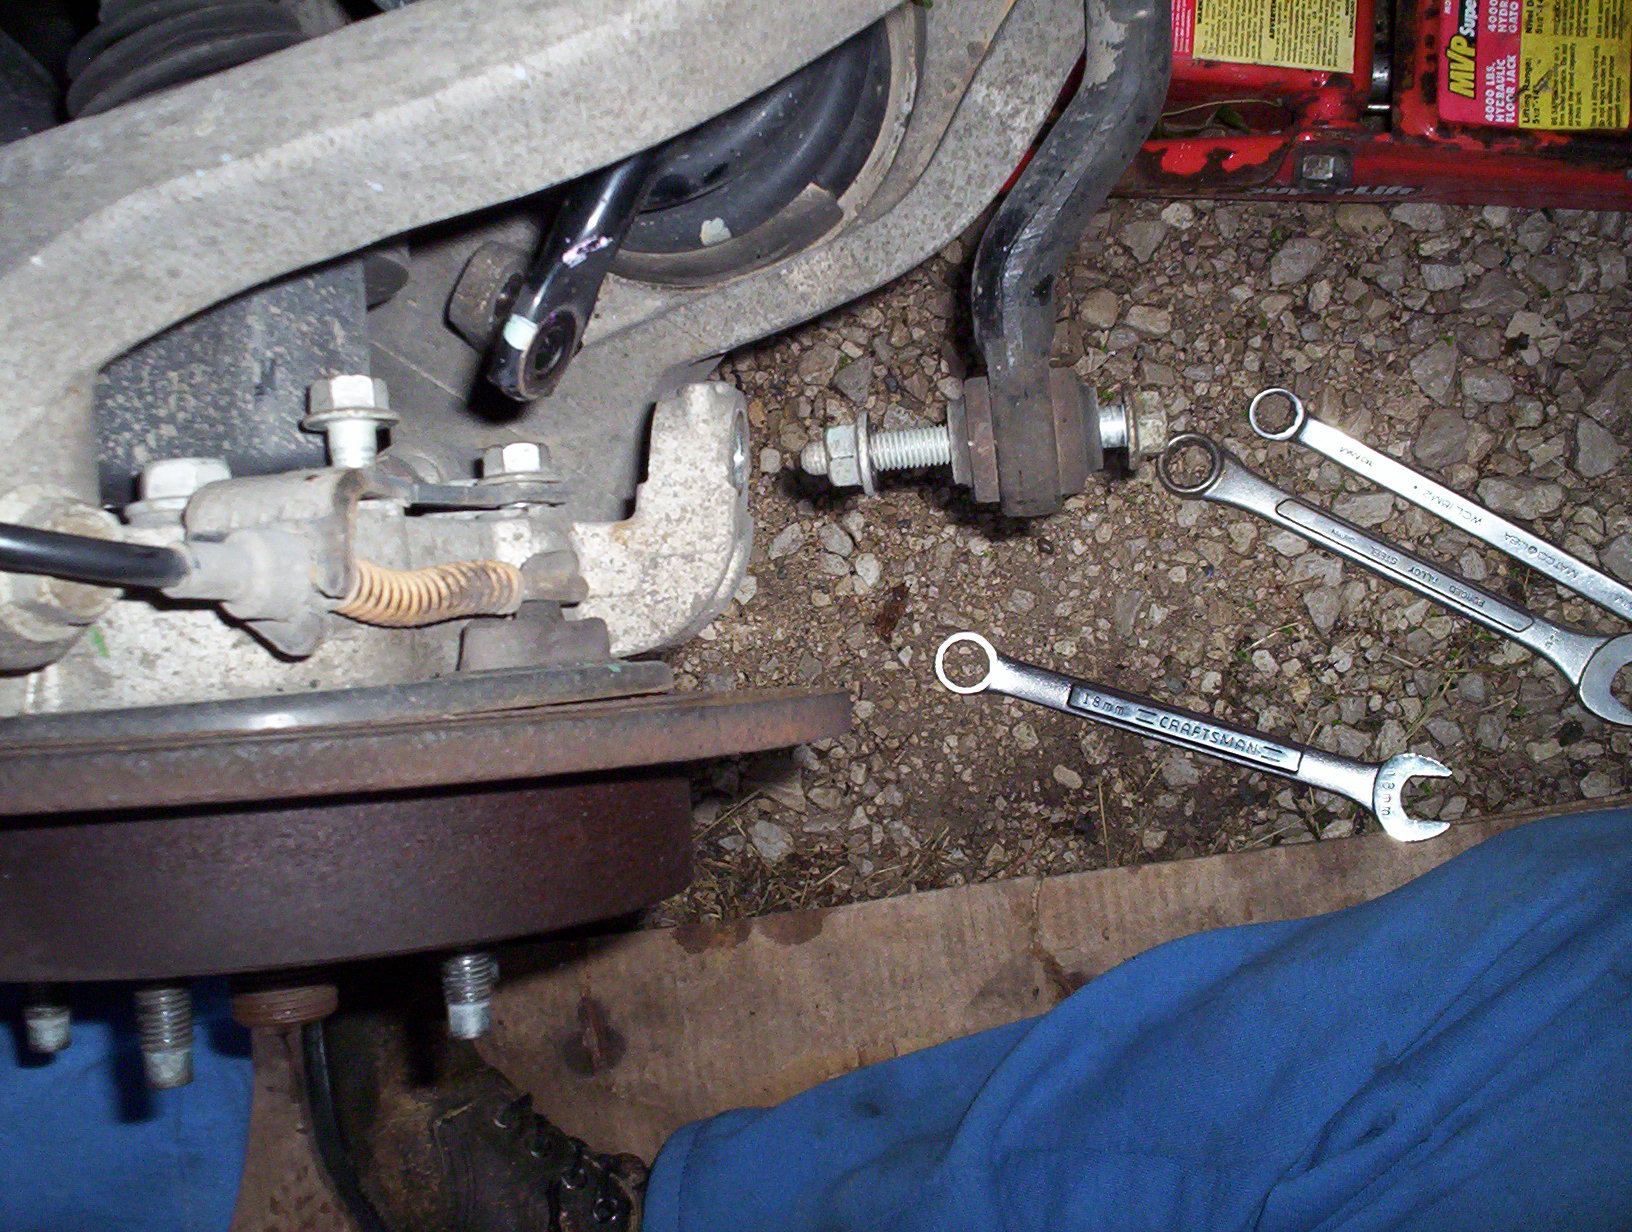
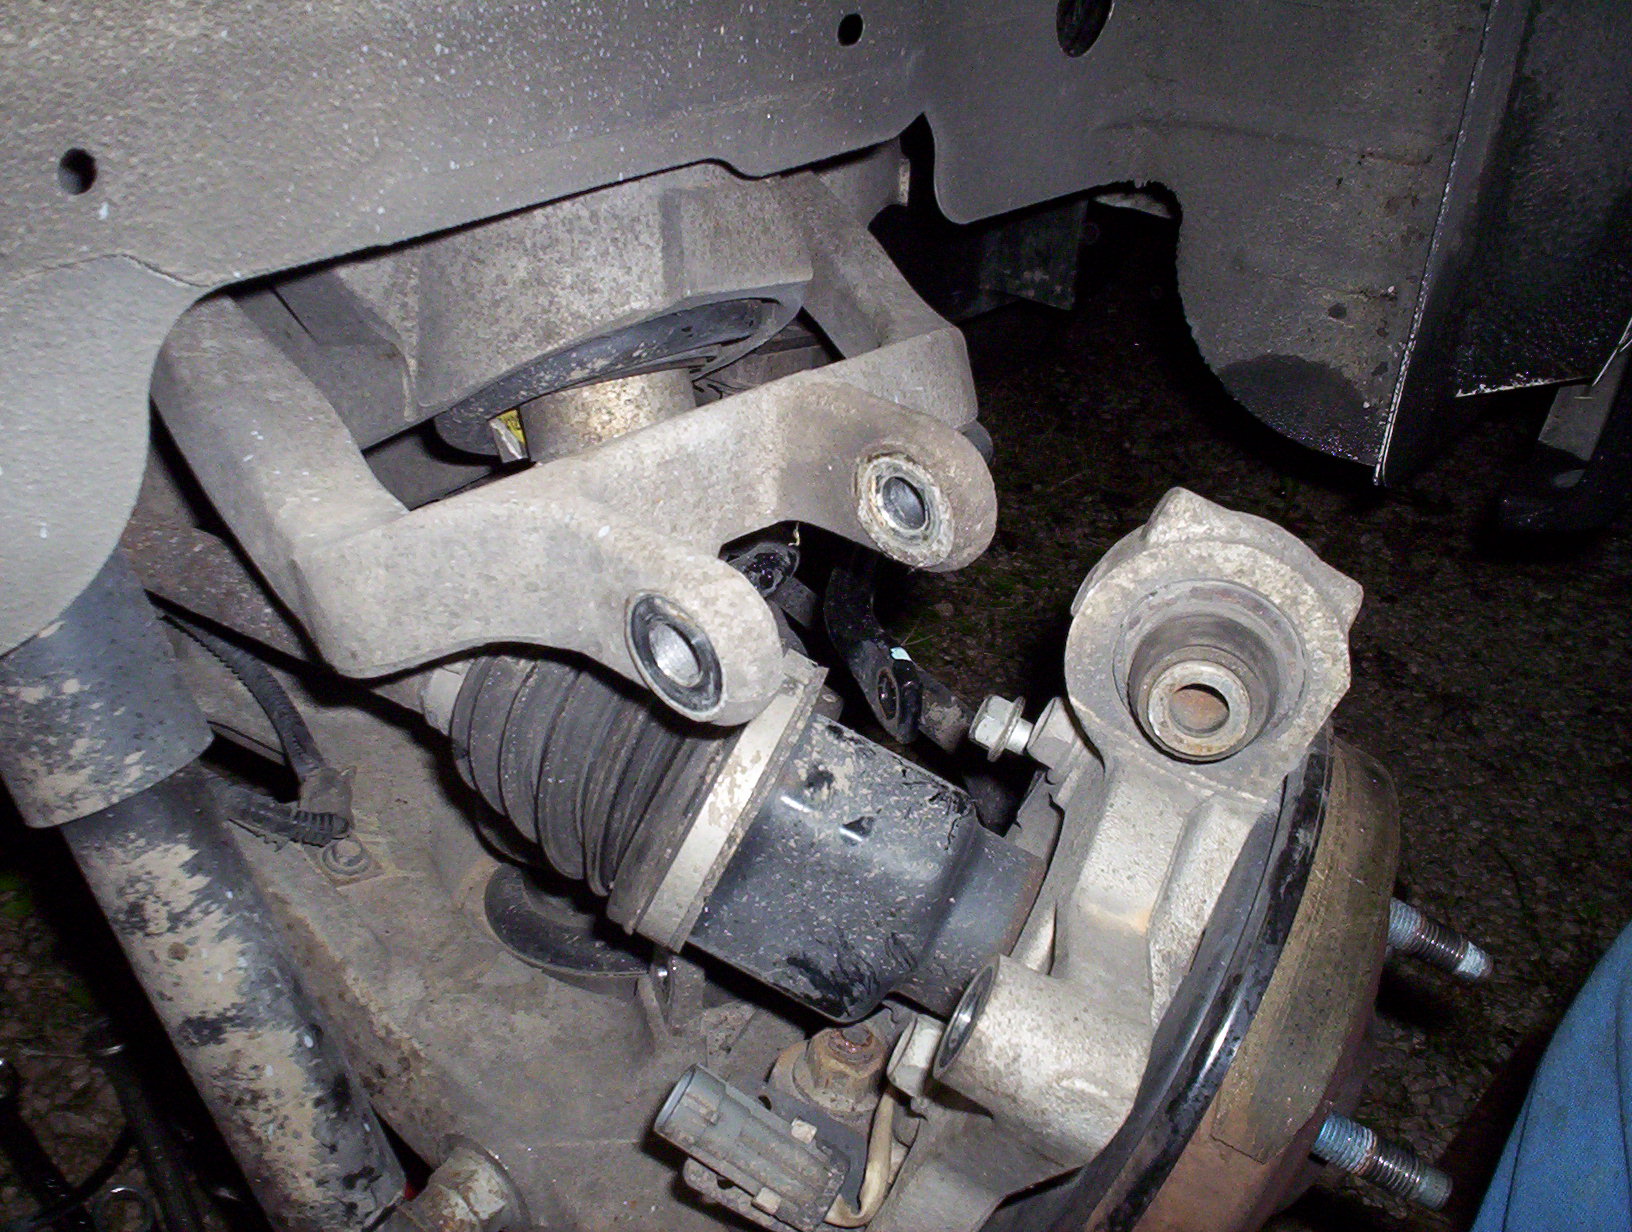
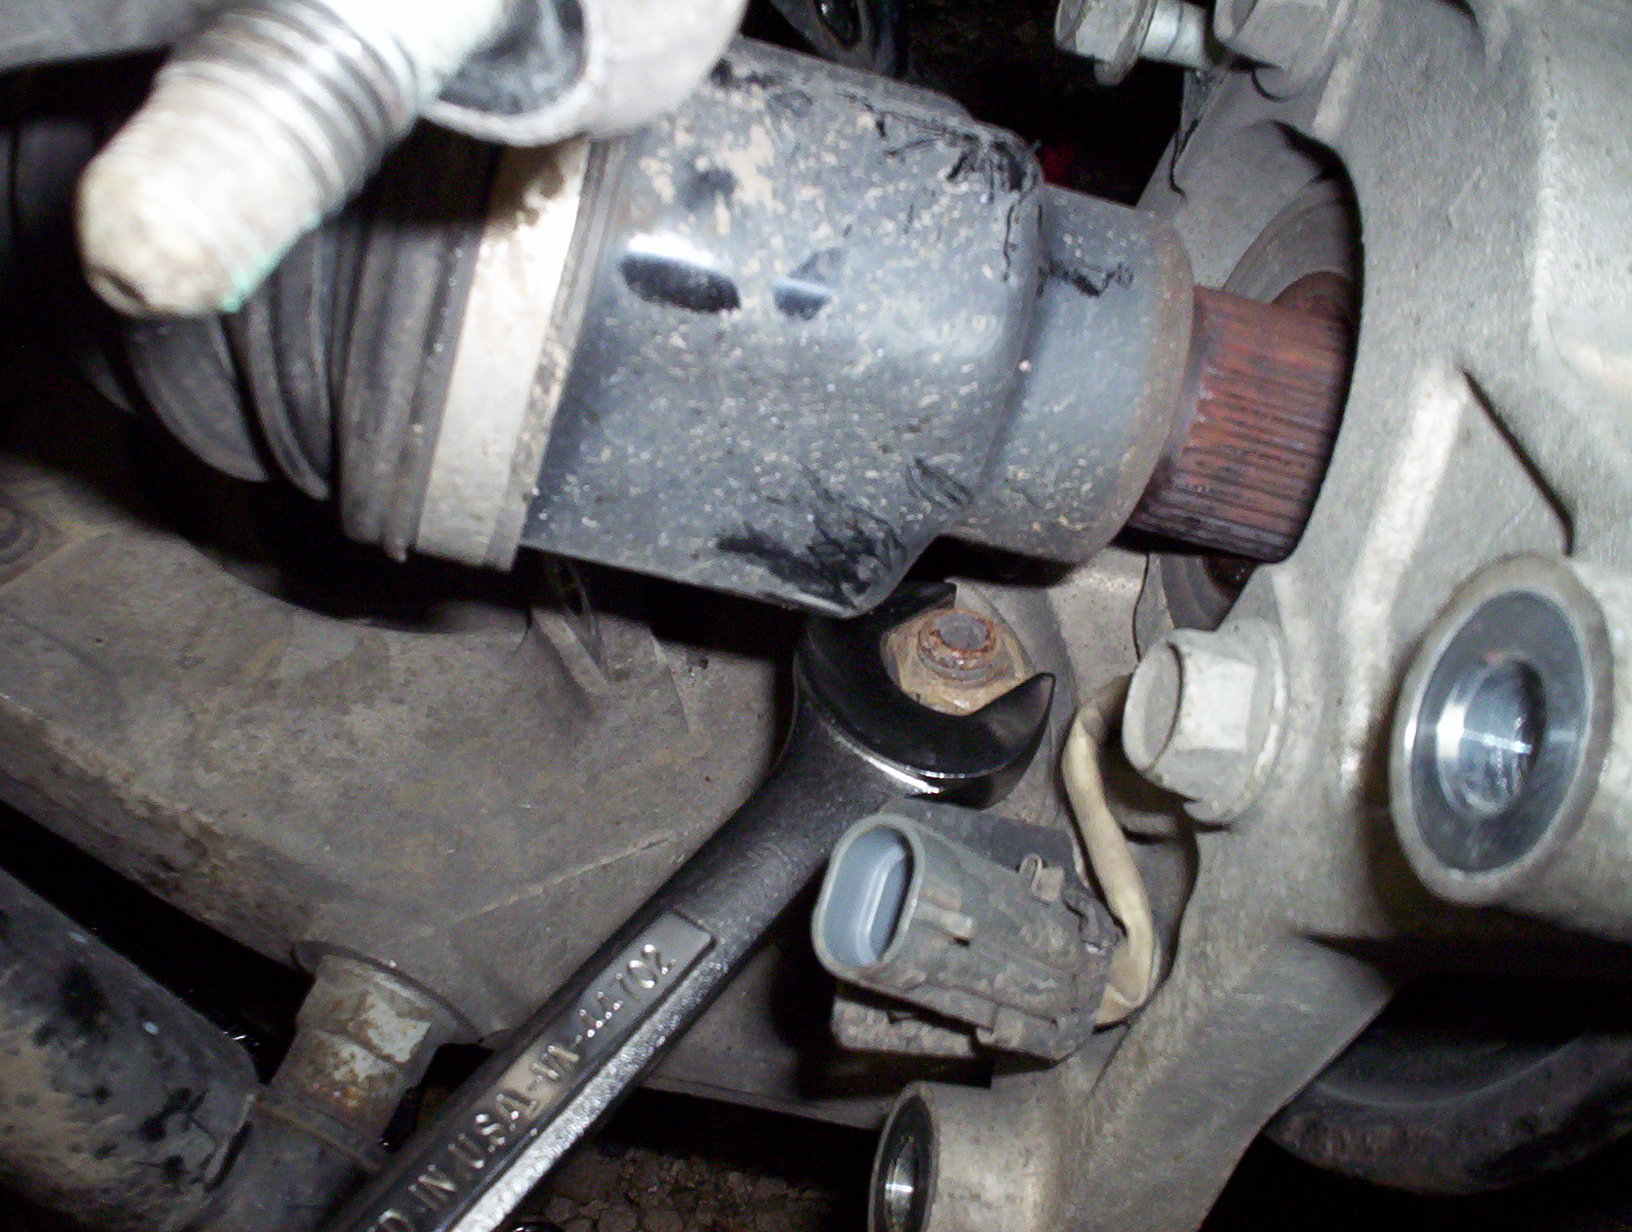
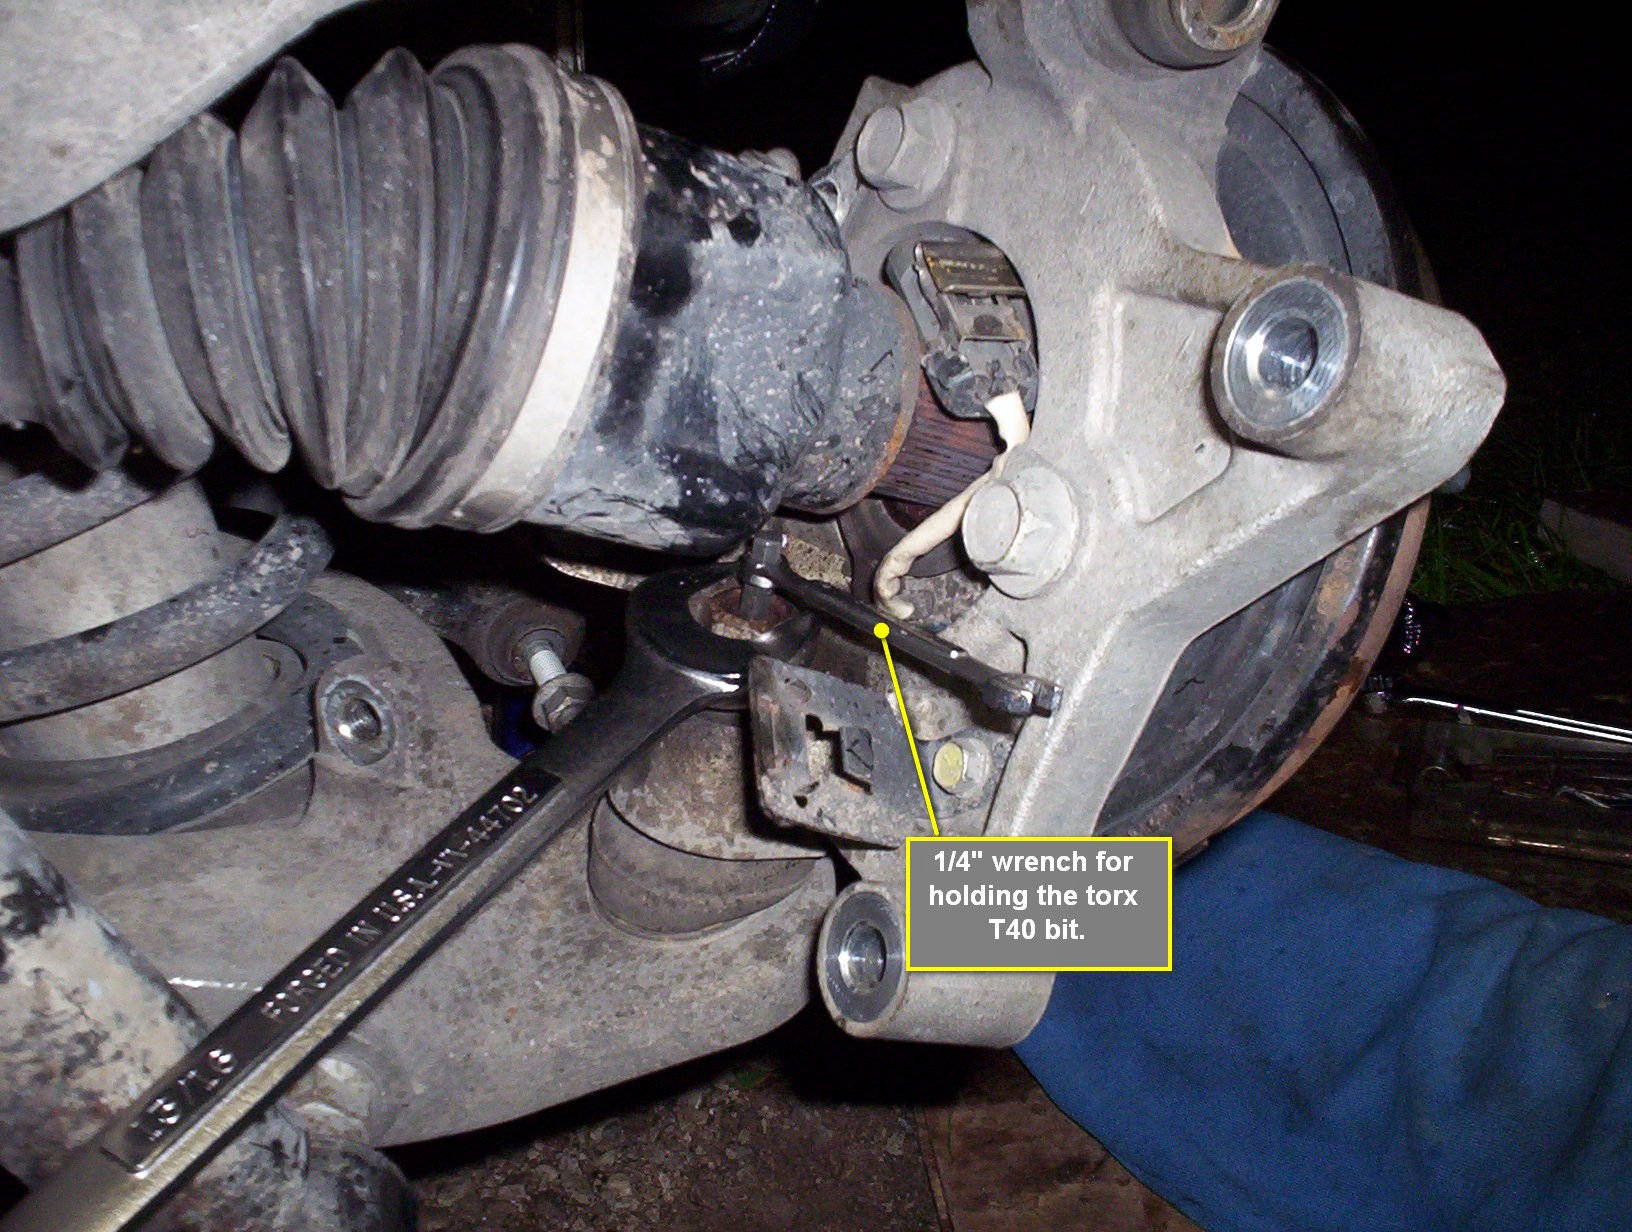
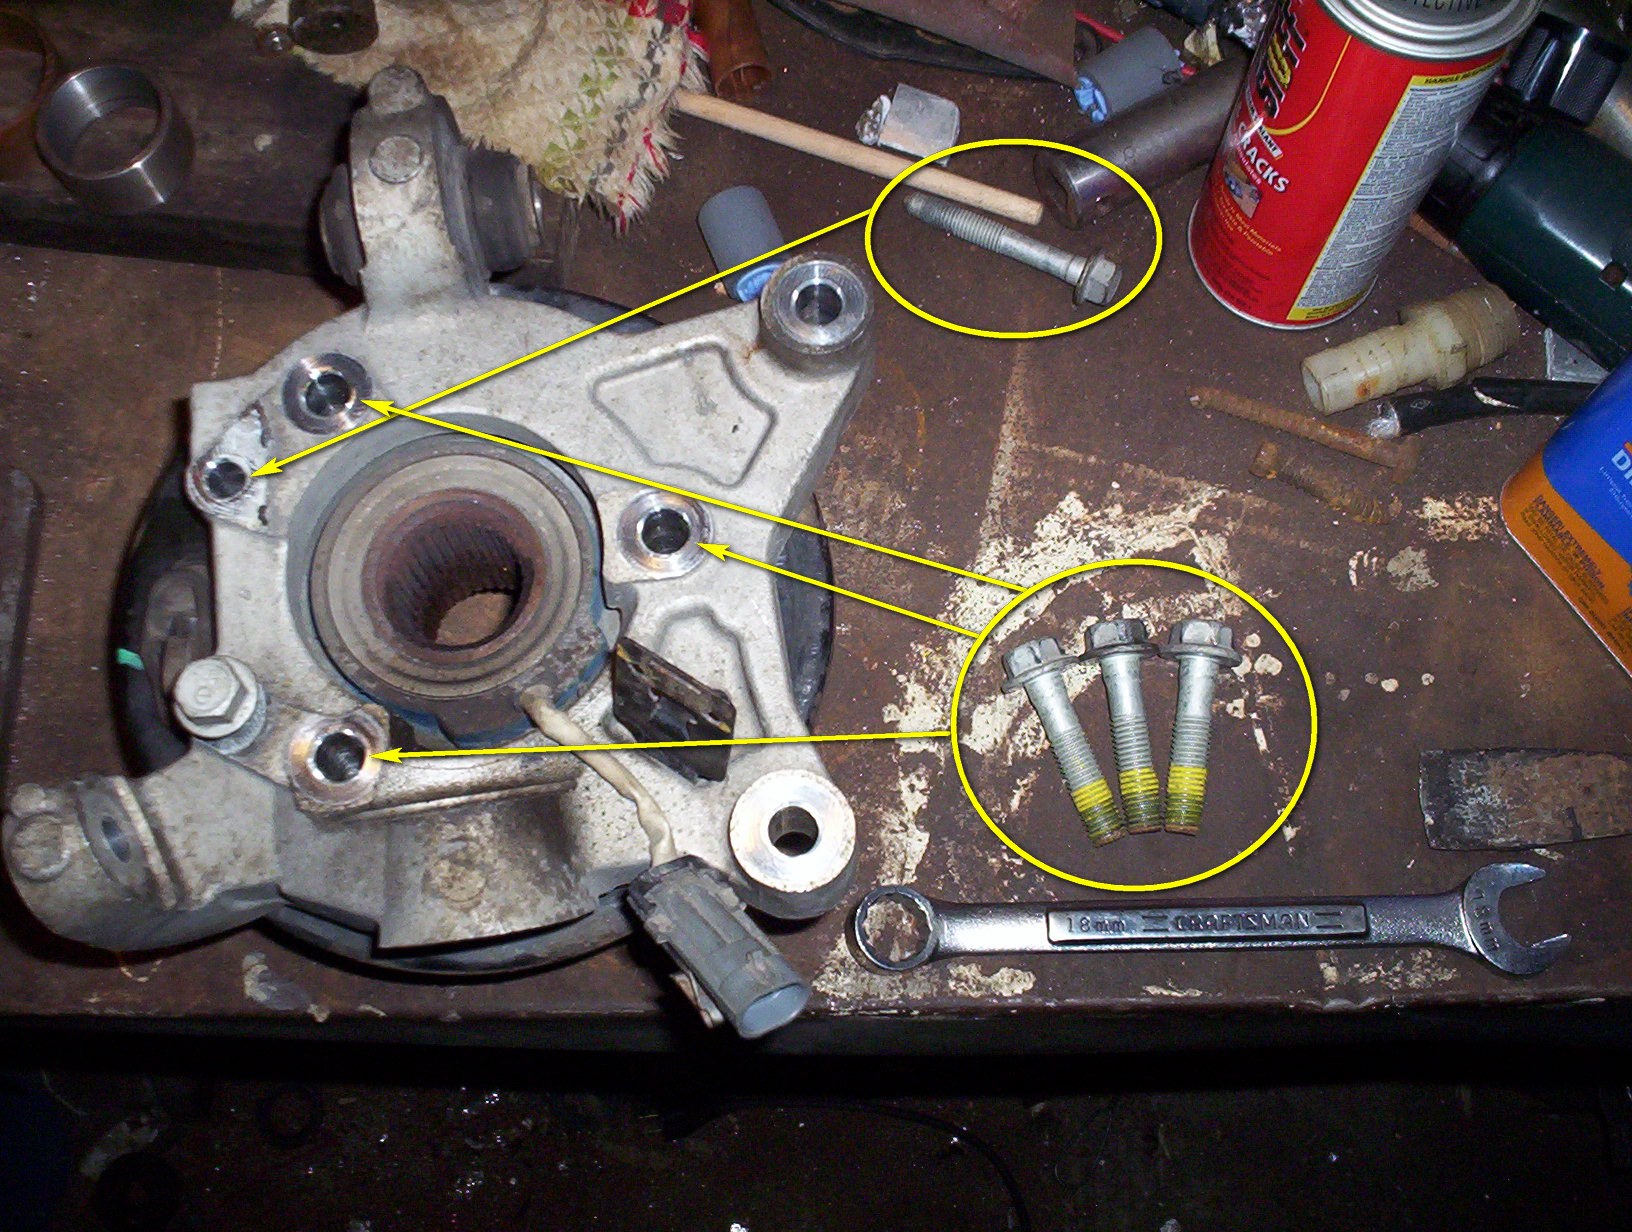
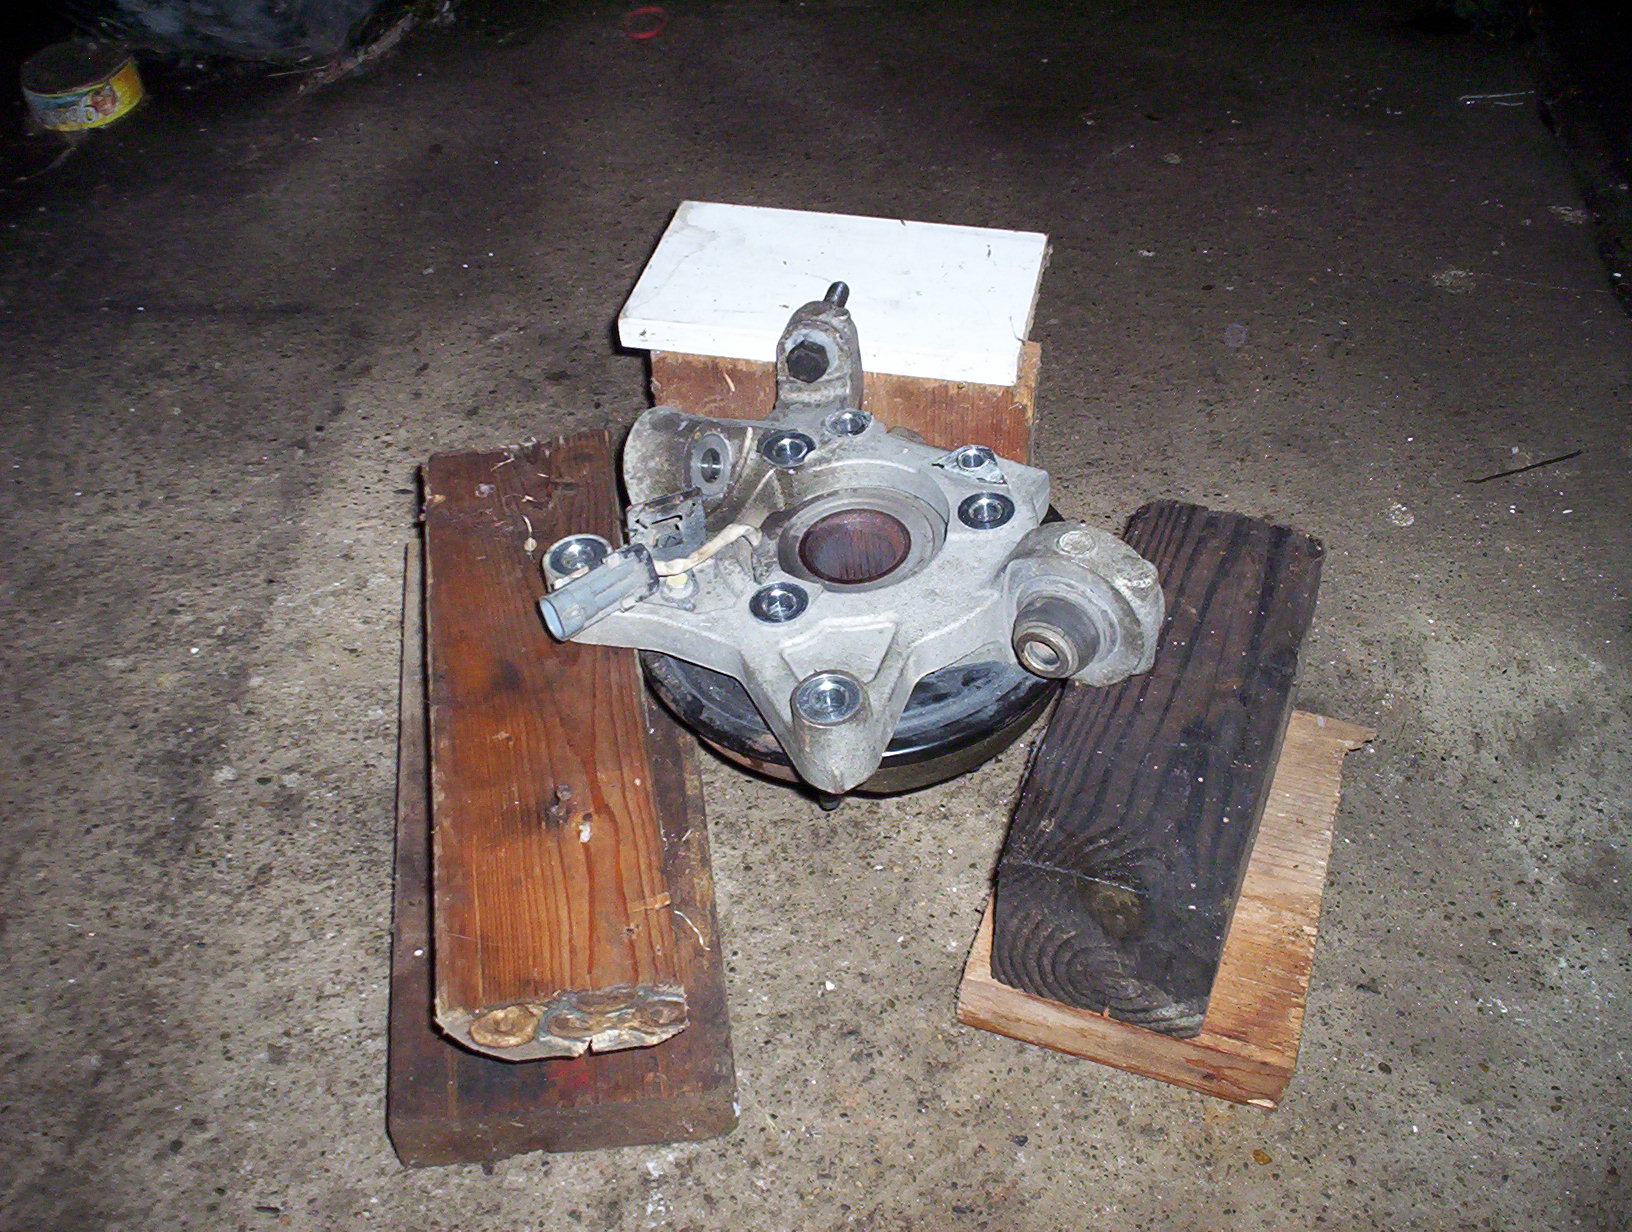
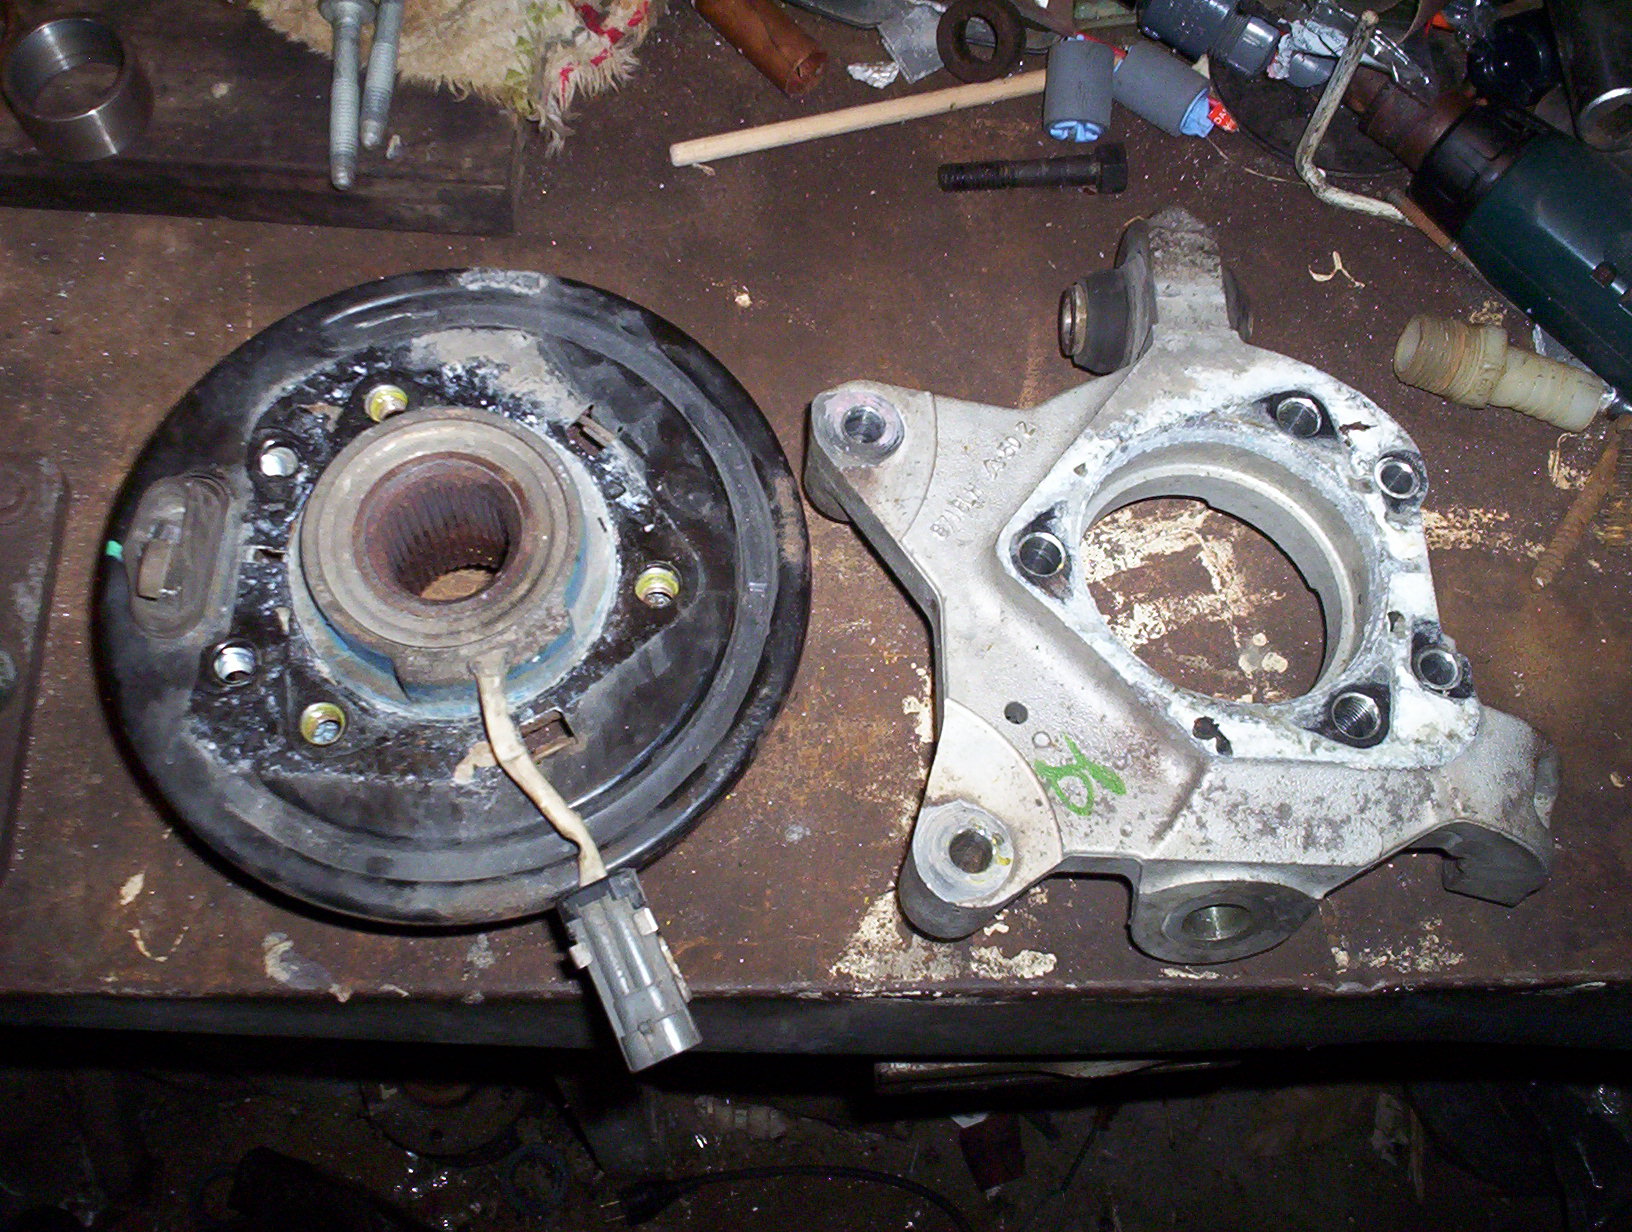
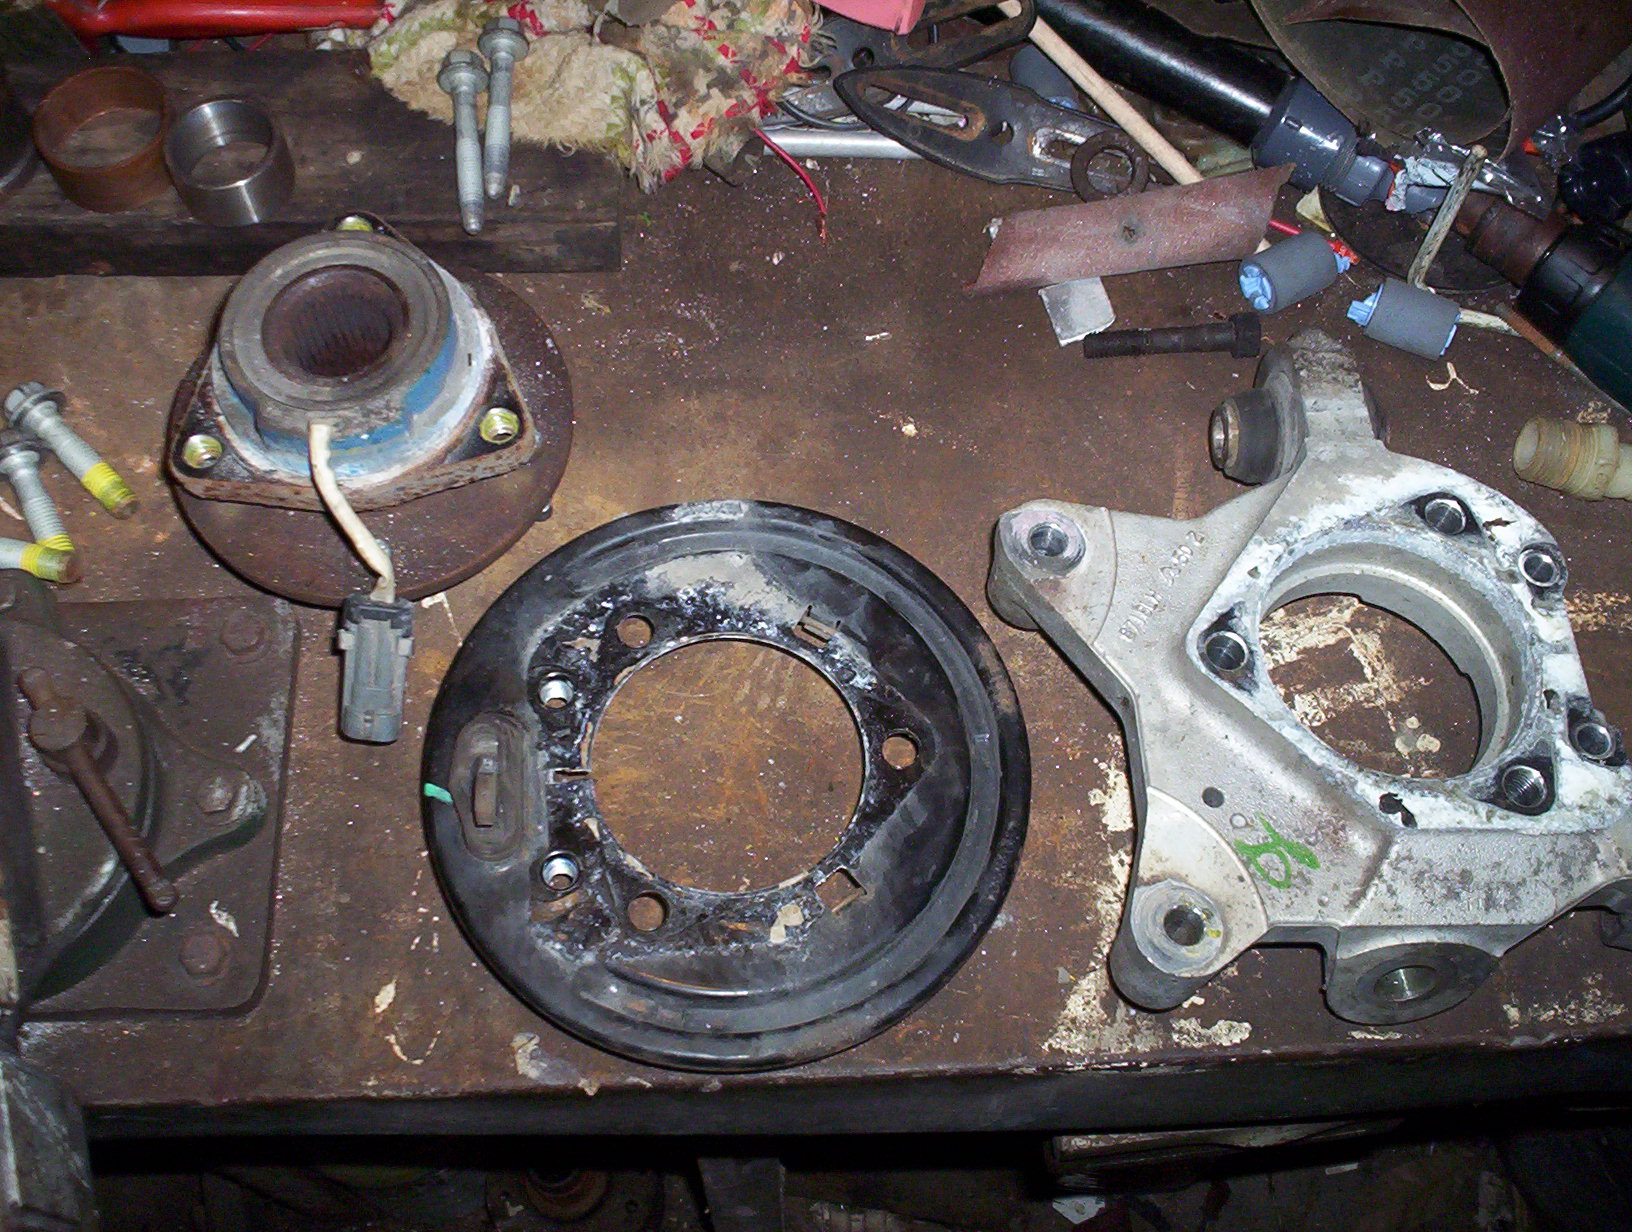
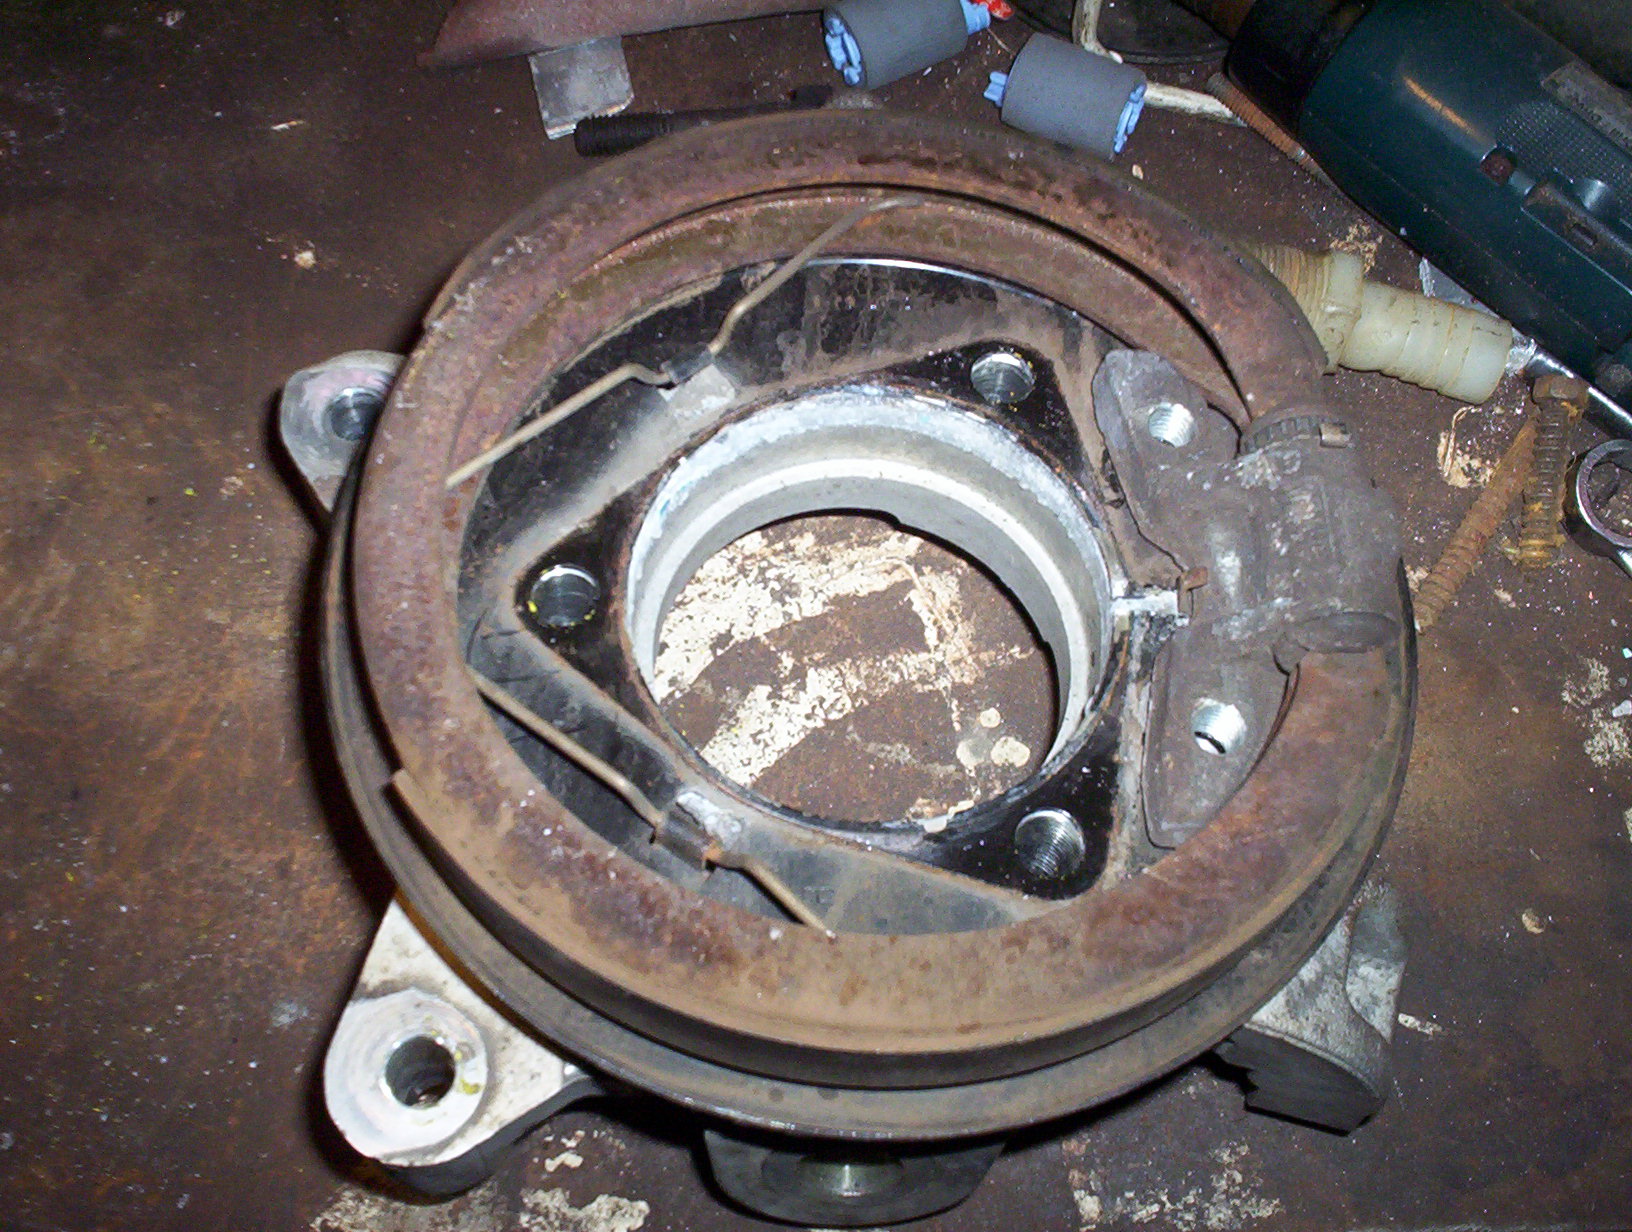
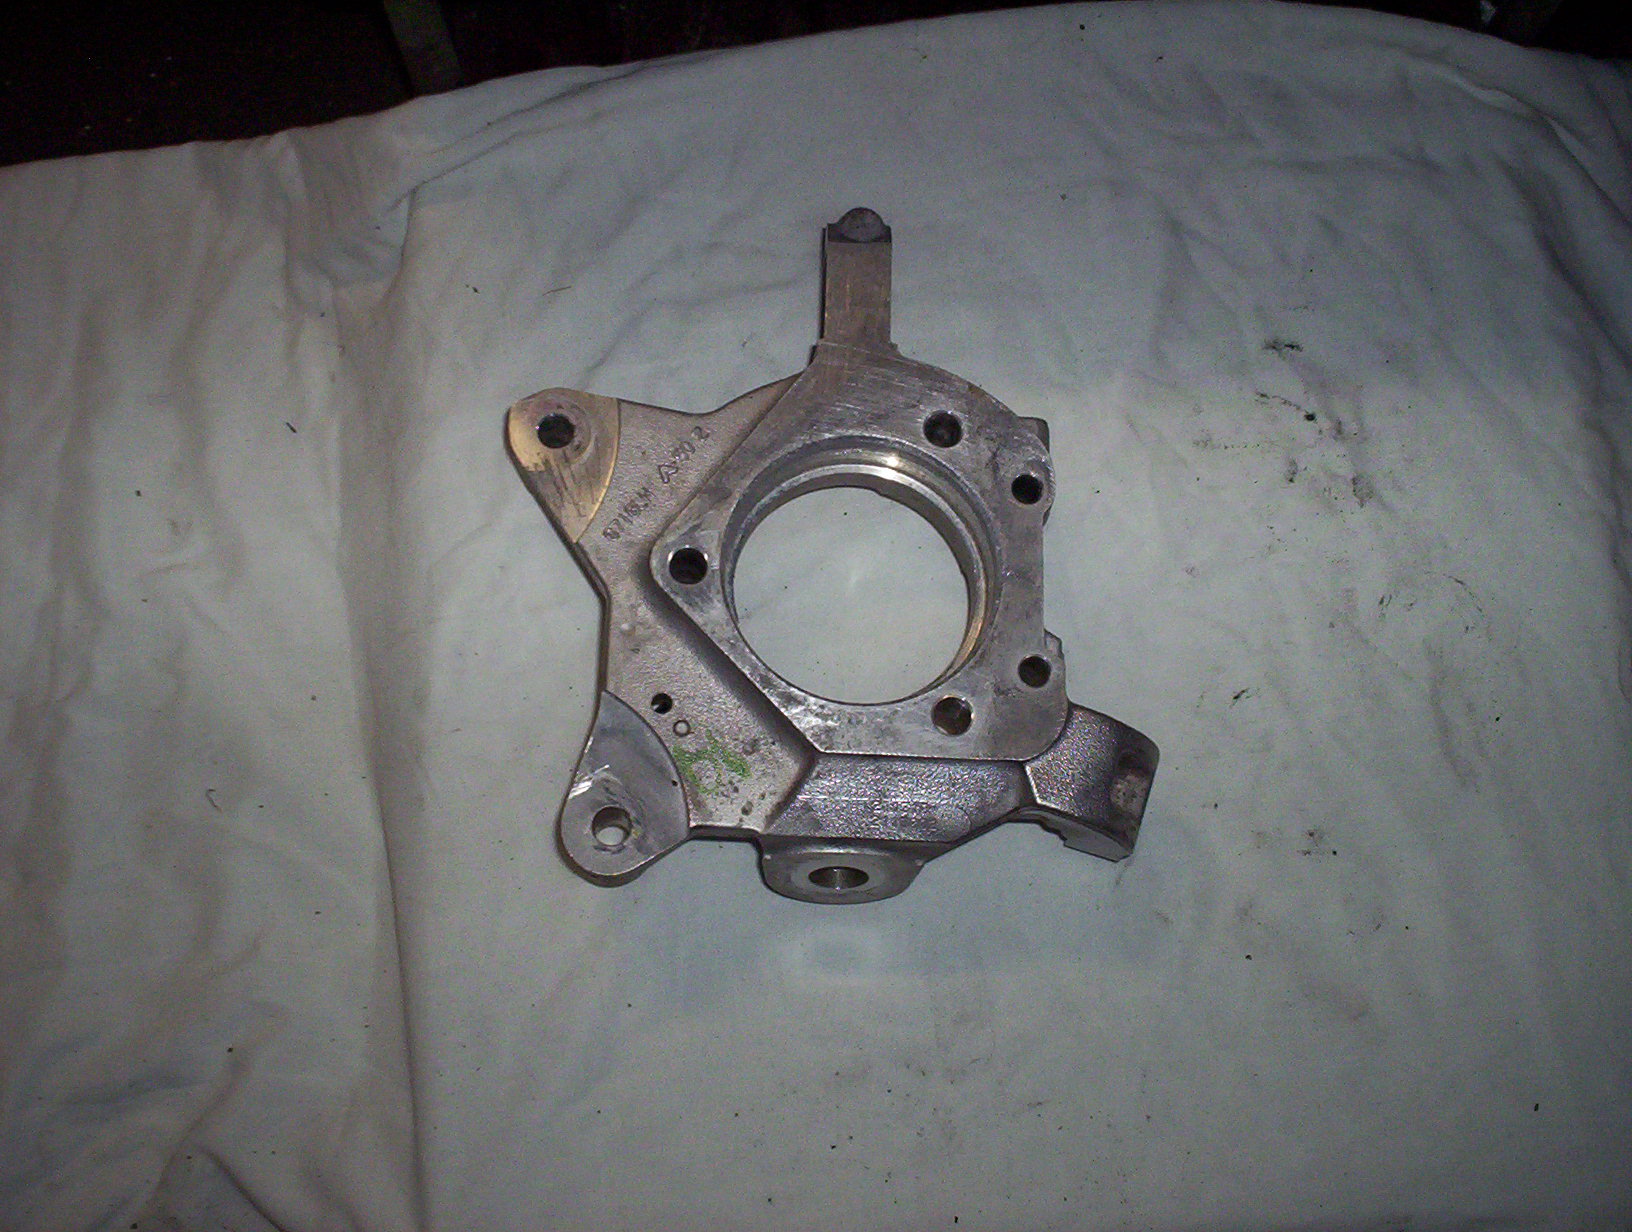
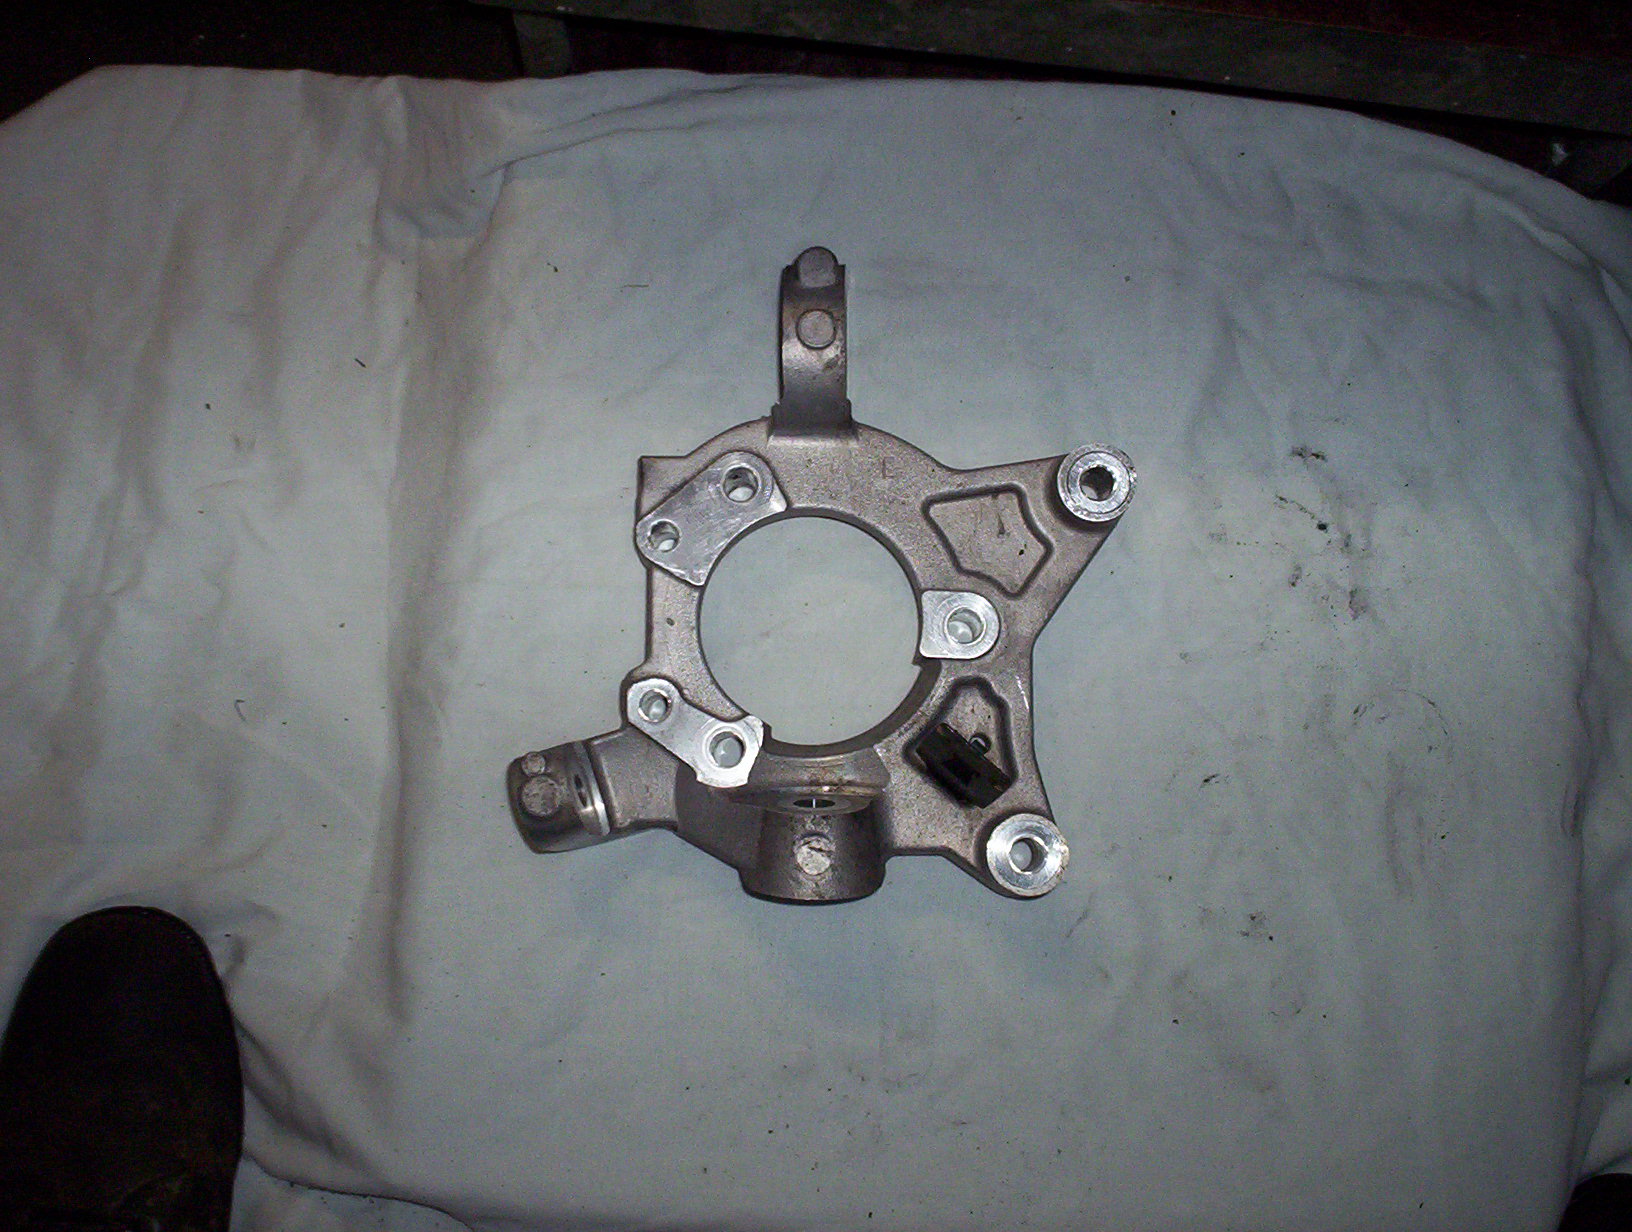
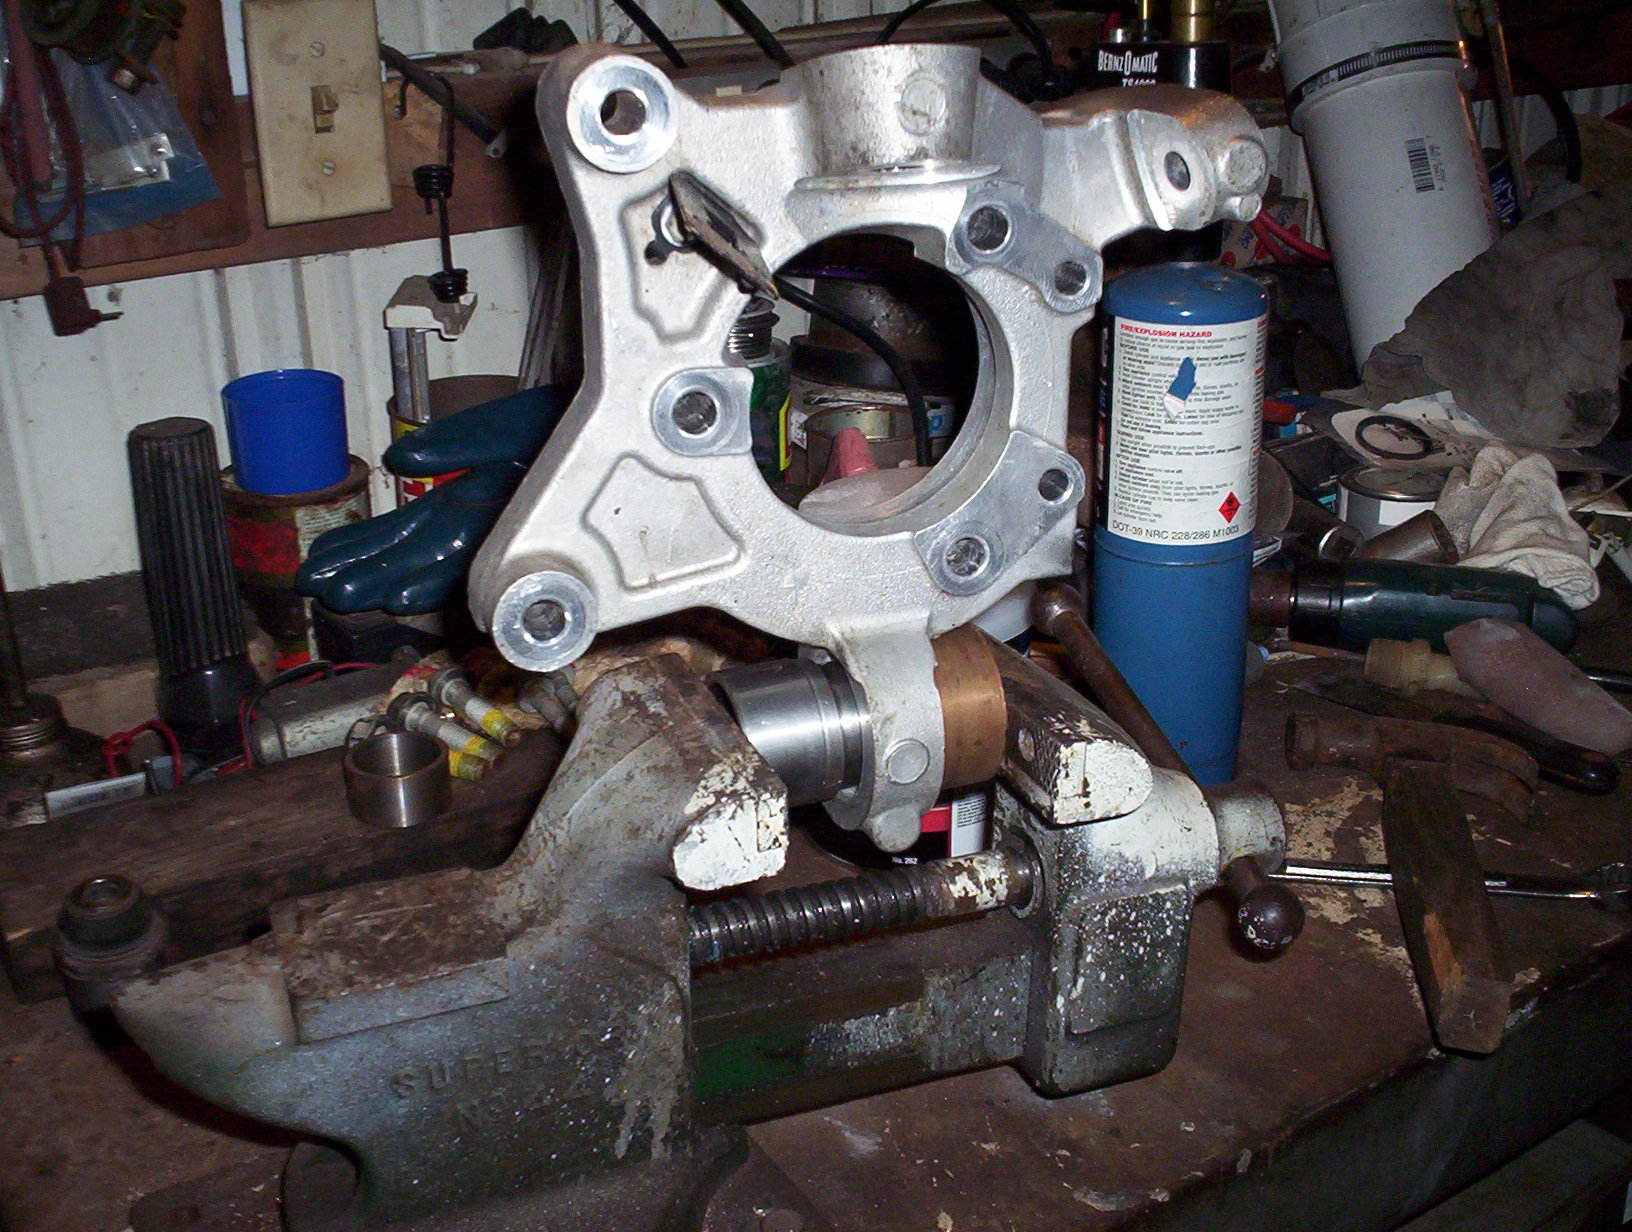
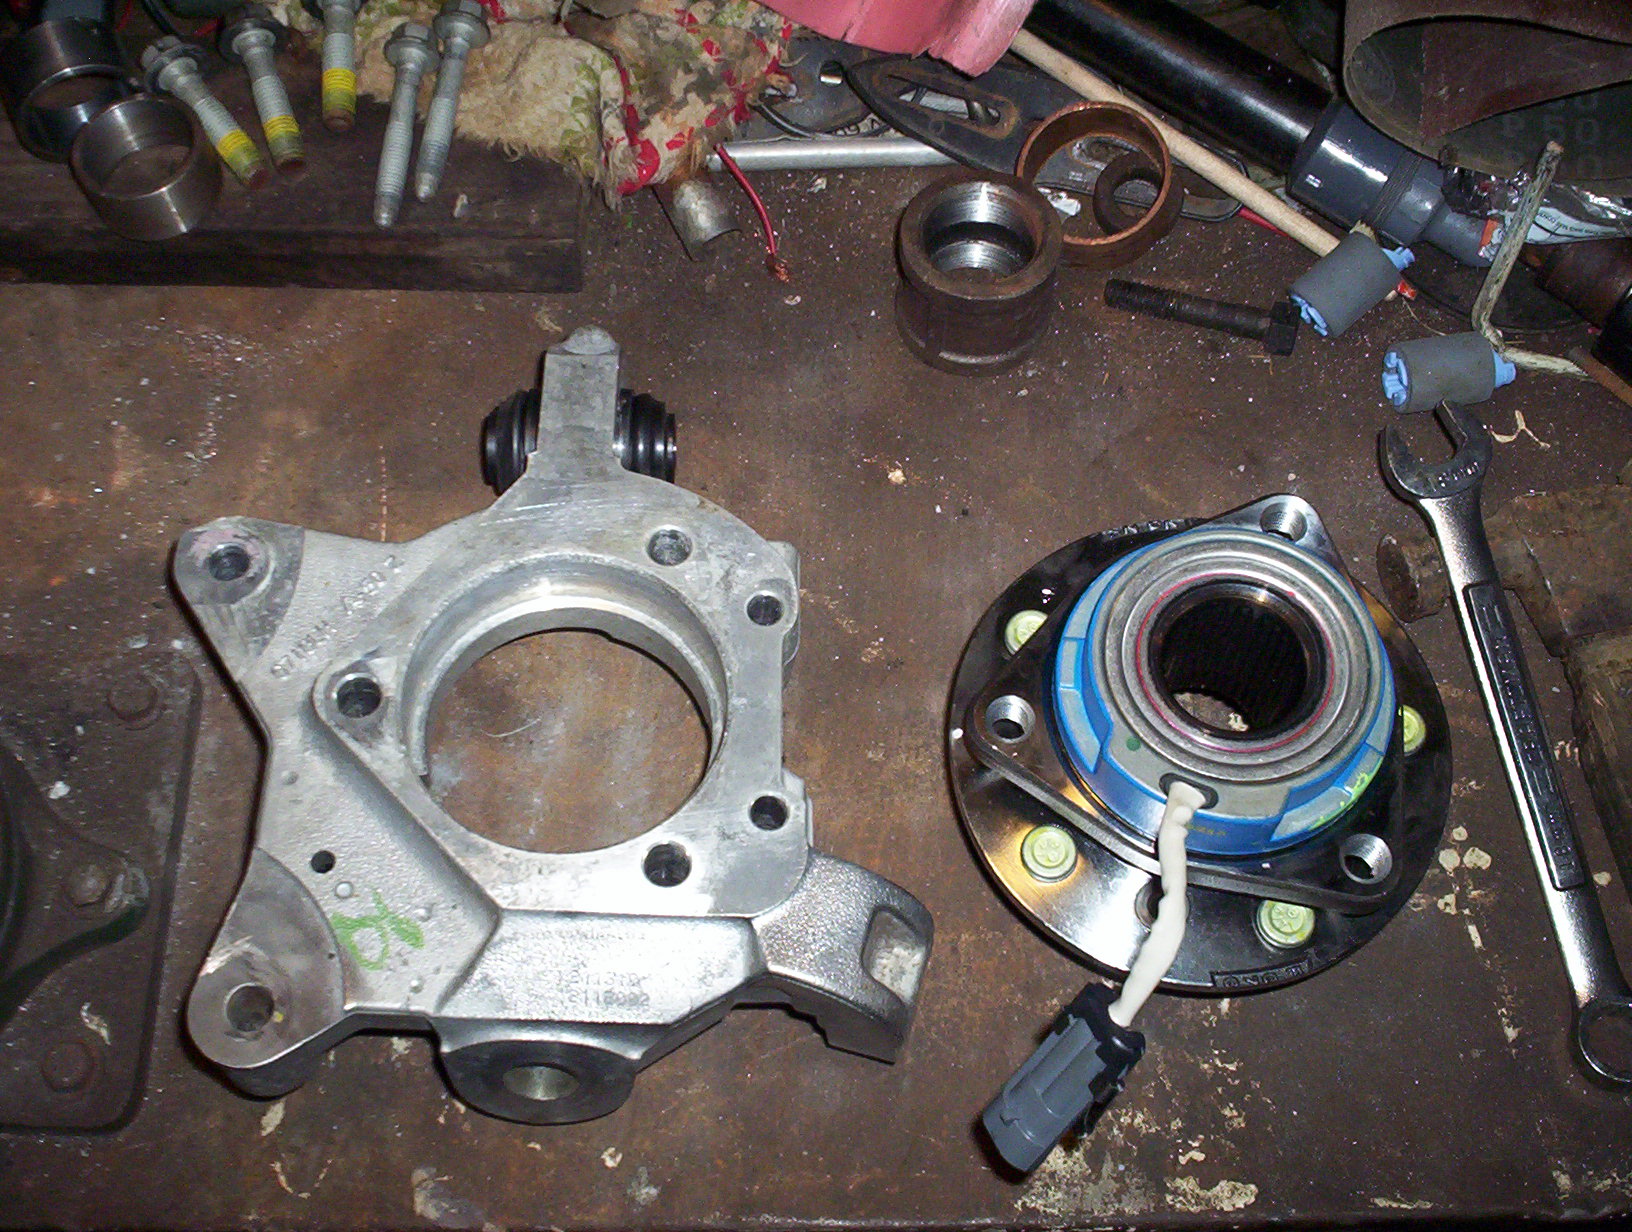
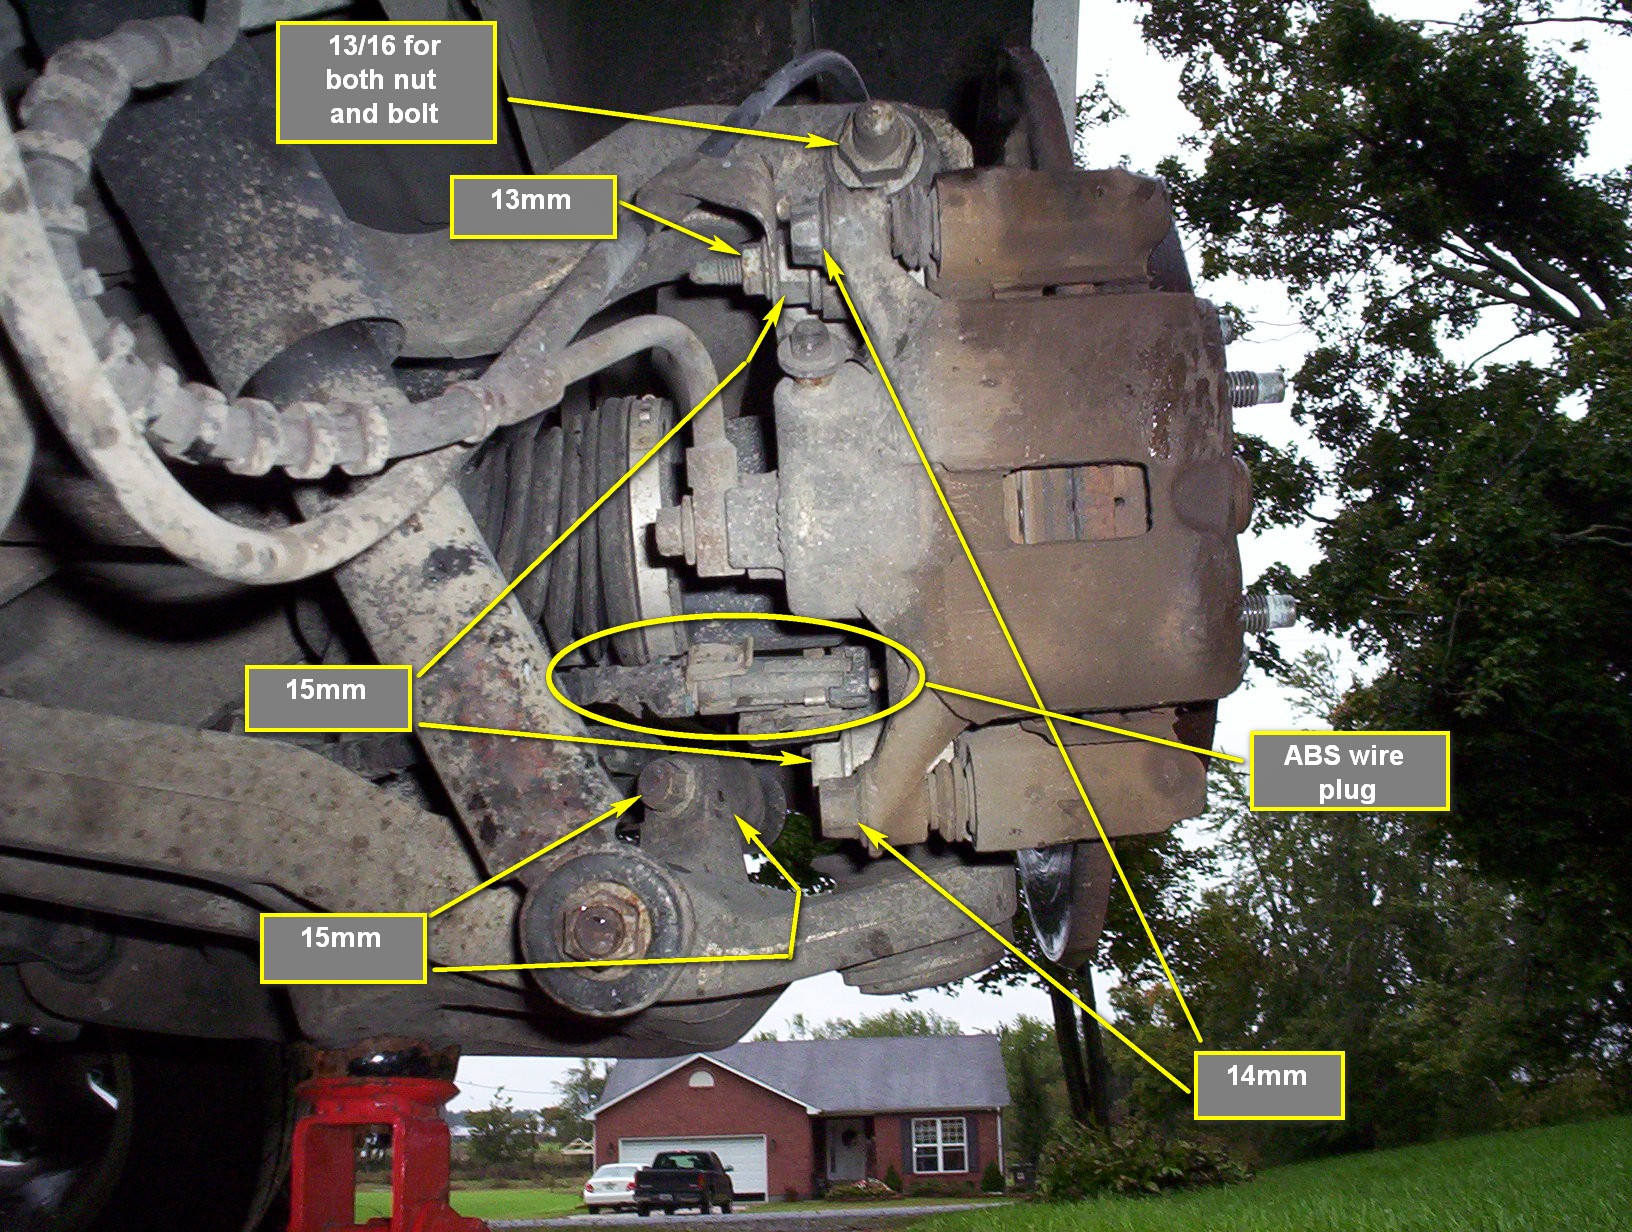
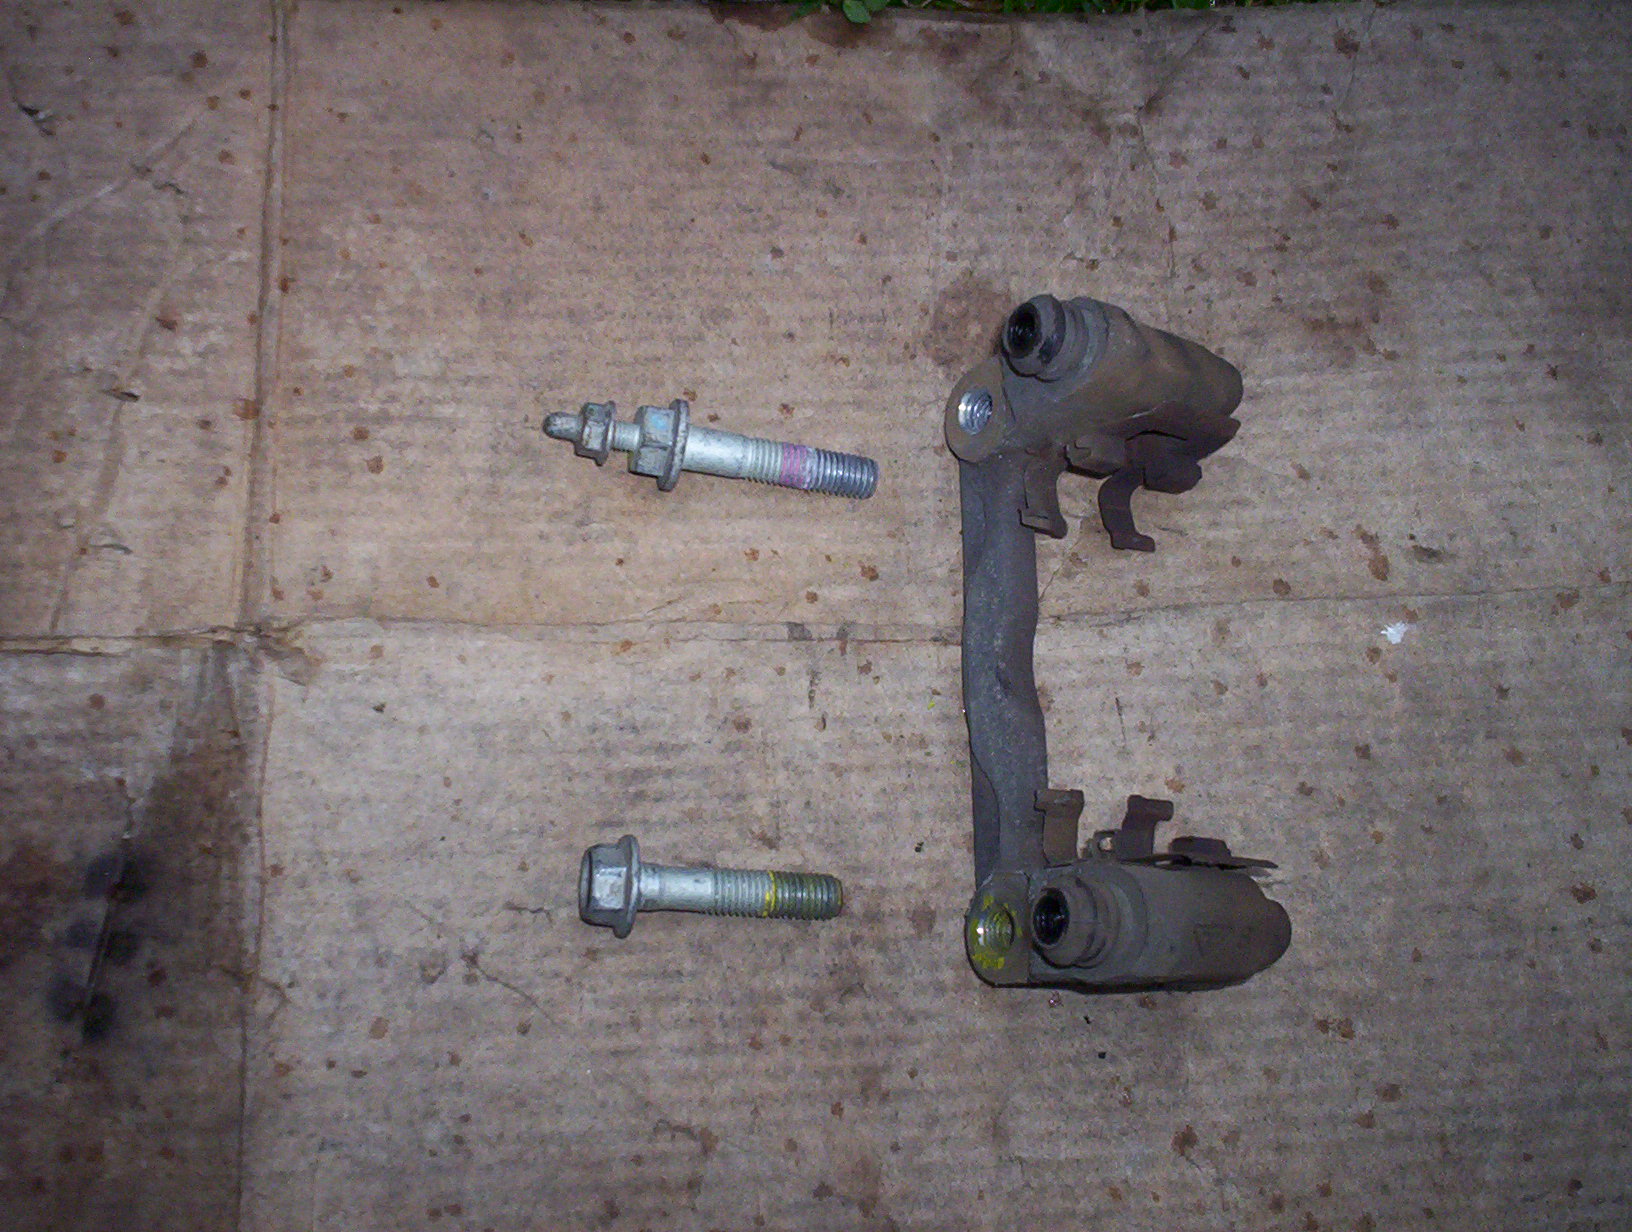
    Now remove the caliper bracket. These two blots have a factory type of lock-tite on them.

    This is what the caliper bracket looks like off the car with the two bolts beside the appropriate holes.
    Hopefully the rotor will slide off easily. If not spray some WD-40 on the places marked wait and then tap it a few times with preferably a wooden hammer. No metal if at all possible.

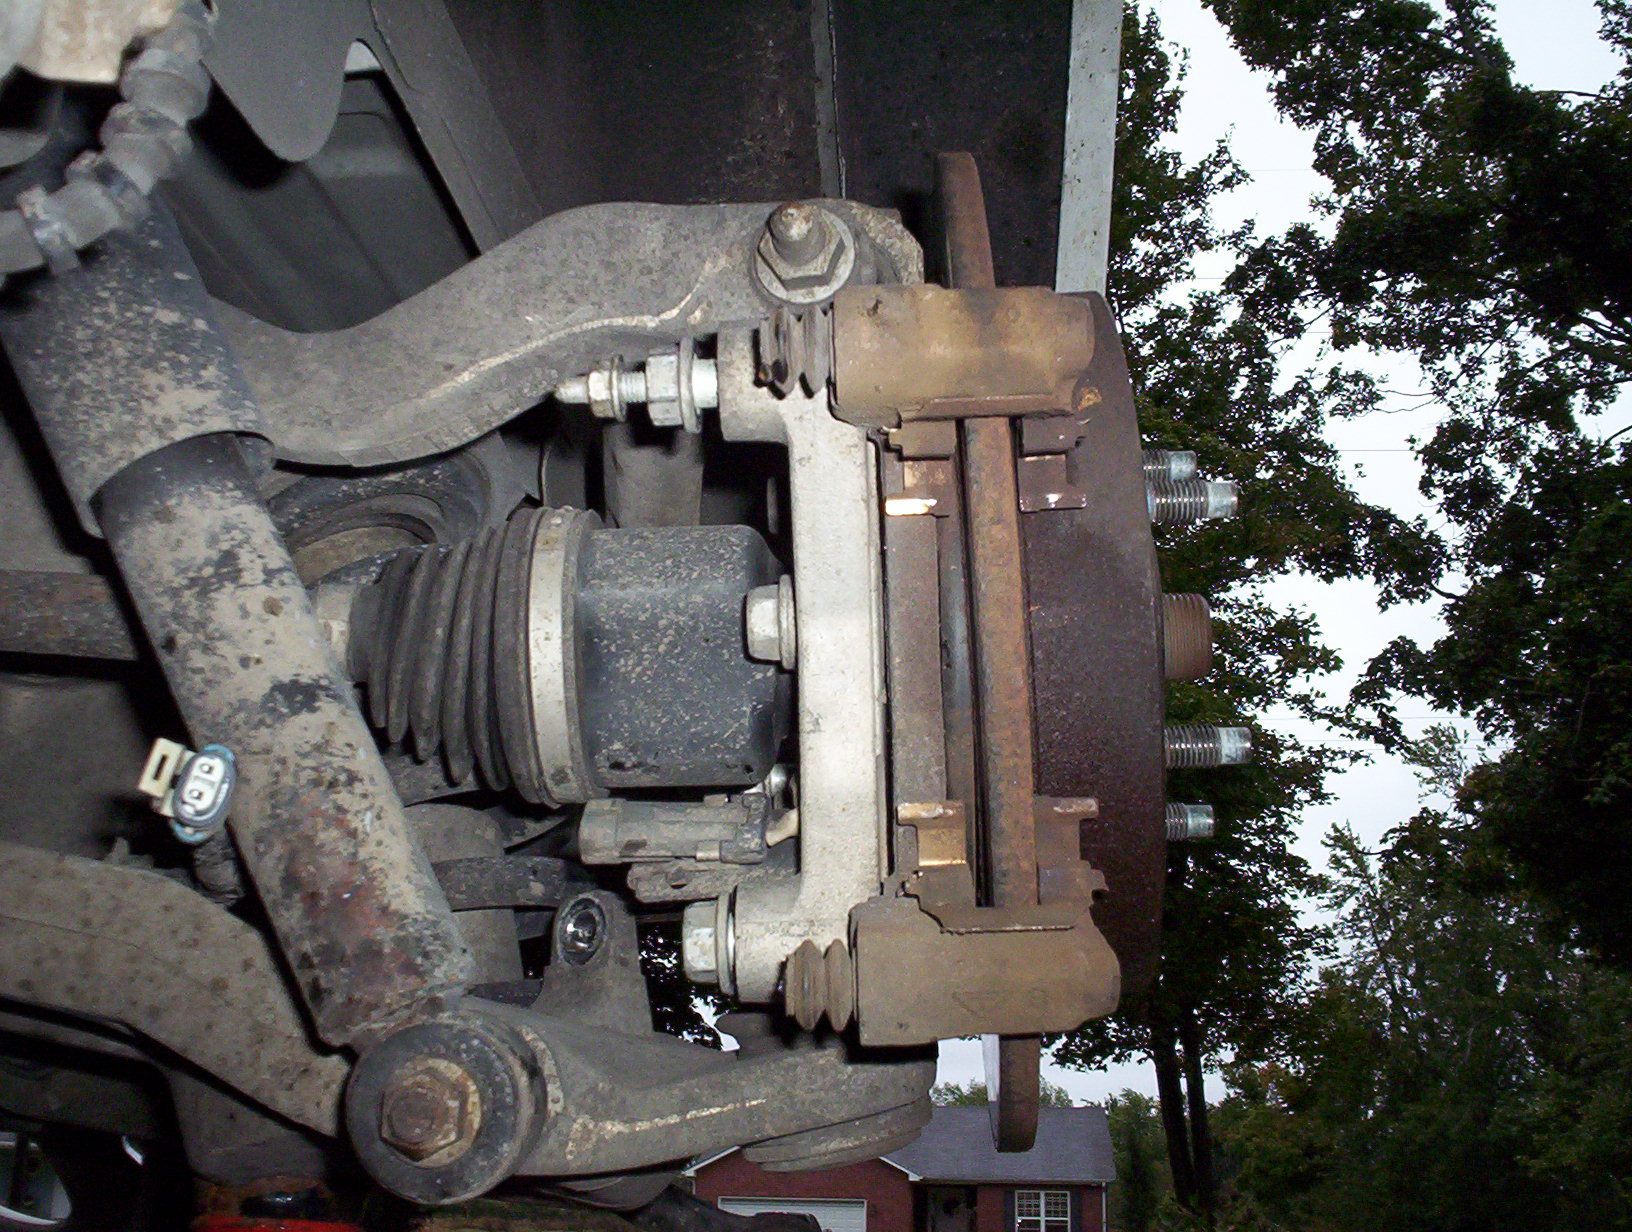
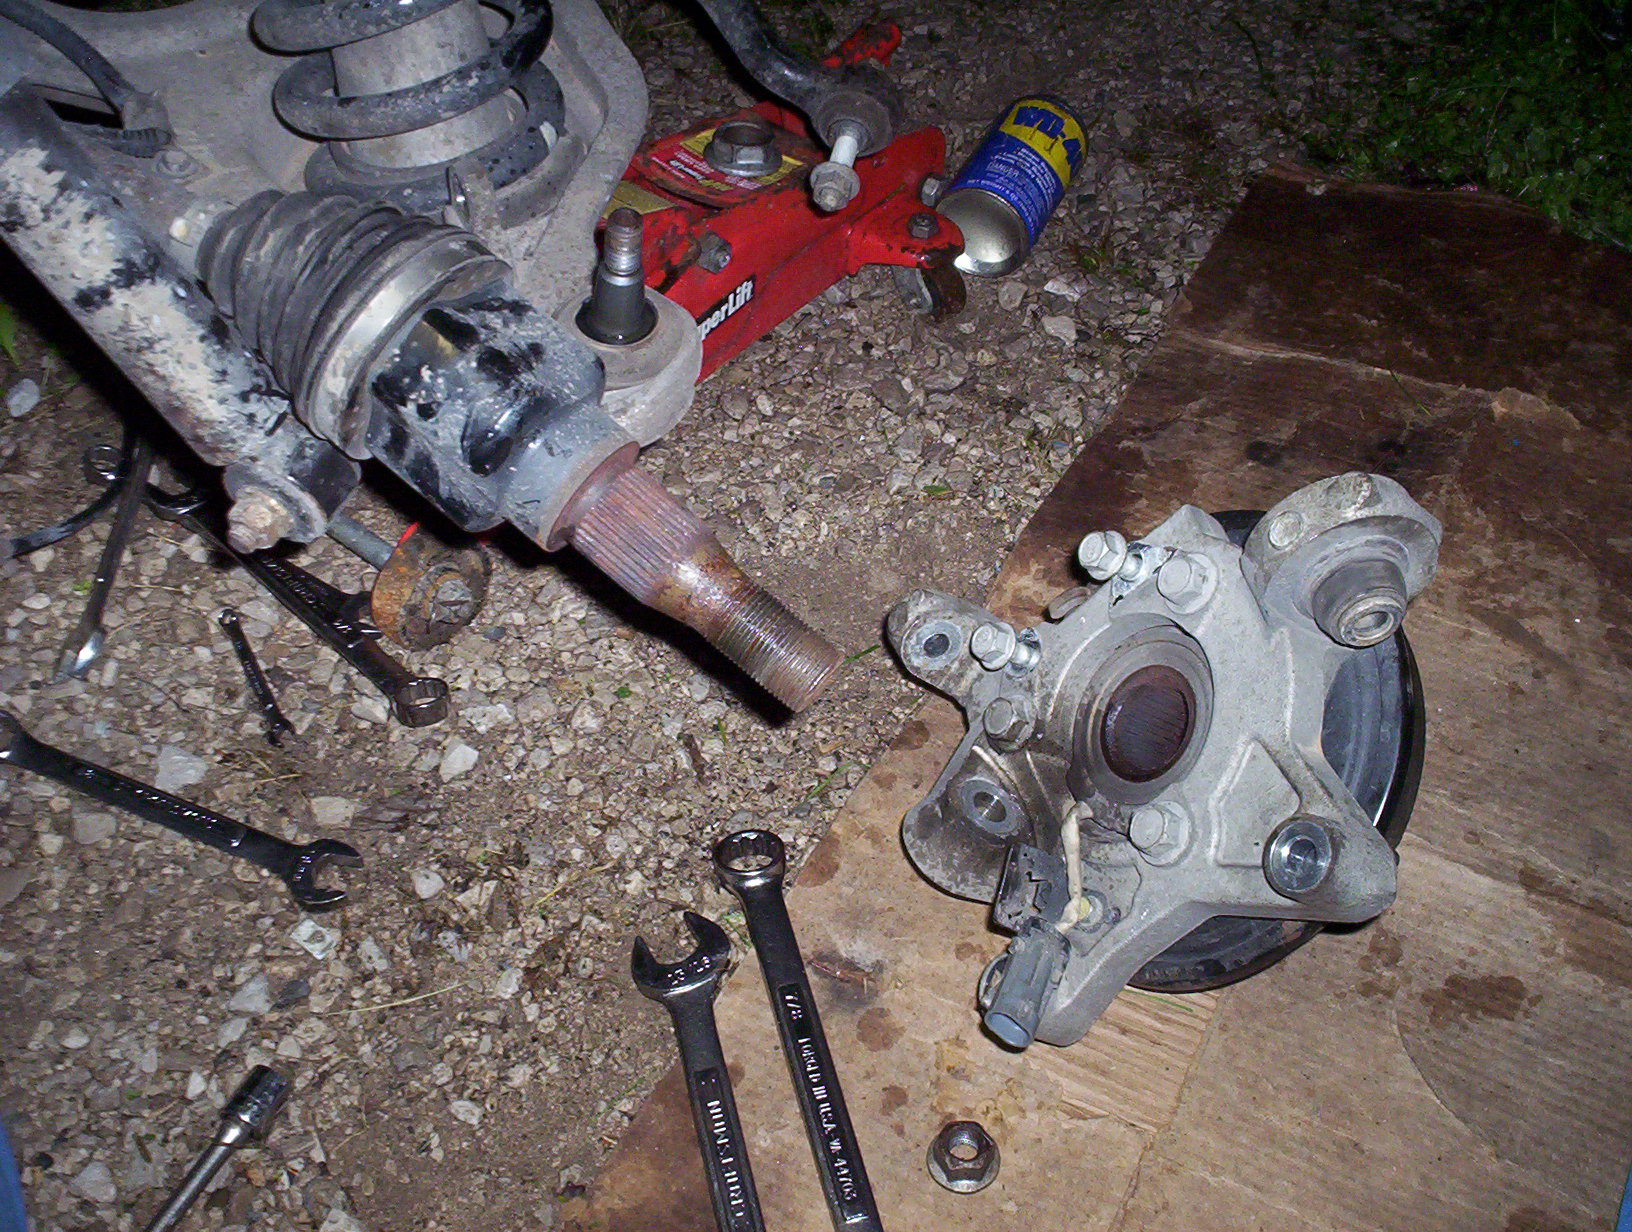
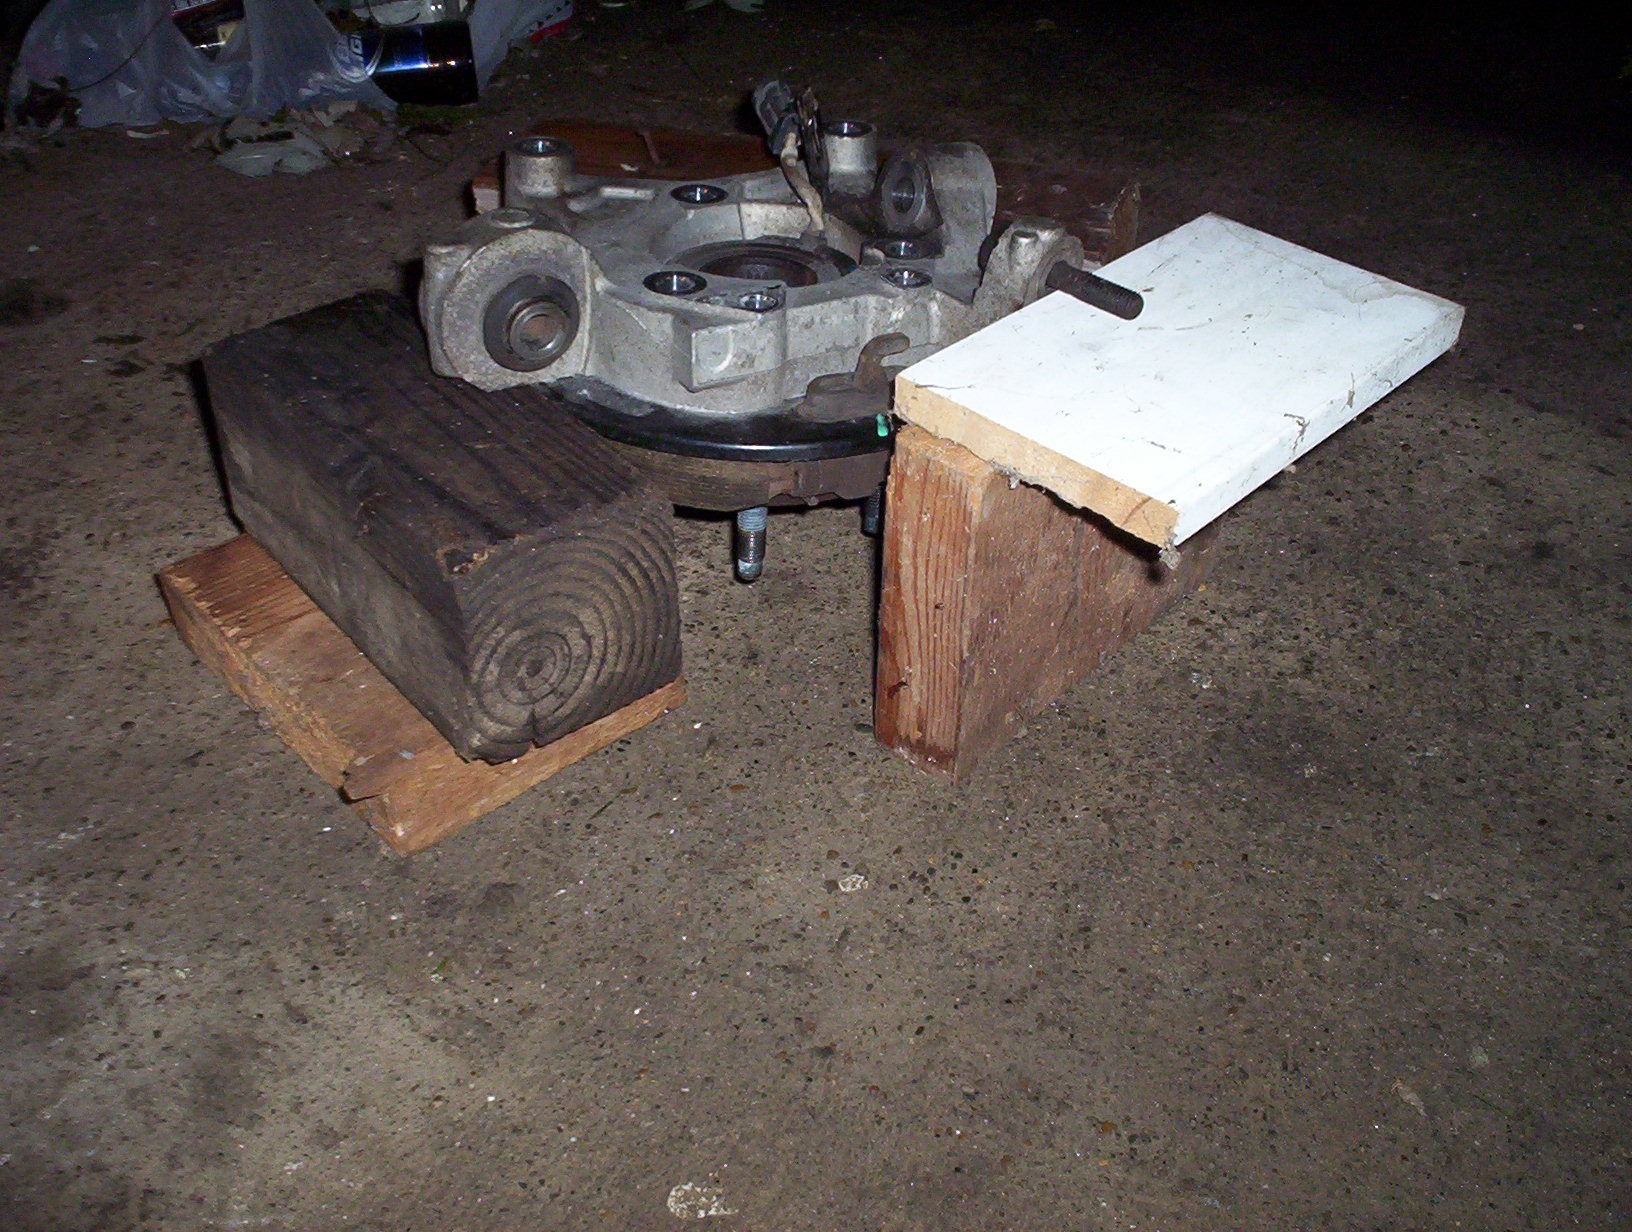
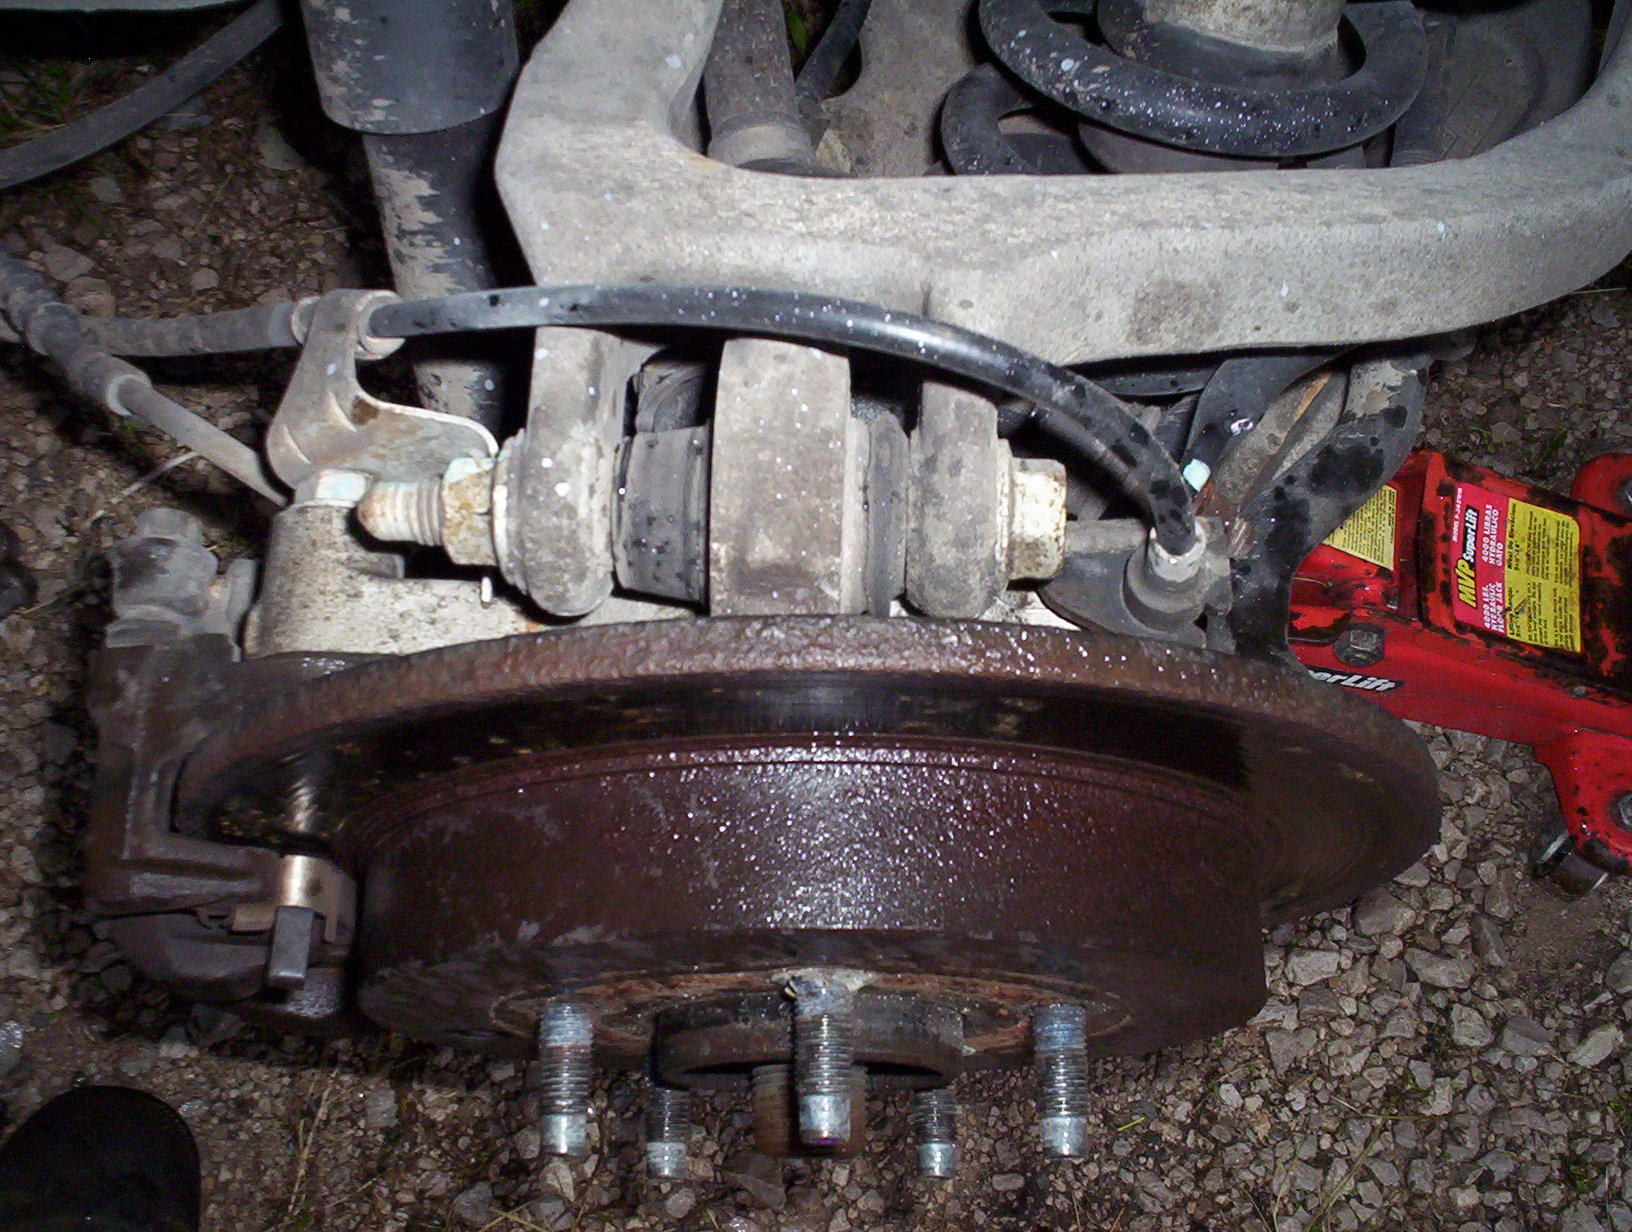
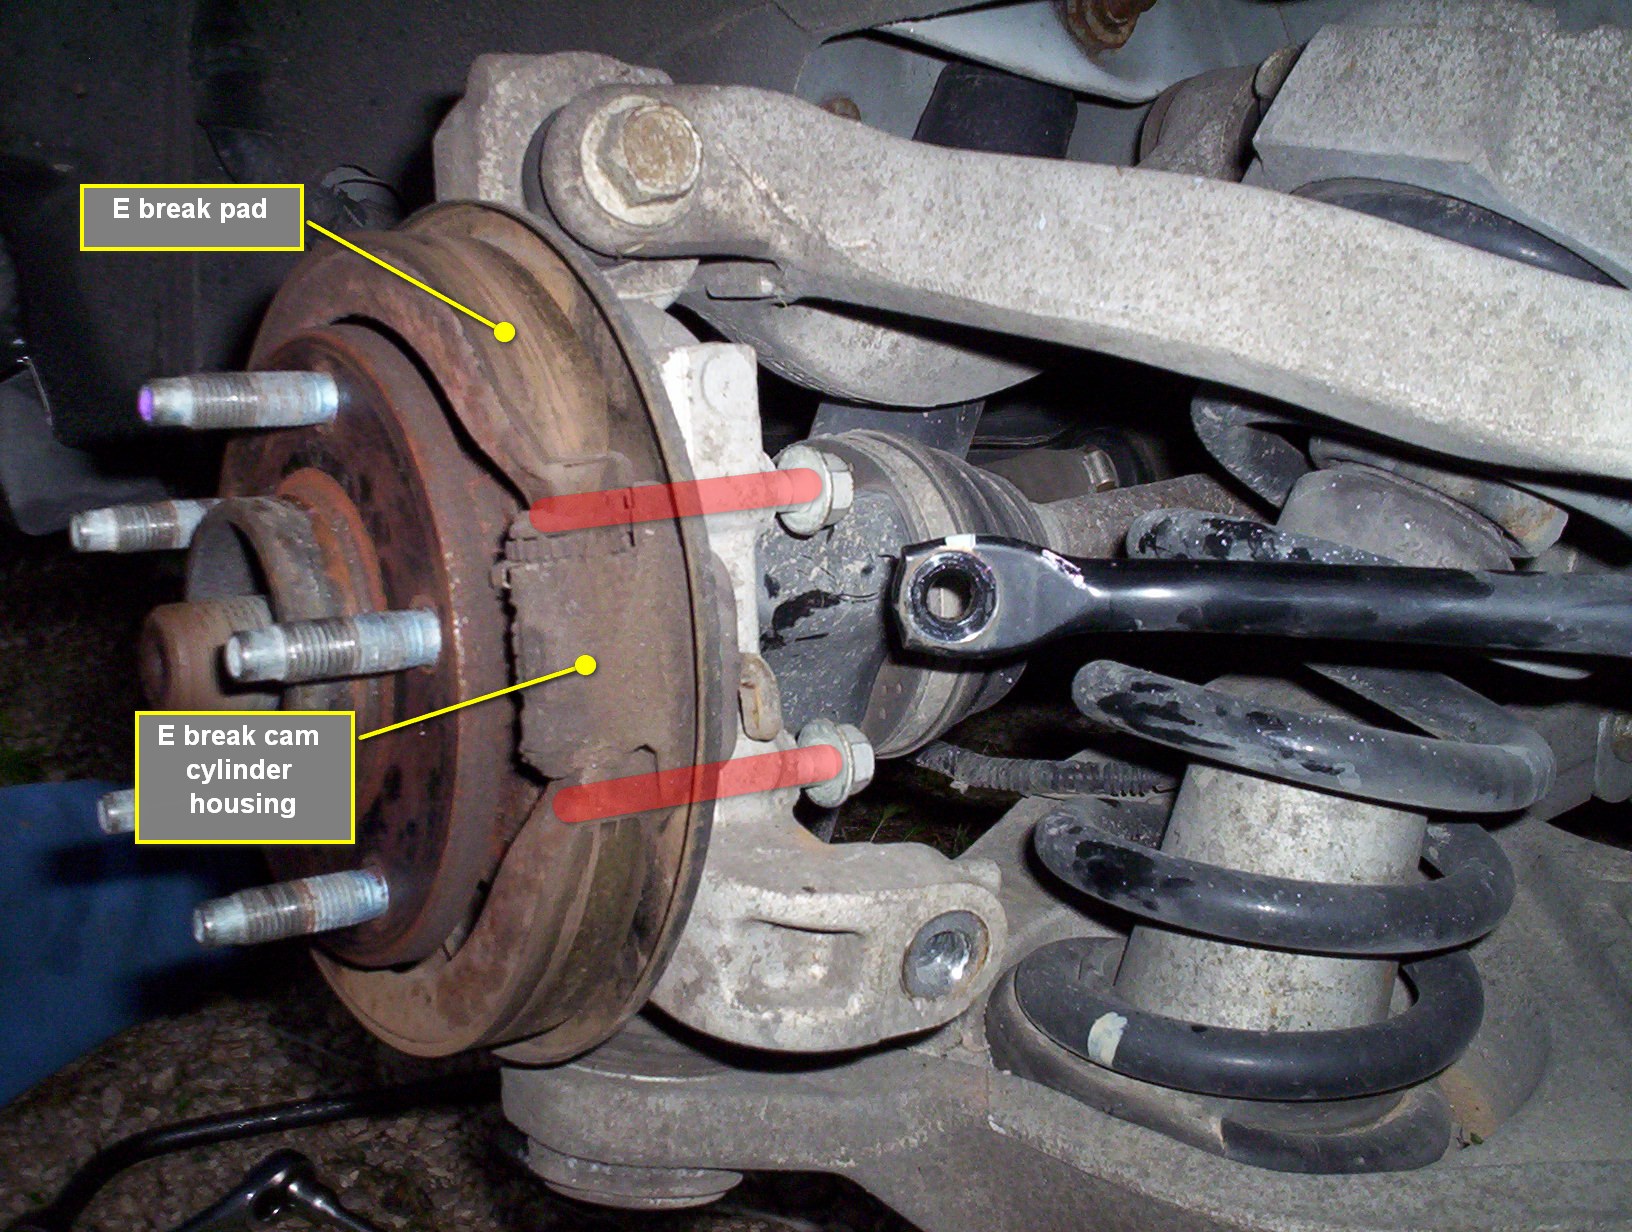
    Looking good so far. This is with the rotor off

    Another angle without the rotor off.
    The inside of the rotor. This still looks good and no sign of abnormal wear.
    Muhhahaahaha. Now is the time to get that POS off. I settled for the cleaner and less destructive way. Tools.
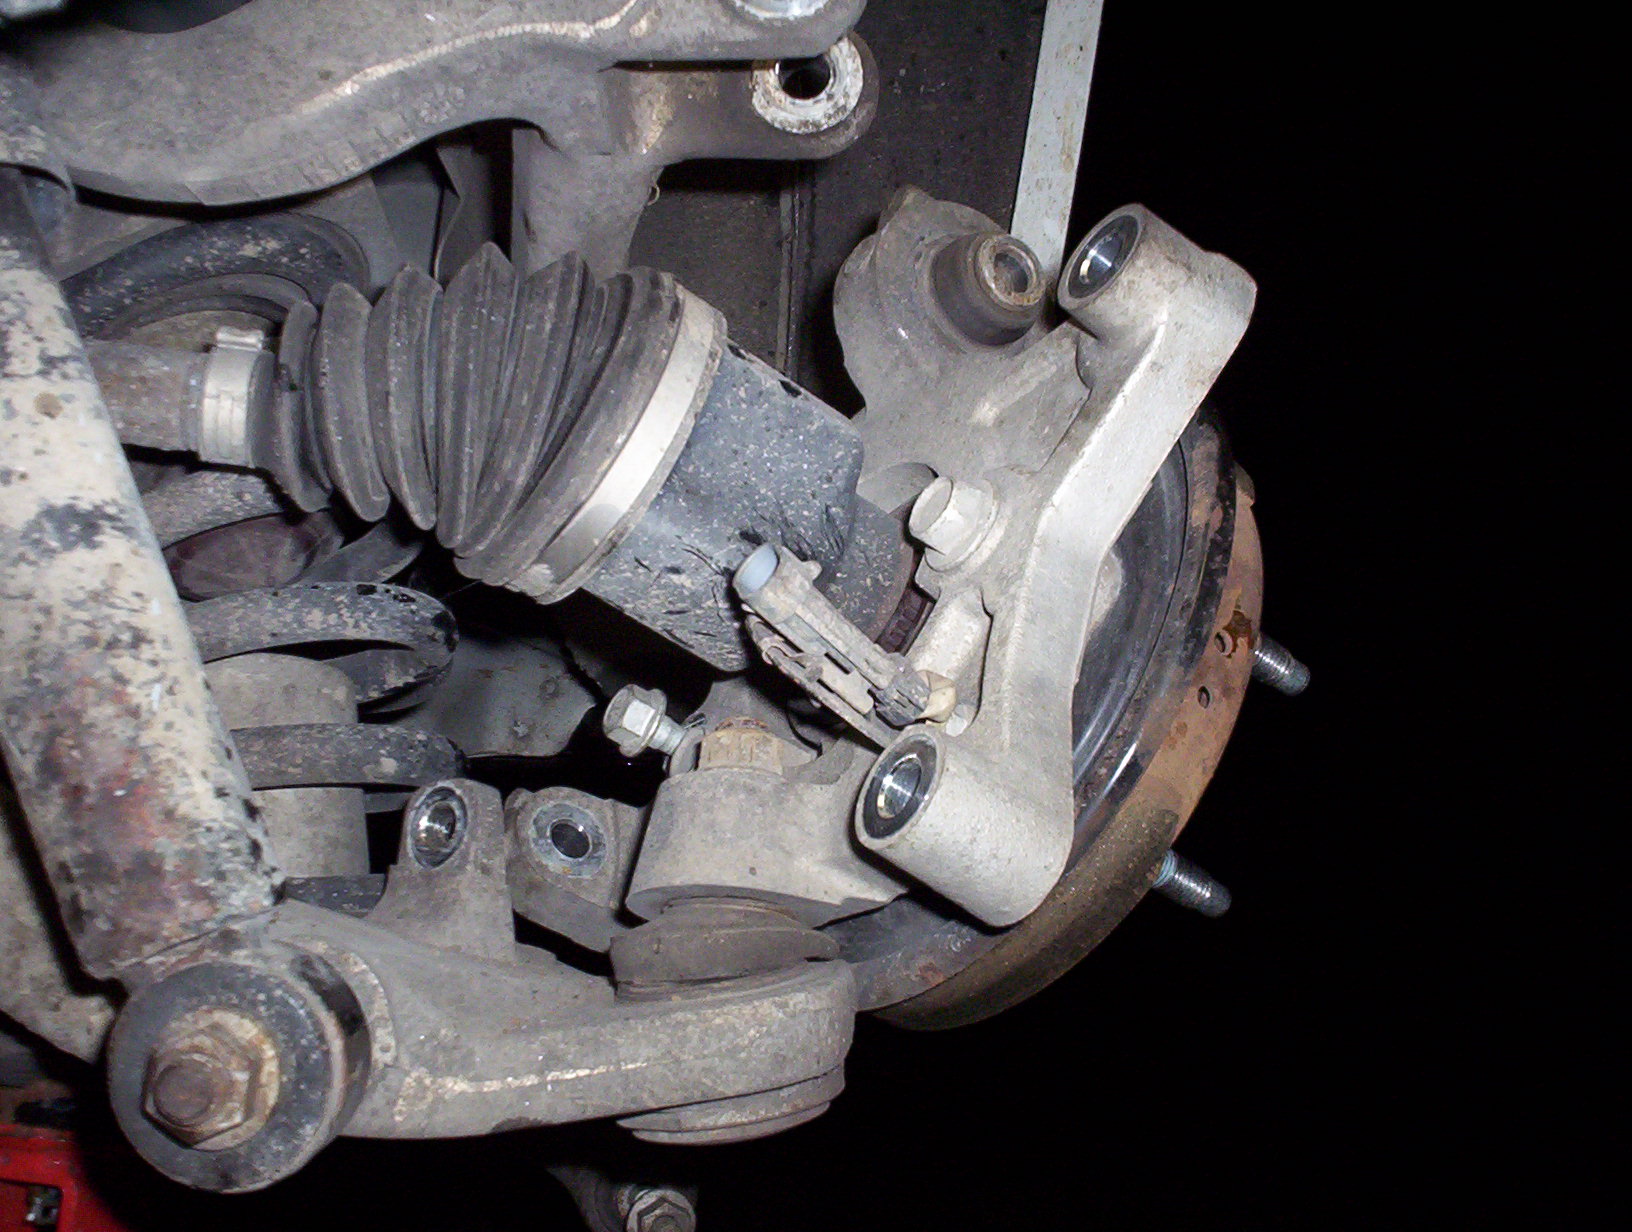
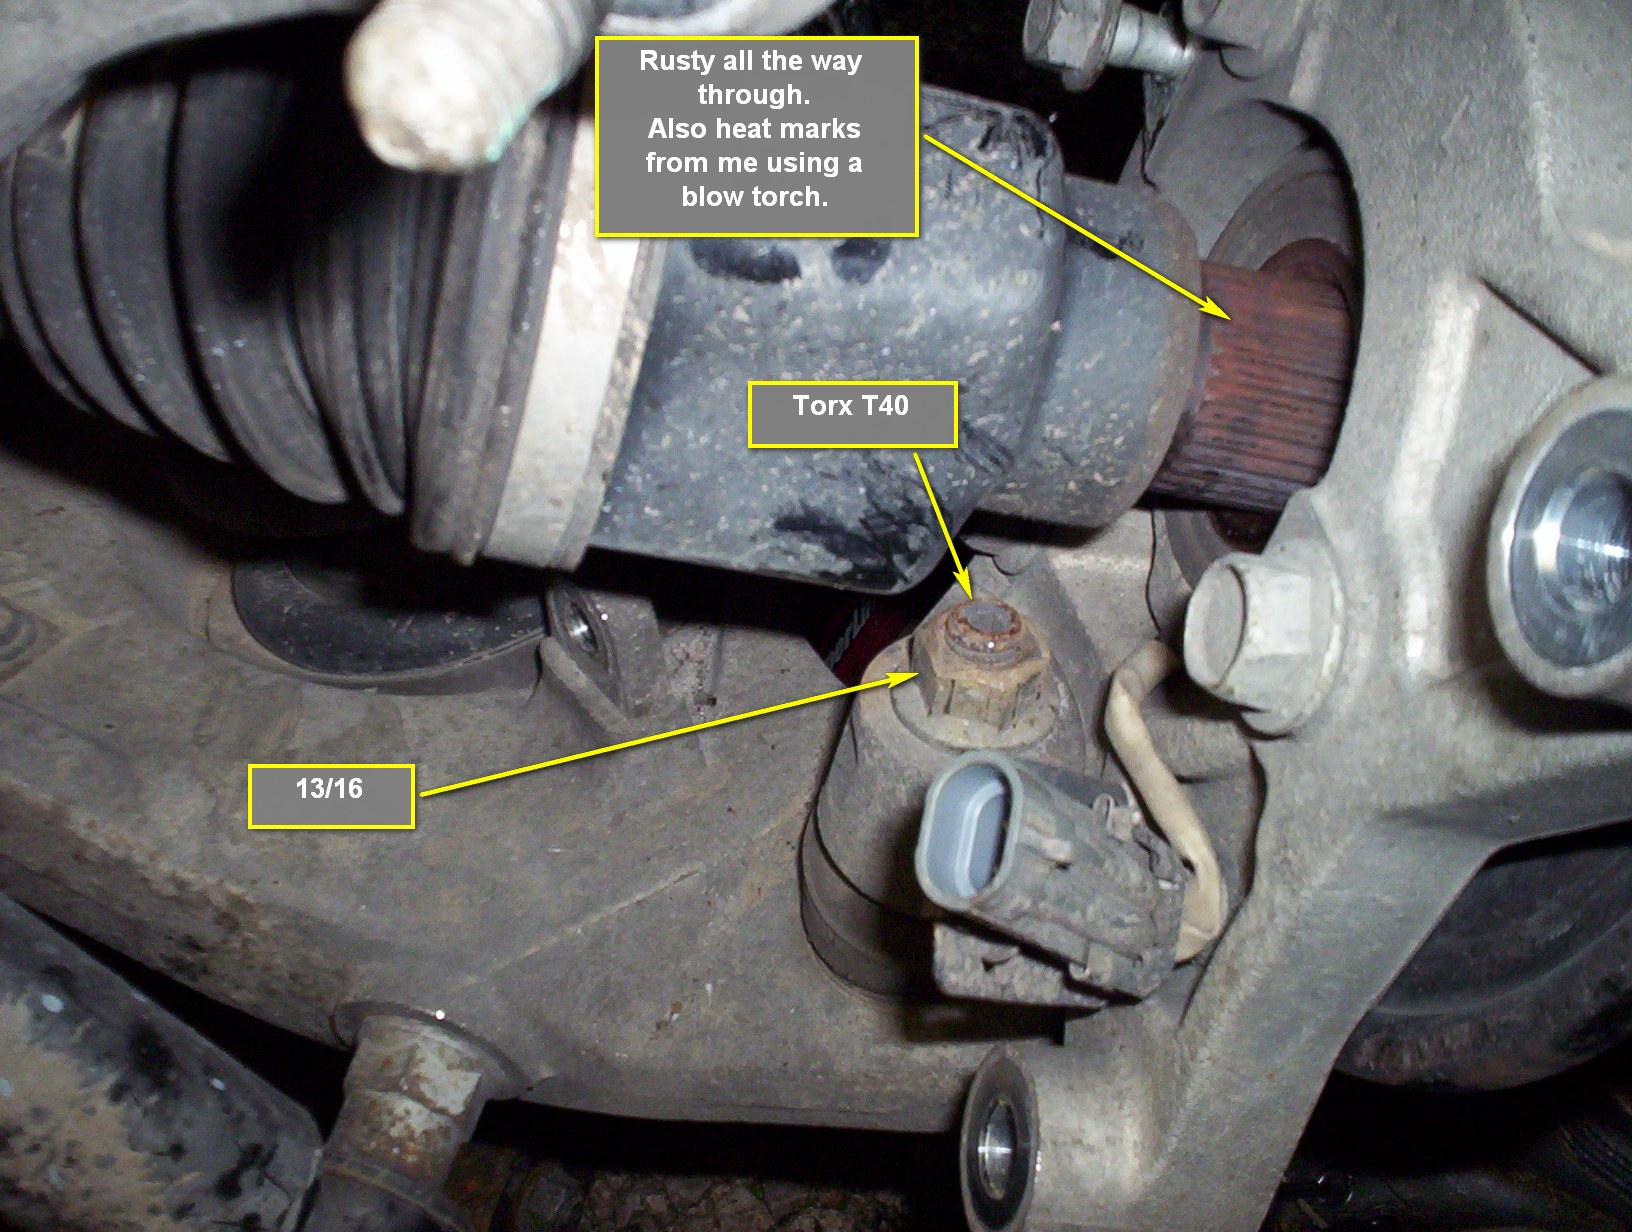
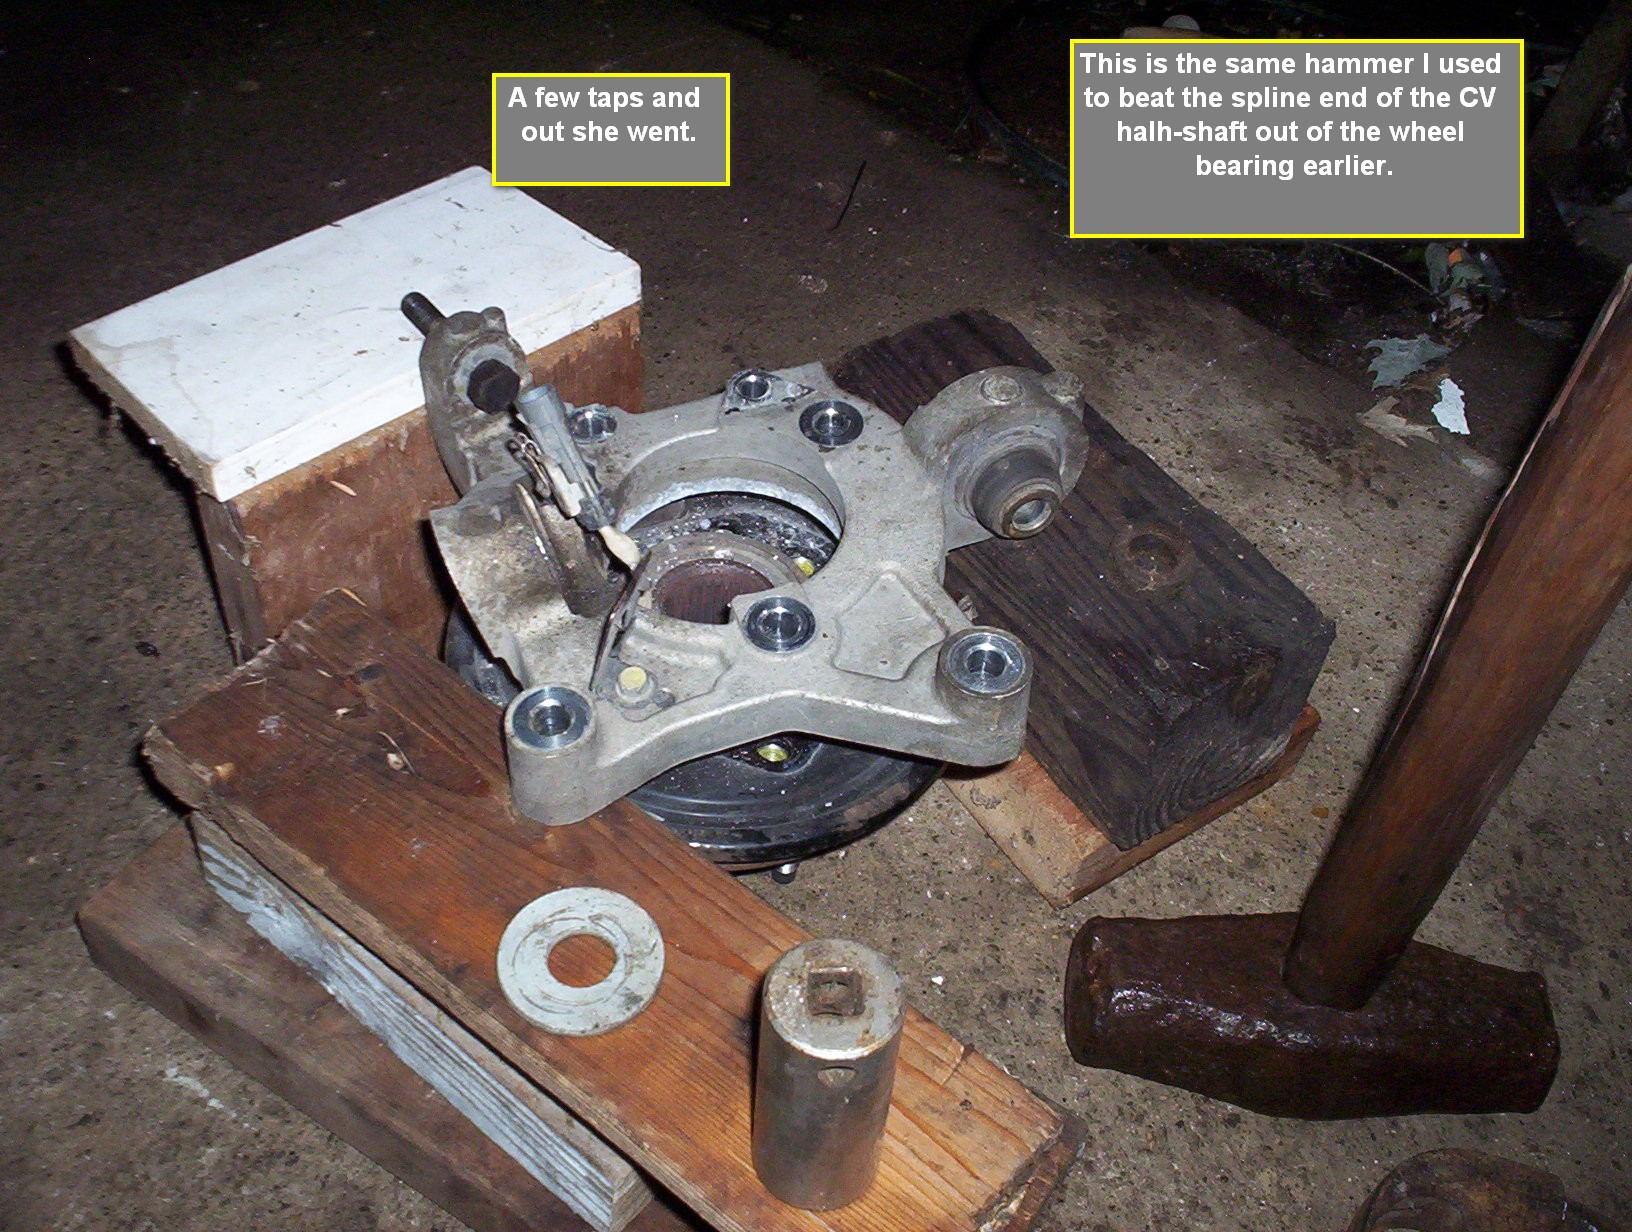
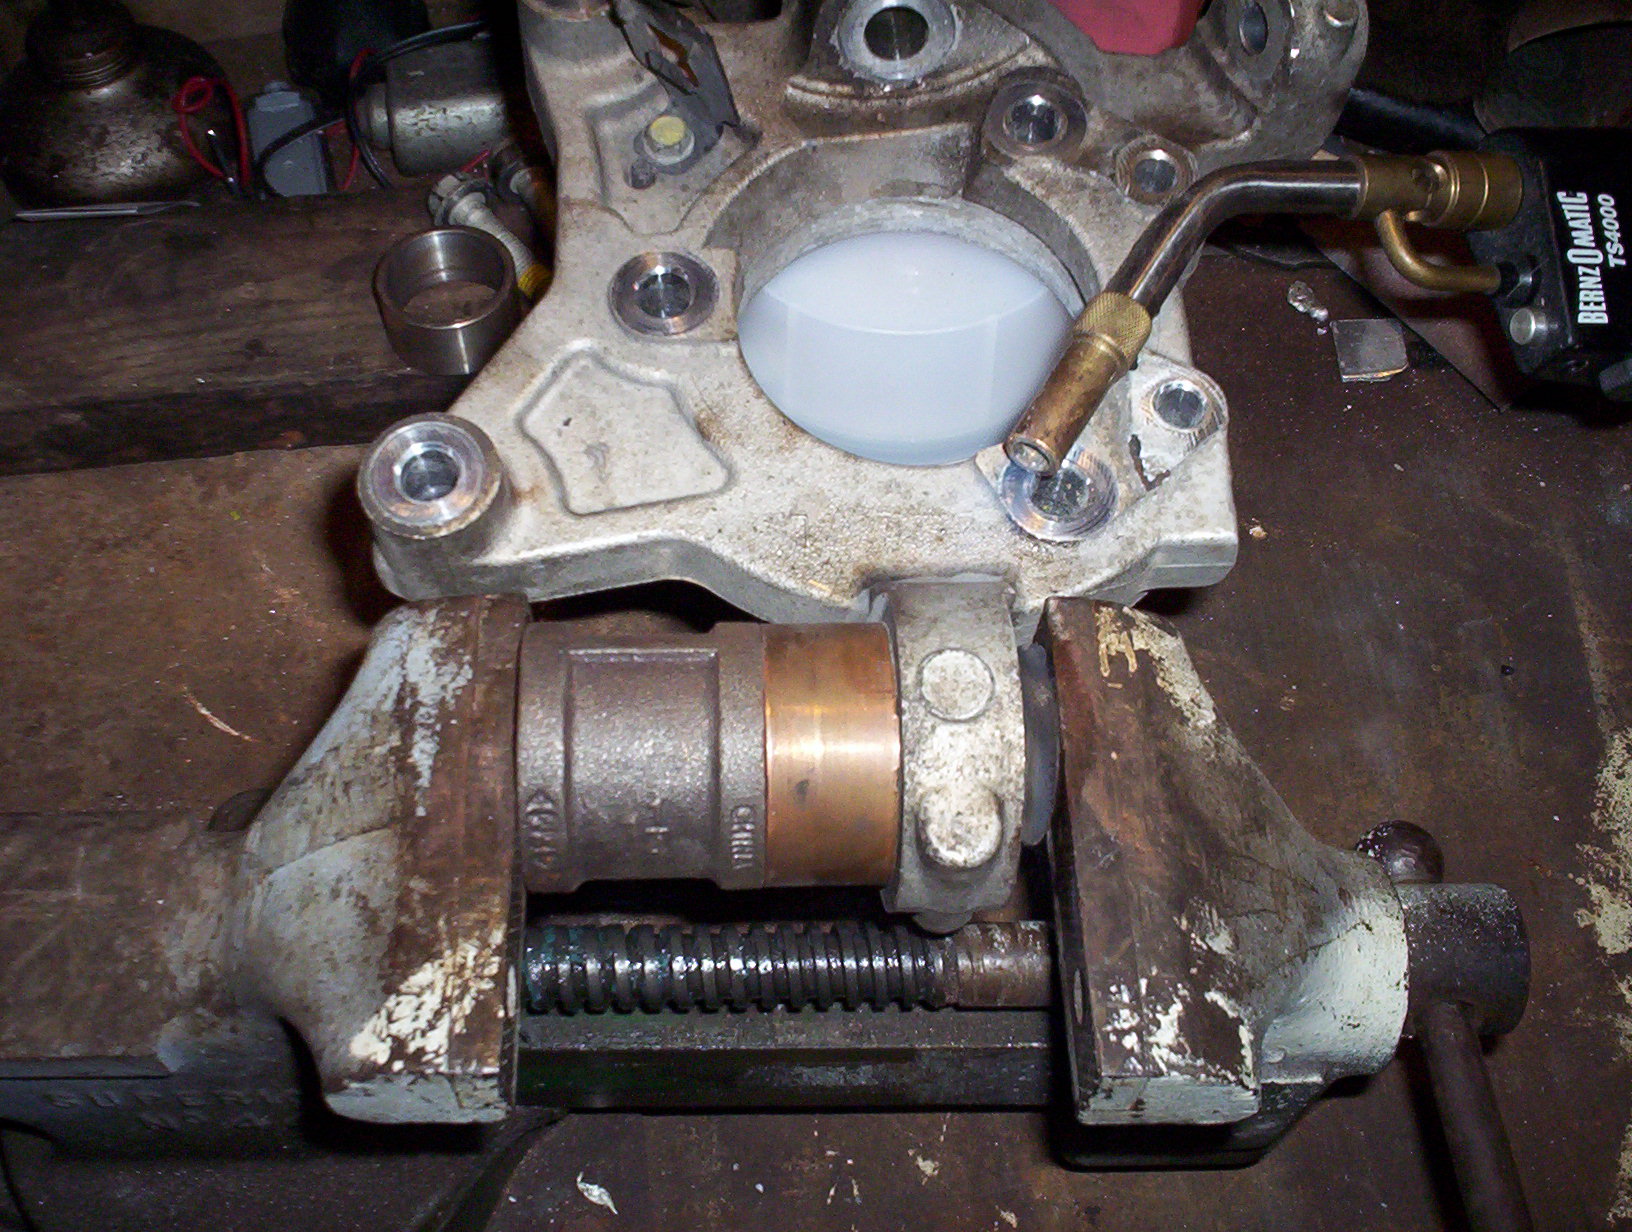
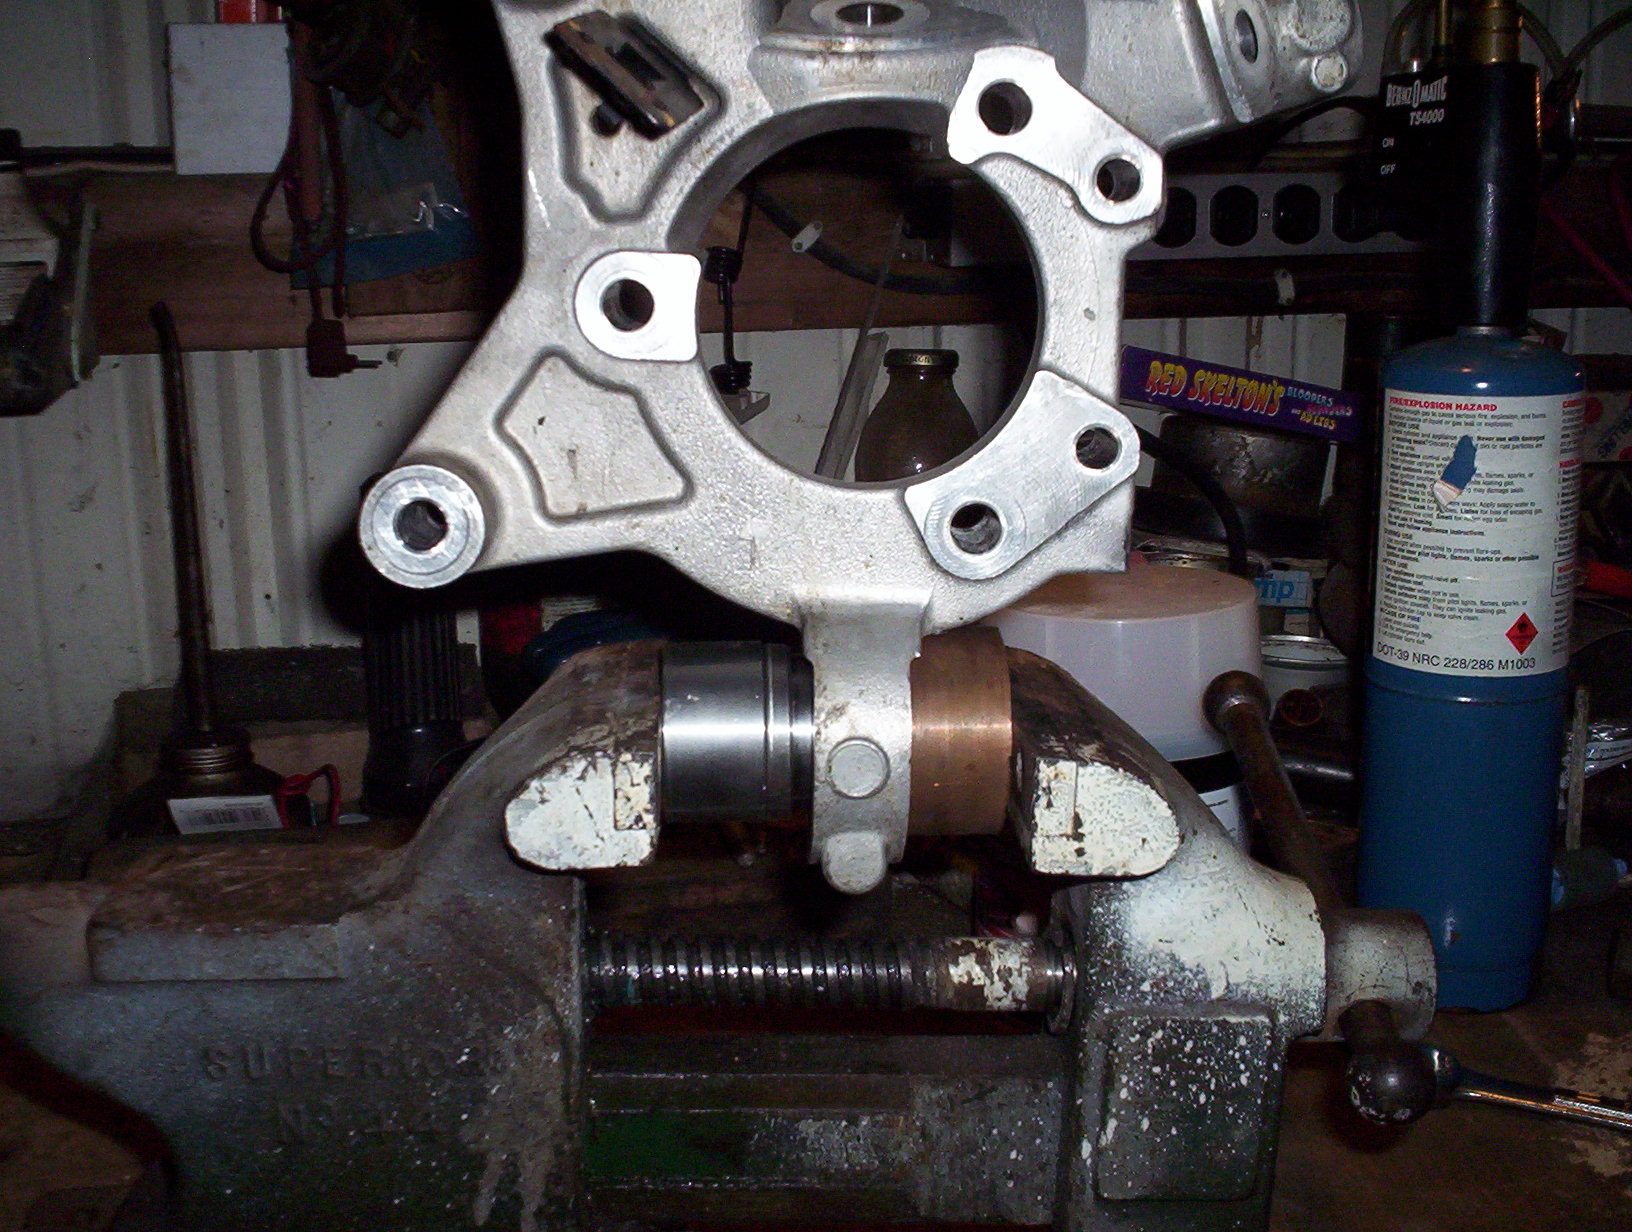
    * But first you need to make sure the axle, or half-shaft, splines are not rusted like in my case. It took nearly 2 hours to get them separated from the bearing splines. I first used the WD-40 and let it soak in for a while and started tapping the end of the shaft with a hammer, with a 2x4 in between them of course. Didn't work.
    Next it was the propane torch. I heated the inside of the bearing where the splines are protruding through which burned off any WD-40. I heated it up until I thought it was hot enough but no dice still. Sprayed more WD-40 and let it soak longer. Break time
    Came back and beat on it some more still nothing. Took the blow torch and heated it up as hot as possible in the same place as before for a good 10 minutes before I whacked it really good steal to steal. (When not using wood or something as a cushion to protect the delicate threads on the axle, screw the nut back on untill the shaft is flush with the nut. Then whack it.)
    I was sure I was going to break something but didn't.
    Getting the bolt out is the tricky part though. The arm and the knuckle are kinda in a bind and will possibly need a long rod (about 2' long) to help. Gently pry down on the upper control arm while wiggeling the knuckle.
    Another angle of the knuckle.
    .
    .
    .
    .
    .
    .
    .
    .
    .
    .
    .
    .
    .
    .
    .
    .
    .
    .
    .
    .
    .
    .
    .
    .
    .